
How to Get Hair Dye Off a Leather Bag
Don’t panic if you accidentally got hair dye on your favorite leather bag! The good news is, you can often remove hair dye stains with a few simple household items. We found that acting quickly is key to the best chance of success. Keep reading to learn how to save your beloved accessory.
Leather is a natural material that can absorb dyes, making stain removal a bit tricky. Different types of leather may react differently to cleaning methods, so it’s wise to test any product in an inconspicuous spot first. We’ve gathered a few reliable methods that many have found effective for this particular problem.
- Quick action is best for hair dye stains.
- Test any cleaner on a hidden spot first.
- Mild soap and water is a good first step.
- Specific leather cleaners can also work wonders.
- Avoid harsh chemicals that can damage leather.
Let’s walk through exactly how you can tackle that hair dye stain step by step, and get your leather bag looking its best again.
Tackling Hair Dye Stains on Your Leather Bag
Accidents happen, and a splash of hair dye on your cherished leather bag can feel like a disaster. But before you resign yourself to a stained accessory, know that there are effective ways to remove it. We’ve found that acting quickly is your best ally. The longer the dye sits, the deeper it can penetrate the leather, making it harder to lift. Different leather types can also react differently to cleaning methods, so a little caution goes a long way.
Gentle First Steps: Testing and Mild Cleaning
Before you try anything aggressive, it’s essential to understand your leather. Is it finished or unfinished? Suede? Nubuck? For most finished leathers, a simple, gentle approach is often all you need. We always recommend testing any cleaning solution on a small, hidden area first. This could be the bottom of the bag or inside a pocket flap. This way, you can see how the leather reacts without causing visible damage.
The Importance of a Patch Test
Think of a patch test like a sneak peek. You’re checking to see if the cleaner will discolor, dry out, or otherwise harm your bag’s finish. Apply a tiny amount of your chosen cleaner to an inconspicuous spot. Let it sit for the recommended time, then gently wipe it away. Inspect the area closely. If you see any adverse effects, it’s best to stop and try a different, milder method.
Your First Line of Defense: Mild Soap and Water
Often, the simplest solutions are the most effective. For fresh hair dye stains, a solution of mild soap and distilled water can work wonders. You want to use a soap that is pH-neutral, like a gentle hand soap or a specialized leather cleaner. Avoid harsh detergents. Dampen a soft, white cloth with the soapy water. Wring it out thoroughly so it’s just slightly damp, not wet. Gently blot the stained area.
The key here is to blot, not rub. Rubbing can spread the stain and push the dye deeper into the leather’s pores. Work from the outside of the stain inward. This helps contain the mess. After blotting, use another clean, damp cloth (just with distilled water) to rinse away any soap residue. Finally, dry the area with a clean, dry cloth. Allow the bag to air dry completely away from direct heat or sunlight.
When Mild Soap Isn’t Enough: Other Cleaning Methods
If soap and water didn’t fully remove the stain, don’t despair. There are a few other common household items that can be surprisingly effective. Remember, the goal is to lift the dye without damaging the leather itself. Always proceed with caution and remember that patch test!
Using Rubbing Alcohol (Isopropyl Alcohol)
Rubbing alcohol is a powerful solvent that can break down many types of dyes. It’s readily available and many people already have it in their homes. We found that it can be very effective for stubborn hair dye stains. However, alcohol can be drying to leather, so it’s absolutely critical to use it sparingly and follow up with a conditioning treatment.
Dampen a cotton ball or a corner of a soft, white cloth with rubbing alcohol. Again, ensure it’s not soaking wet. Gently dab the stained area. You should start to see the dye transfer onto the cotton ball or cloth. Use fresh parts of the cotton ball or cloth as you lift the dye. Work slowly and patiently. Once the stain is gone or significantly lightened, clean the area with a damp cloth as you did before to remove any alcohol residue. Immediately after drying, apply a good quality leather conditioner to the treated spot and the surrounding area. This helps replenish the moisture that the alcohol may have stripped away.
Harnessing the Power of Non-Acetone Nail Polish Remover
Similar to rubbing alcohol, certain nail polish removers can act as solvents. You specifically want to look for one that is non-acetone. Acetone is a much harsher chemical and can easily damage and discolor leather. Non-acetone removers are generally gentler. As with alcohol, always test this in an inconspicuous area first.
Apply a small amount of the non-acetone remover to a cotton swab. Gently dab at the stain. You’ll want to see the dye lifting onto the swab. Replace the swab frequently to avoid reapplying the dye. Once you’ve removed as much of the stain as possible, wipe the area with a damp cloth to remove any residue. Follow up with a leather conditioner to protect your bag.
Specialized Leather Cleaners and Conditioners
For those who prefer to stick to products designed specifically for leather, a good quality leather cleaner is an excellent choice. Many of these are formulated to be tough on stains but gentle on the material. Follow the manufacturer’s instructions precisely. Some cleaners are designed to be used with a conditioner, while others are all-in-one solutions.
We found that using a cleaner and then a separate conditioner provides the best overall protection. The cleaner lifts the stain, and the conditioner restores moisture and flexibility to the leather, preventing it from cracking or drying out. Always choose products that are suitable for the type of leather your bag is made from. If you have a very delicate or antique piece, consulting a professional leather care specialist might be your safest bet.
What to Avoid When Removing Hair Dye
Just as important as knowing what to use is knowing what to stay away from. Certain common household items, while effective for other cleaning tasks, can wreak havoc on leather.
- Harsh chemicals: Bleach, ammonia, and strong solvents (other than carefully selected alcohols or non-acetone removers) can strip the leather of its natural oils, leading to discoloration and damage.
- Abrasive materials: Never use scrub brushes or rough cloths. These can scratch the surface of the leather.
- Excessive water: Soaking leather can cause it to warp, crack, and develop water stains. Always use damp, not wet, cloths.
- Heat: Do not use hairdryers or place the bag near radiators to speed up drying. This can cause the leather to shrink and become brittle.
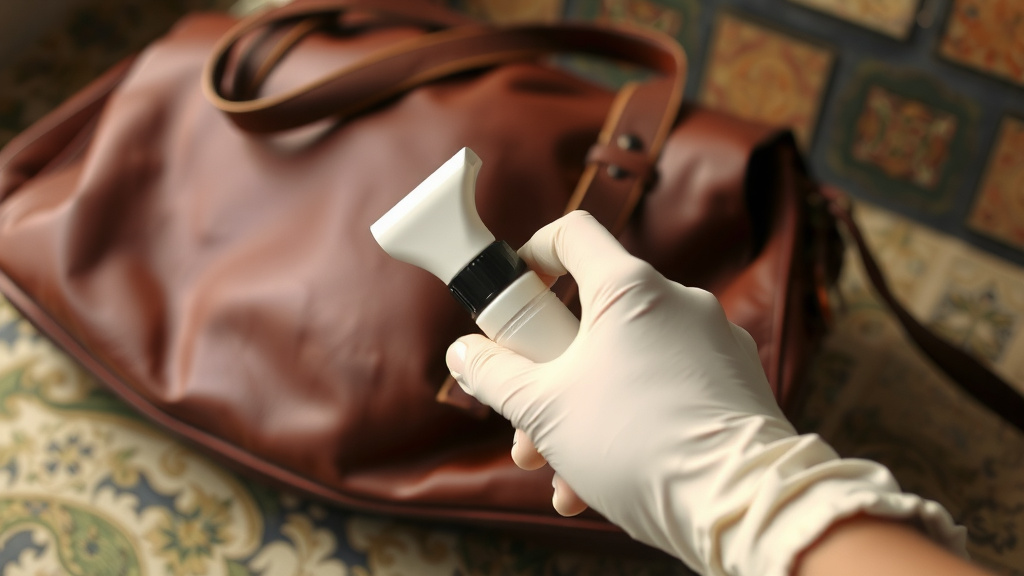
Leather Bag Stain Removal Checklist
Here’s a quick rundown to guide you through the process:
- Act Fast: Address the stain immediately if possible.
- Test First: Always test your chosen cleaner on a hidden spot.
- Gentle Blotting: Use a soft cloth and blot, don’t rub.
- Work Inward: Start from the outside of the stain and move towards the center.
- Condition After: Always rehydrate the leather with a conditioner.
- Be Patient: Some stains take time and repeated gentle treatments.
Protecting Your Bag for the Future
Once you’ve successfully removed the hair dye, it’s a good idea to give your bag a comprehensive conditioning. This will help restore its suppleness and provide a protective barrier against future spills and stains. Regular cleaning and conditioning are the best ways to keep your leather bag looking its best for years to come. Think of it as a spa day for your favorite accessory!
Conclusion
It’s definitely possible to rescue your leather bag from a hair dye mishap! We’ve shown you that acting fast and using gentle methods are your best tools. Remember to always test any cleaning solution on a hidden spot first to avoid damaging your bag. Mild soap, rubbing alcohol, or non-acetone nail polish remover can be effective, but always follow up with a good leather conditioner. Don’t let a little dye get you down; follow these steps, and your bag can look great again.
Your next step is to gather your supplies and tackle that stain with confidence. A little patience goes a long way!
Frequently Asked Questions
Can hair dye permanently stain a leather bag?
Hair dye can cause a permanent stain if left untreated. The longer the dye sits on the leather, the deeper it penetrates the material. Acting quickly and using the right cleaning methods significantly increases your chances of complete removal before it sets in.
Is it safe to use regular household cleaners on leather bags?
You should be very cautious with regular household cleaners. Harsh chemicals like bleach or ammonia can severely damage leather, causing discoloration and dryness. Stick to mild, pH-neutral soaps or specialized leather cleaners, and always perform a patch test first.
What’s the best way to condition leather after stain removal?
After cleaning, your leather will need moisture replenished. Use a high-quality leather conditioner designed for your bag’s specific leather type. Apply a small amount with a clean, soft cloth and gently rub it into the treated area and surrounding leather. Allow it to absorb fully.
Will these methods work on all types of leather?
These methods are most effective on finished leather. Suede, nubuck, or unfinished leathers are more delicate and may require professional cleaning. Always test any cleaning product in an inconspicuous spot to see how your specific leather reacts before attempting to clean the stain.
How often should I condition my leather bag?
To keep your leather bag in good condition and help prevent future stains, we recommend conditioning it every 3-6 months. This helps maintain its suppleness and protects it from drying out or cracking, especially after cleaning treatments.

![10 Best Leather Travel Bags For Women [2026]](https://mybestreviewss.com/wp-content/uploads/2026/08/10-best-leather-travel-bags-for-women-2026-featured-768x432.jpg)