
How to Iron a Leather Bag Safely and Effectively
Yes, you can iron a leather bag, but you need to be incredibly careful. The key is to use a low heat setting and always place a protective barrier like a thick cloth or brown paper between the iron and the leather. This method helps to smooth out wrinkles without damaging your bag.
Leather is a natural material that can be sensitive to heat. Applying too much heat can cause it to dry out, crack, or even melt. It’s important to remember that not all leather types react the same way, so always test a small, inconspicuous area first. We found that patience is your best friend here.
- Always use a low heat setting on your iron.
- Use a thick cloth or paper as a barrier.
- Test on an unseen spot first.
- Keep the iron moving.
- Never apply water directly to the leather.
Ready to give your leather bag a smooth makeover? Let’s walk through exactly how to do it safely and effectively, step by step.
Smooth Out Wrinkles: How to Iron Your Leather Bag Safely
So, your favorite leather bag has picked up a few unwanted creases. You might be wondering if a quick pass with an iron is the answer. The good news is, yes, you can often smooth out wrinkles on a leather bag. It’s all about using the right technique. We’ve found that a gentle approach is key to avoiding damage.
Think of your leather bag like a sensitive skin. Too much heat, and it can easily get dried out, brittle, or even melt. The goal is to coax those wrinkles away, not to scorch your beloved accessory. We’ll guide you through how to do this with confidence.
Understanding Leather and Heat: What You Need to Know
Before you even think about plugging in your iron, let’s talk about leather. It’s a natural material, and its behavior under heat can vary. Different types of leather will react differently. For instance, genuine leather might be more forgiving than delicate suede or patent leather.
We’ve seen many sources suggest that full-grain or top-grain leathers tend to handle mild heat better. However, even with these, caution is your best friend. Always remember to test on a hidden spot first. This small step can save you from a big headache later.
Why Ironing Leather Can Be Tricky
The primary risk is heat damage. High temperatures can strip the natural oils from the leather. This leads to dryness and makes the material prone to cracking. Imagine your skin after a bad sunburn – leather can get that way too, but it’s much harder to heal.
Another concern is discoloration. Some dyes in leather can be sensitive to heat. You might end up with a faded patch or a spot where the color changes. We always recommend keeping the iron moving to prevent concentrated heat in one area.
When to Avoid Ironing Your Leather Bag
Not all bags are candidates for ironing. If your bag is made of very delicate leather, like suede or nubuck, it’s best to avoid heat altogether. These materials are easily damaged. Also, bags with painted finishes or intricate embellishments might not fare well.
If the bag has sentimental value or was very expensive, perhaps consider professional cleaning or repair. We found that sometimes, it’s worth the extra cost to ensure the bag is handled by experts. Always consider the material and construction of your specific bag before proceeding.
Gathering Your Supplies: What You’ll Need
You won’t need much, but having the right tools makes the job easier and safer. Think of it as preparing for a delicate operation. Precision and care are essential.
Essential Items for the Job
- A clean, flat ironing surface.
- Your trusted iron.
- A thick, clean cloth or a layer of brown paper (like a paper grocery bag).
- A spray bottle with distilled water (optional, but useful for some methods).
- A small, inconspicuous area of the bag to test on.
Step-by-Step Guide to Ironing Your Leather Bag
Now for the main event! Follow these steps closely for the best results. We’ve broken it down to make it as straightforward as possible.
Step 1: Prepare Your Workspace and Bag
Find a clean, stable surface to work on. This could be an ironing board or a sturdy table. Ensure there’s enough space for you to maneuver the bag comfortably.
Empty your bag completely. Remove any items inside and ensure the lining is neatly arranged. You want a smooth surface to work with.
Step 2: Test on an Inconspicuous Area
This is a non-negotiable step. Find a spot on your bag that won’t be easily seen. This could be the underside of a flap, the bottom edge, or inside a pocket.
Set your iron to its lowest heat setting. This is crucial. Place your protective barrier (cloth or paper) over the test area. Gently press the iron onto the barrier for just a few seconds.
Lift the iron and barrier. Check the leather. Is there any scorching, discoloration, or damage? If yes, stop immediately. Your bag might not be suitable for ironing. If it looks okay, proceed to the next step.
Step 3: Apply the Protective Barrier
This barrier is your shield against direct heat. Use a thick, clean cotton cloth or several layers of brown paper. The thicker, the better.
Drape the barrier smoothly over the wrinkled section of the bag. Make sure there are no wrinkles in the barrier itself. You want an even surface for the iron.
Step 4: Ironing the Leather
Set your iron to the lowest heat setting. Again, low heat is paramount. Avoid using the steam function. Water can sometimes stain or damage leather, so keep it dry.
Gently place the iron on top of the protective barrier over the wrinkle. Keep the iron moving constantly. Do not let it sit in one spot. A gentle glide is all you need.
Work in short bursts. Press for a few seconds, lift, check the area, and then repeat if necessary. You’re aiming to gradually release the wrinkle, not force it out.
We found that applying light pressure is usually sufficient. Too much pressure can also damage the leather or stretch it out of shape.
Step 5: Allowing the Bag to Cool
Once you’ve worked on the wrinkles, let the bag cool down completely before handling it or putting anything inside. This is important for the leather to settle and retain its newly smoothed shape.
You can let it air dry naturally. Avoid exposing it to direct sunlight or heat sources while it’s cooling. Patience here ensures the best long-term results.
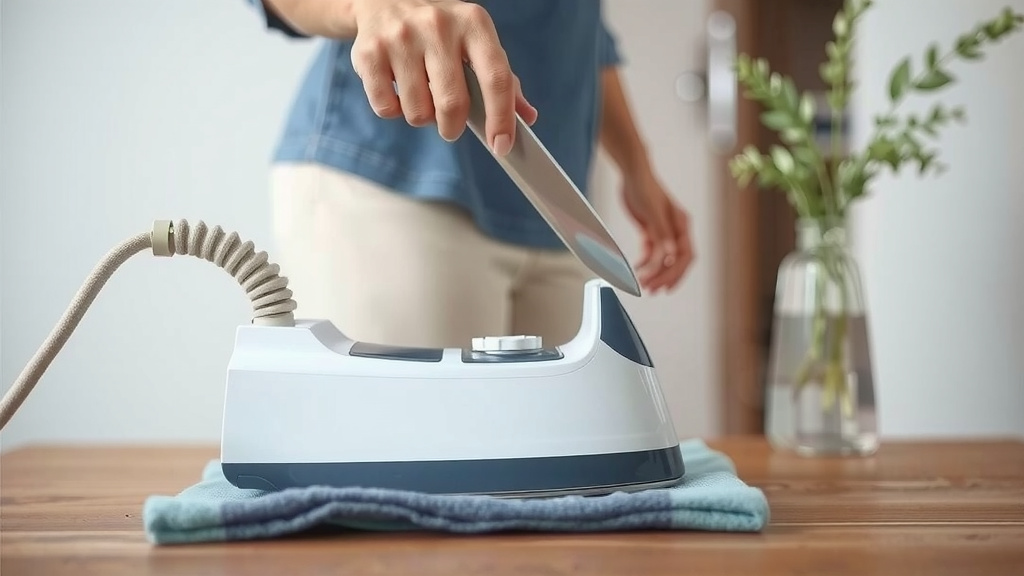
Maintaining Your Smooth Leather Bag Post-Ironing
After successfully ironing out those wrinkles, you’ll want to keep your bag looking its best. Regular care can prevent new creases from forming.
Conditioning and Storage Tips
Consider applying a good quality leather conditioner after ironing. This helps to restore any lost moisture and keep the leather supple. Many experts suggest conditioning leather goods every 3-6 months (Cleveland Clinic). Consider applying a good quality leather conditioner after ironing to restore moisture.
When storing your bag, stuff it with tissue paper or a soft cloth to help it maintain its shape. This prevents it from collapsing and developing new wrinkles. Store it in a dust bag in a cool, dry place away from direct sunlight.
Quick Checklist for Ironing Your Leather Bag
To recap, here’s a quick checklist to keep you on track:
- Always test on a hidden spot first.
- Use low heat setting only.
- Use a thick cloth or paper barrier.
- Keep the iron moving; don’t linger.
- Avoid using steam.
- Let the bag cool completely afterward.
Conclusion
You’ve learned that ironing your leather bag is possible with careful attention. The key is low heat, a protective barrier, and gentle, constant motion. We found that testing in an unseen spot is vital to prevent any damage. By following these steps, you can smooth out those annoying wrinkles and keep your bag looking its best. Now, go ahead and give your leather companion the gentle touch it deserves to restore its pristine look.
Frequently Asked Questions
Can I use steam when ironing my leather bag?
No, it’s best to avoid using the steam function. Water can sometimes leave marks or stains on leather. Stick to dry ironing with your lowest heat setting to keep the material safe.
What kind of cloth should I use as a protective barrier?
A thick, clean cotton cloth or several layers of brown paper work best. The goal is to create a substantial buffer between the hot iron and the leather. Ensure the barrier itself is smooth and free of wrinkles.
How long should I hold the iron on each spot?
You should keep the iron moving constantly. Apply gentle pressure for just a few seconds per spot, then lift. It’s better to use multiple short passes than to hold the iron in one place, which can cause damage.
What should I do if the wrinkle doesn’t come out completely?
If a wrinkle persists after a few gentle passes, it might be best to leave it be. Pushing too hard or increasing the heat can permanently damage the leather. Sometimes, very deep creases are permanent.
Is it safe to iron a vintage or antique leather bag?
Ironing vintage or antique leather bags can be very risky. Older leather can be more delicate and prone to damage from heat. We recommend consulting a professional conservator or cleaner for such items to avoid irreversible harm.
![10 Best Mens Leather Overnight Bag [2026]](https://mybestreviewss.com/wp-content/uploads/2026/08/10-best-mens-leather-overnight-bag-2026-featured-768x432.jpg)
![10 Best Sewing Machine For Making Leather Bags [2026]](https://mybestreviewss.com/wp-content/uploads/2026/08/10-best-sewing-machine-for-making-leather-bags-2026-featured-768x432.jpg)