Craft Your Own Leather Bag From Scratch: A Simple Guide
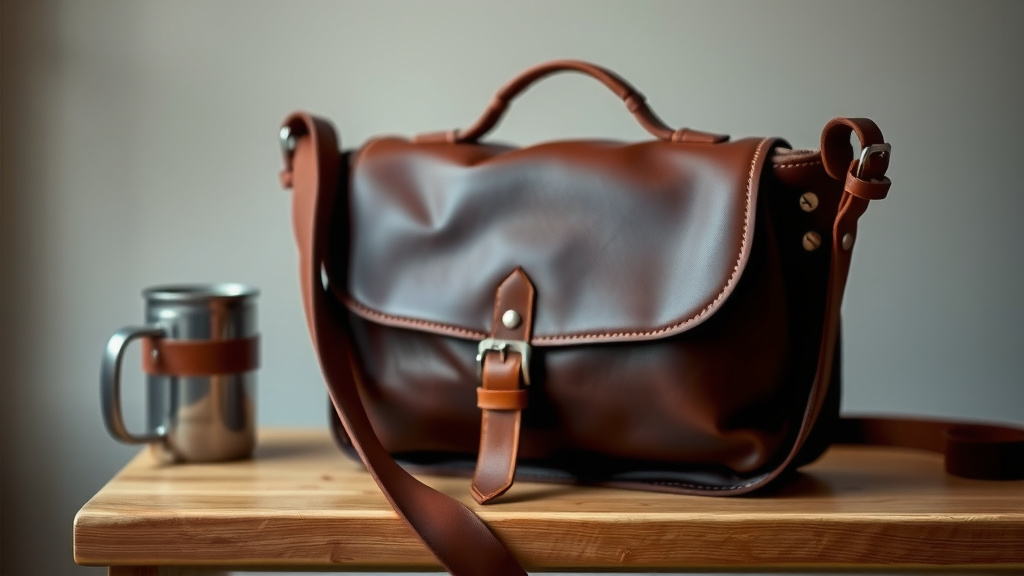
Making a leather bag from scratch is totally achievable, even for beginners! You’ll need some basic tools, good quality leather, and a clear pattern. This project allows for a lot of creativity and results in a unique, handmade accessory you’ll be proud to use.
Creating your own leather bag means you control the design, size, and type of leather used. It’s a fantastic way to learn leatherworking skills. Many makers find it incredibly rewarding to start with raw materials and end up with a functional piece of art. You can customize every detail, from the stitching color to adding personalized touches. It’s a truly satisfying process.
- Gather your tools and materials.
- Choose a bag pattern that fits your skill level.
- Cut your leather carefully.
- Assemble and stitch your bag.
- Add any finishing touches.
Ready to get your hands dirty with some leather? Let’s walk through the steps to create your very own beautiful leather bag from scratch.
“`htmlYour Guide to Crafting a Leather Bag From Scratch
Making your own leather bag is a rewarding journey. You get a unique accessory that reflects your personal style. We’ll guide you through the essential steps. This process can be simpler than you think with the right preparation.
Essential Tools and Materials for Leather Bag Making
Before you even think about cutting leather, gather your supplies. Having everything ready makes the process smooth. Think of it like prepping ingredients before cooking a fancy meal.
What You’ll Need to Get Started
You don’t need a professional workshop to start. Basic tools will get you quite far. Many leather crafters start with just a few key items.
- Leather: The star of the show! Choose a type suitable for bags.
- Cutting Tools: A sharp utility knife or rotary cutter.
- Marking Tools: A scratch awl or chalk pencil.
- Punching Tools: A stitching chisel set or individual punches.
- Hammer: A mallet or a small, sturdy hammer.
- Stitching Supplies: Waxed thread and leather needles.
- Adhesive: Leather cement or contact cement.
- Finishing Supplies: Edge slicker, burnishing compound (optional).
Choosing Your Leather
Leather comes in many varieties. For bags, you typically want something durable yet flexible. Common choices include vegetable-tanned or chrome-tanned leather. Vegetable-tanned leather is stiffer and great for structured bags. It also takes tooling and dyeing well. Chrome-tanned leather is softer and more pliable, ideal for slouchy or everyday bags. Many makers suggest starting with a medium-weight leather, around 4-6 oz. This is forgiving for beginners.
Designing and Patterning Your Leather Bag
Your design is where your creativity shines. Start with a simple concept. A basic tote, clutch, or simple crossbody bag is perfect for your first project.
Finding or Creating a Pattern
You can find countless free and paid patterns online. Look for patterns specifically marked for beginners. These often have fewer pieces and simpler construction. If you’re feeling adventurous, you can sketch your own design. Measure out the panels you need. Think about how they will fit together. A good pattern is the blueprint for your bag.
Understanding Pattern Pieces
Most bag patterns consist of a few key pieces: the main body panels, a base, strap anchors, and possibly pocket pieces. Ensure your pattern accounts for seam allowances. This is the extra space you need for stitching. It’s usually about 1/4 inch (6mm). Double-check this measurement.
Cutting Your Leather Pieces Accurately
Precision in cutting is vital. A mistake here can be hard to fix later. Imagine cutting out a puzzle piece wrong; it just won’t fit right.
Transferring the Pattern to Leather
Lay your pattern pieces onto the flesh (rough) side of the leather. Use a scratch awl or chalk pencil to trace around the pattern. Make sure your lines are clear. For intricate shapes, consider using pattern weights to hold the paper down. Work on a self-healing cutting mat to protect your work surface and your blades.
The Cutting Process
Use a very sharp utility knife or rotary cutter. Make long, steady strokes. Always cut away from yourself. If using a ruler as a guide, ensure it’s firmly in place. Multiple light passes are better than one forceful cut. This leads to cleaner edges. We found that taking your time here prevents frustration later on.
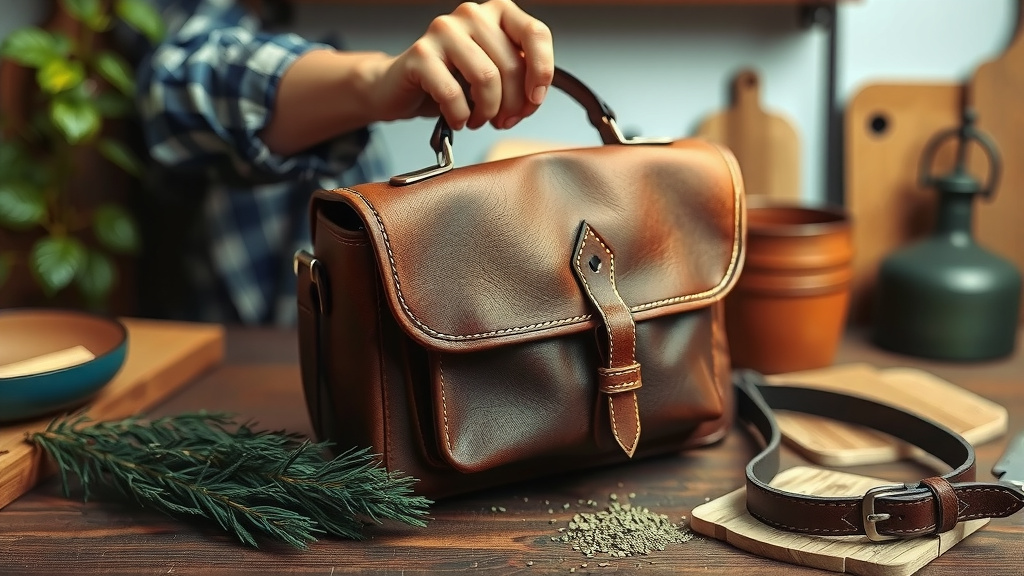
Assembling and Stitching Your Leather Bag
This is where your bag starts to take shape. The stitching not only holds it together but also adds a beautiful decorative element.
Preparing for Stitching
Once your pieces are cut, you’ll need to punch stitch holes. A stitching chisel set is common for this. Place the chisel where you want your stitches. Strike it firmly with a mallet. Ensure the chisel goes all the way through the leather. Space your holes evenly. Consistent spacing makes for a professional-looking seam. Many sources suggest marking your stitch line first with a wheel or ruler. This helps keep your holes aligned.
The Art of Hand Stitching
Leatherworking often uses a saddle stitch. This is a very strong stitch made with two needles. Thread one needle on each end of your waxed thread. Pass one needle through a hole. Then, pass the second needle through the same hole from the other side. Pull both needles to create a tight stitch. Repeat this for every hole. It might feel slow at first, but practice makes it faster. Many leatherworkers find this process quite meditative.
Attaching Hardware and Straps
Attach any D-rings, buckles, or strap anchors before you fully assemble the bag. Some hardware might require rivets, while others can be stitched in. Follow your pattern’s instructions carefully for placement. This step needs careful attention to ensure the hardware is secure and functional.
Finishing Touches for a Professional Look
The final steps elevate your bag from a craft project to a finished product. These details make a big difference.
Burnishing the Edges
Smooth, burnished edges give a professional, polished look. Apply a small amount of water or burnishing compound to the raw edges. Use an edge slicker or even a piece of canvas to rub the edge vigorously. This friction heats the leather fibers and makes them smooth and shiny. Many leatherworkers consider this step essential. It seals the edge and prevents fraying.
Applying Finishes and Conditioners
Depending on your leather type, you might want to apply a finish or conditioner. This protects the leather and enhances its appearance. A leather balm or wax can add a protective layer. Test any product on a scrap piece first. You don’t want to accidentally alter the color or texture of your finished bag. This helps maintain the Learn how to apply a finish or conditioner to protect your bag.beauty of your handmade creation for years to come.
Here’s a quick checklist to recap:
- Gather all your tools and materials.
- Select a suitable leather type and weight.
- Trace and cut your pattern pieces accurately.
- Punch stitch holes evenly.
- Hand stitch your bag securely.
- Finish edges and apply protective treatments.
Conclusion
You’ve learned that crafting a leather bag from scratch is totally within your reach. From selecting the right leather and pattern to precise cutting and satisfying stitching, each step builds confidence. Remember, your first bag is a learning experience. Focus on enjoying the process and the unique piece you create. Don’t be afraid to start simple. Your next step is to gather your chosen tools and materials and pick out that beginner-friendly pattern. Happy crafting!
Frequently Asked Questions
What’s the easiest type of leather for a beginner to work with?
For your first bag, a medium-weight (4-6 oz) vegetable-tanned or chrome-tanned leather is often recommended. Vegetable-tanned leather is a bit stiffer and holds its shape well, making it easier to cut and stitch. Chrome-tanned leather is softer and more pliable, which can be forgiving for less precise cuts.
How do I make my stitches look neat and even?
Consistency is key! Mark your stitch line before punching holes, and use a stitching chisel set with evenly spaced prongs. Practice punching holes on scrap leather first. When stitching, maintain consistent tension on your thread. Many crafters find a stitching groover helpful for creating a dedicated path for your stitches.
Can I repair a mistake if I cut a piece of leather wrong?
Minor cutting errors can sometimes be salvaged. You might be able to trim a bit more off an edge to even it out. For larger mistakes, your best bet is to trace and cut a new piece. This is why we stress taking your time during the cutting phase. Don’t be discouraged; mistakes happen!
What’s the difference between vegetable-tanned and chrome-tanned leather for bags?
Vegetable-tanned leather is processed using natural tannins, making it firm, durable, and excellent for tooling or molding. It develops a beautiful patina over time. Chrome-tanned leather uses chromium salts, resulting in a softer, more flexible material that’s often used for softer, everyday bags. It’s generally more water-resistant but doesn’t tool as well.
How long does it typically take to make a simple leather bag?
The time can vary greatly depending on your skill level and the bag’s complexity. For a very simple tote or crossbody bag, a beginner might spend anywhere from 6 to 12 hours. This includes prep time, cutting, stitching, and finishing. Experienced makers can often complete simpler designs much faster.
![10 Best Leather Weekender Bag For Women [2026]](https://mybestreviewss.com/wp-content/uploads/2026/08/10-best-leather-weekender-bag-for-women-2026-featured-768x432.jpg)

![10 Who Makes The Best Leather Bags [2026]](https://mybestreviewss.com/wp-content/uploads/2026/09/10-who-makes-the-best-leather-bags-2026-featured-768x432.jpg)