How to Clean Mold Off a Leather Bag
The easiest way to clean mold off a leather bag is with a gentle cleaning solution. Many experts suggest using a mix of mild soap and water or a diluted white vinegar solution. This approach effectively lifts mold without harming your cherished leather. Remember to always test any cleaning method on an inconspicuous area first.
Mold on leather can seem daunting, but it’s often manageable with the right techniques. We found that prompt action is key to preventing permanent damage. Understanding the best cleaning agents and drying methods will help you restore your bag’s appearance. Protecting your investment means knowing how to tackle these common issues.
- Wipe mold away gently.
- Use a mild cleaner.
- Dry the leather thoroughly.
- Condition to protect.
Ready to give your leather bag a mold-free makeover? Let’s walk through exactly how to do it, step by step.
“`htmlTackling Mold Growth on Your Leather Bag
Seeing mold spots on your favorite leather bag can be a real bummer. It feels like your bag has been attacked by tiny green or black invaders! But don’t panic. We’ve found that with the right approach, you can often remove mold and prevent it from coming back.
The key is to act quickly and use gentle methods. Leather is a natural material, and harsh treatments can cause damage. Our goal is to get your bag looking its best again without causing further harm.
Assessing the Mold Situation
Before you grab any cleaning supplies, take a moment to assess the mold. How widespread is it? Is it just on the surface, or does it seem to have penetrated the leather?
Surface Mold vs. Deep Infestation
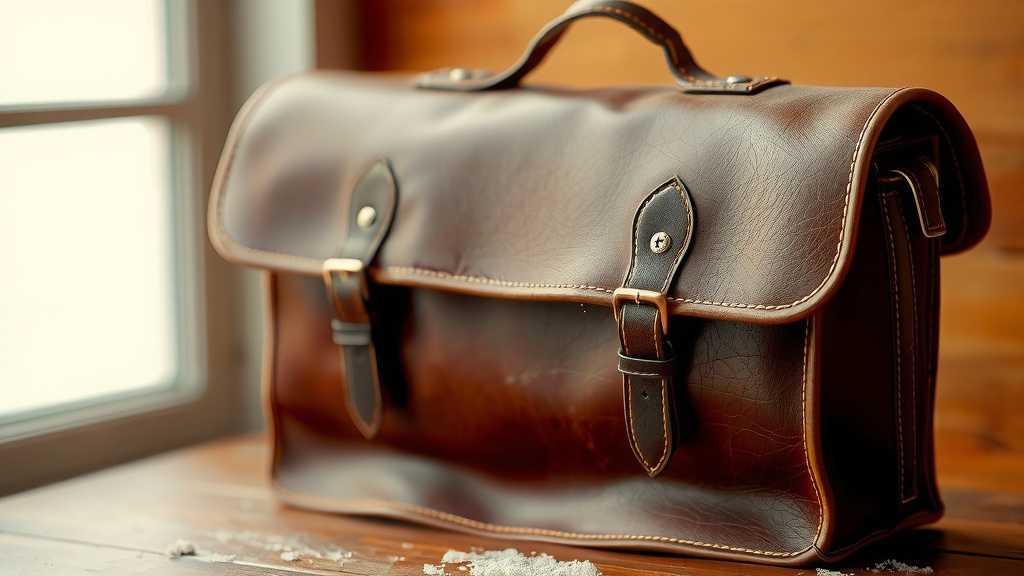
Surface mold is usually the easiest to deal with. You might see fuzzy or powdery spots that haven’t changed the texture of the leather. This is the most common type of mold you’ll encounter on bags.
If the mold seems to have caused discoloration, a change in the leather’s feel, or a musty odor that won’t go away even after cleaning, it might have gone deeper. This can be more challenging to treat and may require professional help for older or very valuable bags.
Identifying the Type of Leather
Different types of leather react differently to cleaning. Is your bag made of smooth finished leather, or is it a more delicate material like suede or nubuck? Finished leather is generally more forgiving. Suede and nubuck require extra caution.
For this guide, we’re focusing on smooth, finished leather. If you have suede or nubuck, it’s best to consult specialized cleaning guides or a professional, as these materials can easily be damaged by moisture and common cleaners.
Preparing for Mold Removal
Getting ready to clean is just as important as the cleaning itself. You want to set yourself up for success and protect your workspace. A little preparation goes a long way!
Gathering Your Cleaning Supplies
You don’t need a lot of fancy products. Most of what you need is likely already in your home. We found that having these items on hand makes the process smooth:
- Soft, clean cloths (microfiber is great)
- Mild soap (like gentle dish soap or baby soap)
- Distilled water
- White vinegar (optional, for tougher spots)
- Cotton swabs
- A small bowl
- A clean, dry towel
- Leather conditioner
Choosing Your Cleaning Solution
The most recommended approach by many experts is a simple, diluted solution. This minimizes the risk of damaging the leather. You have a couple of great options:
Option 1: Mild Soap and Water
Mix a few drops of mild soap with a cup of lukewarm distilled water. You want just enough soap to create a very light lather, not a foamy mess. This is gentle and effective for most surface mold.
Option 2: Diluted White Vinegar
White vinegar is known for its mold-killing properties. Mix equal parts white vinegar and distilled water. This is a bit stronger than soap and water, so it’s best for more stubborn mold spots. Always use distilled water to avoid mineral deposits.
Testing in an Inconspicuous Area
This step is non-negotiable. Before you touch the visible mold spots, test your chosen cleaning solution on a hidden part of the bag. This could be the bottom, an inside seam, or a small corner that isn’t usually seen.
Apply a small amount of the solution with a cotton swab. Let it sit for a minute, then wipe it gently with a clean cloth. Let that spot air dry completely. If you see any discoloration, darkening, or damage to the leather, stop immediately. Your chosen cleaner is too harsh for this bag.
The Mold Cleaning Process: Step-by-Step
Now for the main event! It’s time to gently encourage that mold to pack its bags and leave. Remember, patience is your friend here.
Step 1: Gentle Wiping
Start by trying to gently wipe away any loose mold with a dry, soft cloth. Don’t scrub! The goal is to lift off as much of the surface mold as possible without spreading it or pushing it deeper into the leather.
For powdery mold, a dry cloth might do the trick. If it’s a bit more stuck, you might use a slightly damp cloth, but be very careful not to oversaturate the leather. Let it air dry before proceeding.
Step 2: Applying the Cleaning Solution
Dampen a clean cloth or a cotton swab with your chosen cleaning solution. Again, damp is the keyword, not wet. Wring out the cloth or swab thoroughly.
Gently dab or wipe the moldy areas. Work from the outside of the spot inward to avoid spreading. Don’t rub vigorously.
Step 3: Rinsing (If Necessary)
If you used the soap and water solution, you might want to follow up with a clean cloth dampened only with distilled water. This helps remove any soap residue that could dry out the leather.
If you used the vinegar solution, a quick wipe with a cloth dampened with plain distilled water is also a good idea. You want to ensure no cleaning agent is left behind.
Step 4: Drying the Leather Thoroughly
This is a critical step in preventing mold from returning. You need to dry the leather completely. Use a clean, dry towel to gently blot away excess moisture.
Then, let the bag air dry naturally. Never use direct heat sources like hairdryers, radiators, or direct sunlight. These can cause the leather to crack, warp, or fade. Stuff the bag with plain paper (not newspaper, as ink can transfer) to help it keep its shape as it dries.
Post-Cleaning Care for Your Leather Bag
Once your bag is clean and dry, it’s not quite done yet. Leather needs love and protection, especially after being cleaned.
Conditioning the Leather
Cleaning can strip some of the natural oils from the leather. This is why conditioning is so important. It replenishes those oils, keeping the leather supple and preventing it from drying out or cracking.
Choose a high-quality leather conditioner that’s suitable for your bag’s type of leather. Apply a small amount to a clean cloth and gently rub it into the leather using circular motions. Buff off any excess with another clean cloth.
Preventing Future Mold Growth
The best defense is a good offense! Mold thrives in damp, dark, and poorly ventilated environments. To keep it from coming back, try these tips:
- Proper Storage: Don’t store your leather bags in plastic bags or airtight containers. Use breathable dust bags. Store them in a cool, dry, well-ventilated closet.
- Avoid Humidity: If you live in a humid climate, consider using a dehumidifier in your storage area. Never leave your bag in a damp bathroom or basement.
- Regular Cleaning: Wipe down your bag periodically with a dry or slightly damp cloth, even when you don’t see mold. This removes dust and prevents moisture buildup.
- Air it Out: If your bag has been stored for a while, take it out and let it air out in a dry, bright (but not direct sun) spot for a few hours.
By following these steps, you can effectively clean mold off your leather bag and keep it looking great for years to come. It’s like giving your bag a spa day, and it deserves it!
Mold Cleaning Checklist for Leather Bags
Here’s a quick rundown to help you remember the key steps:
- Test your cleaner on a hidden spot first.
- Use a mild soap and water or diluted vinegar solution.
- Wipe gently, don’t scrub.
- Always air dry completely; no heat!
- Condition the leather after cleaning and drying.
- Store your bag in a cool, dry, breathable place.
Conclusion
You’ve successfully learned how to tackle mold on your leather bag! We’ve shown you that with a few simple household items and gentle techniques, you can restore your bag. Remember, quick action and proper drying are your best friends in this process. After cleaning, always condition your leather to keep it healthy and prevent future mold issues. Your go-to bag is now refreshed and ready for its next outing. Keep these tips handy for lasting protection!
Frequently Asked Questions
Can I use rubbing alcohol to clean mold off my leather bag?
We advise against using rubbing alcohol. While it can kill mold, it’s very drying and can easily damage the leather, leading to cracking or discoloration. Stick to milder solutions like diluted soap and water or vinegar for better results and to protect your bag.
How do I know if the mold has damaged my leather permanently?
If the mold has caused deep discoloration, changed the texture of the leather, or left a persistent musty smell after cleaning, it might have penetrated deeply. For very valuable or old bags, consulting a professional leather cleaner is the safest option.
Is it safe to use a hairdryer to dry my leather bag after cleaning?
Absolutely not. Direct heat from a hairdryer, radiator, or direct sunlight can severely damage leather. It can cause the material to become stiff, crack, warp, or fade. Always opt for natural air drying in a well-ventilated area.
What’s the best way to store a leather bag to prevent mold in the future?
Store your leather bags in a cool, dry, and well-ventilated area. Use breathable dust bags instead of plastic. Avoid humid places like bathrooms or basements. Allowing your bags to air out periodically also helps prevent moisture buildup.
Can I use a horsehair brush to remove mold before cleaning?
Yes, a soft horsehair brush or a soft, dry cloth is a great first step for gently brushing away loose, dry mold spores. This should be done very carefully to avoid spreading the mold. Always follow up with a damp cleaning solution and thorough drying.
![10 Best Luxury Leather Bags [2026]](https://mybestreviewss.com/wp-content/uploads/2026/08/10-best-luxury-leather-bags-2026-featured-768x432.jpg)
![10 Best Leather Messenger Laptop Bags [2026]](https://mybestreviewss.com/wp-content/uploads/2026/09/10-best-leather-messenger-laptop-bags-2026-featured-768x432.jpg)