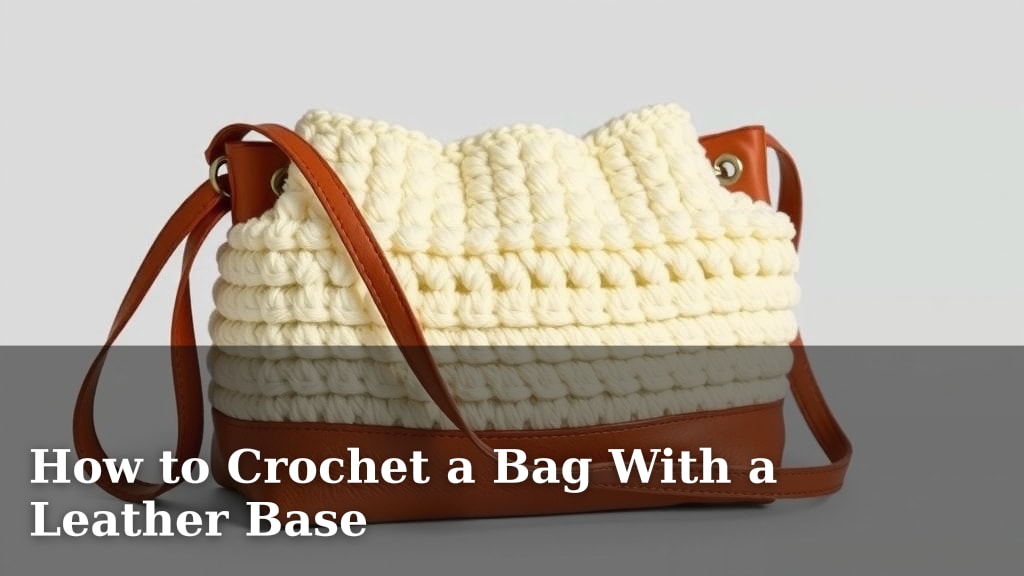
How to Crochet a Bag With a Leather Base
You can absolutely crochet a bag with a leather base, and it’s a fantastic way to add a professional touch to your handmade projects. This technique combines the cozy feel of crochet with the durability and structure of leather, creating a bag that’s both stylish and functional. You’ll find it’s easier than you think to get started.
Adding a leather base is a popular choice for crocheters looking to give their bags more shape and stability. It prevents sagging and makes your creation stand up straight, which is perfect for tote bags, market bags, and crossbody styles. Many crafters love how this simple addition transforms a basic crochet piece into something truly special and market-ready.
- Understand the benefits of a leather base.
- Learn how to attach it securely.
- See how it improves bag structure.
- Discover different base styles.
Ready to give your crochet bag a sturdy and stylish foundation? Let’s walk through exactly how to attach a leather base to your crochet project step by step.
Attaching a Leather Base to Your Crochet Bag
Adding a leather base to your crochet bag is a wonderful way to give it a professional finish and improve its overall structure. It’s not as difficult as it might seem! Think of the leather base as the sturdy shoes for your crochet creation; it helps it stand tall and prevents wear and tear on the bottom.
This technique is especially great for bags you plan to use often, like tote bags or market bags. A leather base adds durability and prevents the bottom from stretching out or becoming misshapen over time. Plus, it just looks so chic!
What You’ll Need for Your Leather Base
Gathering your materials is the first step. You want to make sure you have everything ready before you start attaching the base. This makes the process much smoother and more enjoyable.
Choosing Your Leather Base
Leather bases come in many shapes and sizes. You can find pre-cut bases online or at craft stores. They often have pre-drilled holes, which makes attaching them to your crochet fabric much easier. Think about the style of bag you’re making when choosing a shape – round bases are great for bucket bags, while rectangular ones work well for totes.
Essential Tools for Attachment
Beyond the leather base itself, you’ll need a few key tools:
- Yarn Needle: A large, blunt needle is essential for weaving yarn through the holes. Make sure it’s sturdy enough to handle yarn and the leather.
- Scissors: Sharp scissors are needed for cutting your yarn cleanly.
- Stitch Markers: These are helpful for keeping track of your stitches and ensuring even attachment.
- Your Crochet Bag: Of course, you need the crocheted piece you want to attach the base to!
- Matching Yarn: Use the same yarn you used for your bag, or a coordinating color, to attach the base.
Preparing Your Crochet Bag and Base
Before you start stitching, a little preparation goes a long way. This ensures your base will be centered and secure.
Positioning the Base on Your Bag
Lay your crocheted bag flat, right side up. Then, place the leather base on the bottom center of your bag. You’ll want to make sure it’s centered evenly. Gently adjust it until you’re happy with the placement. It’s helpful to use a few stitch markers to hold the base in place while you begin attaching it.
Aligning Holes for Stitching
This is where those pre-drilled holes in your leather base really shine. You’ll be working your yarn through these holes and into your crochet stitches. Most of the time, you’ll want to align one crochet stitch with one hole in the leather base. If your base doesn’t have holes, you’ll need to create them yourself using a hole punch or awl. Many crafters find it easiest to use a ruler to mark spacing for the holes. For a solid base, research suggests using an awl to create evenly spaced holes about 1/4 inch apart (Craftsy).
The Attachment Process: Step-by-Step
Now for the fun part! This is where your crochet bag starts to take on its new, sturdy form. Take your time and enjoy the process.
Starting Your First Stitch
Thread your yarn needle with a generous length of yarn. We’re talking long enough to go all the way around, with extra for tying off. Start by inserting your needle through one of the holes in the leather base and then through a corresponding stitch on the edge of your crochet bag. Pull the yarn through, leaving a tail of about 6 inches. This tail will be used later to secure the attachment.
Securing the Base with Yarn
Now, you’ll work your way around the edge of the bag. For each hole in the leather base, you’ll typically make one stitch. A common method is to use a single crochet stitch (sc) or a slip stitch (sl st) to attach the yarn to the leather. You can loop the yarn through the hole and then through the crochet fabric.
One popular technique is to insert your hook into the hole from the back of the leather base, then into a corresponding stitch of your crochet bag, and pull up a loop. Yarn over and pull through all loops on the hook (this is a slip stitch). This creates a neat, strong edge. Many tutorials show this method and find it very effective. Research indicates that using a slip stitch provides a clean finish and a secure hold for heavier items (The Spruce Crafts).
Working Around the Perimeter
Continue this process, moving from one hole to the next, carefully aligning each with a stitch on your crochet bag. It’s important to maintain even tension as you go. Not too tight, not too loose. You want the base to be snug against the bag, but you don’t want to distort your crochet stitches. Stitch markers can be very helpful here to ensure your spacing remains consistent all the way around.
Finishing the Attachment
Once you’ve worked your way all the way around and reached your starting point, you’ll need to secure the yarn. Weave the tail you left at the beginning through the back of your stitches and through the leather holes a few times. Then, tie a secure knot. Trim any excess yarn. You can also weave in the yarn tail from your last stitch the same way. This ensures everything is locked in place and won’t come undone with use.
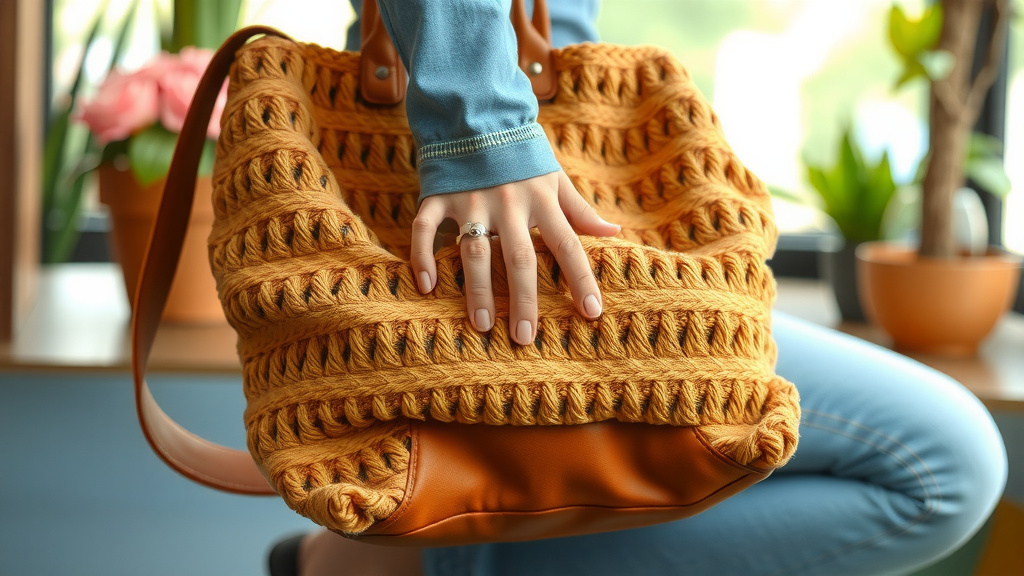
Why Add a Leather Base? The Benefits You’ll Love
You might be wondering if all this effort is worth it. Absolutely! Let’s look at why so many crocheters love adding a leather base.
Enhanced Structure and Stability
The most obvious benefit is improved structure. Your crochet bag won’t sag or slouch. It will stand up on its own, making it much easier to pack and use. This is a game-changer for bags that need to hold their shape, like structured handbags or professional totes. Studies on bag design often highlight the importance of a reinforced base for maintaining form and usability (Journal of Textile Design).
Increased Durability and Longevity
Crochet fabric, especially at the bottom, can be prone to wear and tear from being set down. A leather base acts as a protective layer, significantly increasing the lifespan of your bag. It prevents fraying and stretching, keeping your creation looking great for longer. Think of it as a little shield for your bag’s bottom.
Professional and Polished Appearance
Let’s be honest, it just looks good! A leather base adds a touch of sophistication and polish that can make your handmade item look store-bought (in the best way possible!). It transforms a simple crochet project into a stylish accessory that you can confidently take anywhere. Many designers use this technique to give their creations a market-ready appeal.
Exploring Different Base Options
Leather bases aren’t one-size-fits-all. You have a variety of options to suit your style and project needs.
Pre-Made Bases vs. DIY
As mentioned, pre-made leather bases are readily available and super convenient. They come in various shapes like circles, ovals, and rectangles, often with pre-punched holes. If you’re feeling adventurous, you can also create your own base from a piece of leather hide. This allows for complete customization of size and shape, but it does require extra tools like an awl and a good hole punch.
Materials Beyond Leather
While leather is popular for its durability and classic look, you’re not limited to it! You can also find bases made from vegan leather, cork fabric, or even sturdy felt. These alternatives offer different aesthetics and can be a great option if you prefer not to use animal products. Research shows that materials like cork fabric can offer excellent durability and a unique texture (Sustainable Materials Review).
Quick Checklist: Attaching Your Leather Base
Here’s a handy checklist to keep you on track:
- Choose a leather base that fits your bag’s style and size.
- Gather your yarn needle, scissors, and matching yarn.
- Center the base on your crocheted bag.
- Align the base’s holes with your bag’s stitches.
- Start with a secure knot and a long yarn tail.
- Work evenly around the entire edge.
- Finish by securely weaving in all yarn tails.
Conclusion
You’ve learned how to add a professional leather base to your crochet bag. This technique gives your creations fantastic structure and durability. It helps your bags stand tall and look polished. You now have the confidence to select the right base and attach it securely using simple yarn and a needle. This skill transforms your handmade items, making them more functional and stylish. Ready to give your next crochet bag a sturdy, chic foundation? Go ahead and try attaching a leather base!
Frequently Asked Questions
How do I know if my crochet bag is the right size for a leather base?
You’ll want the base to cover most of the bottom area without overlapping too much onto the sides. Lay your crochet piece flat and hold the base up to it. You should aim for the base to fit snugly within the bottom edges of your bag. Most pre-made bases have dimensions listed, which helps with selection.
Can I attach a leather base if my crochet bag doesn’t have pre-drilled holes?
Yes, you can! If your leather base lacks holes, you’ll need to create them yourself. Use a sharp awl to punch holes evenly spaced around the edge of the leather. Many crafters suggest about 1/4 inch apart for a secure stitch. A ruler can help you maintain consistent spacing.
What’s the best way to secure the yarn when I start attaching the base?
Begin by leaving a long tail, about 6 inches, when you make your first stitch. After you’ve attached the entire base, use this tail to weave back through the stitches and leather holes. This anchors the start securely. Tie a knot and trim any excess yarn for a clean finish.
How do I prevent my crochet stitches from getting distorted when attaching the base?
Maintain even tension as you stitch. Don’t pull the yarn too tightly. You want the base to be snug against the crochet fabric, but not so tight that it warps your stitches. Using stitch markers can help you keep consistent spacing and tension around the entire perimeter.
Are there other materials besides leather that work well for bag bases?
Absolutely! Many crafters use vegan leather, cork fabric, or even stiffened felt for bag bases. These materials offer different aesthetics and durability levels. Cork fabric, for instance, is known for being quite strong and having a unique texture. These alternatives are great for a different look or if you prefer non-animal products.