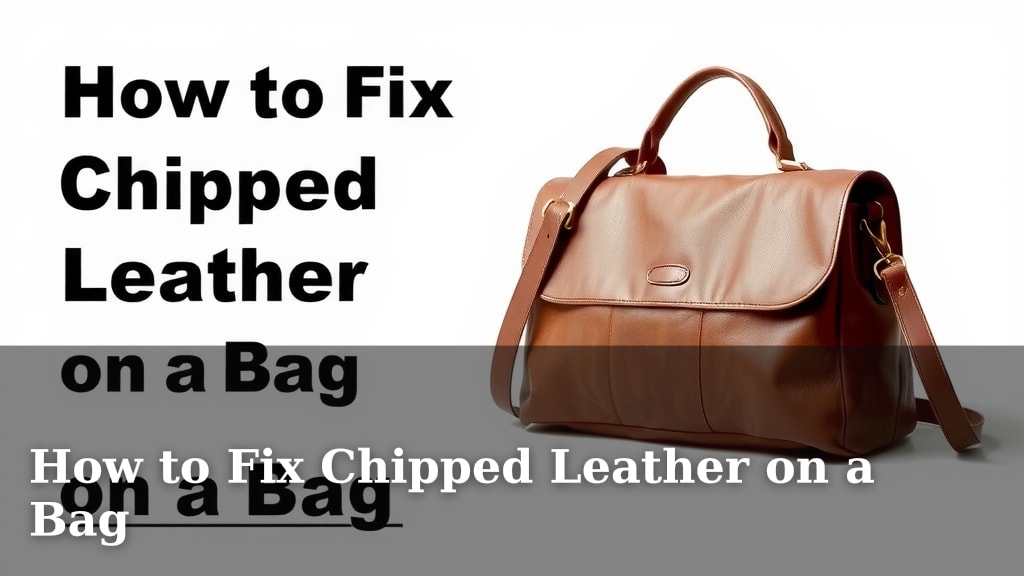
How to Fix Chipped Leather on a Bag
You can fix chipped leather on a bag using a leather repair kit. These kits often contain fillers and colorants. They help restore the appearance of small damages. This method is great for minor chips and scuffs on your favorite accessories.
When your beloved bag gets a little nick, it’s natural to worry. Luckily, many common leather chips aren’t permanent. With the right approach, you can often repair them yourself. We’ve researched various methods for saving your bags from minor wear and tear.
- Use a leather repair kit for chipped areas.
- Clean the damaged spot first.
- Apply filler and colorant carefully.
- Allow it to dry completely.
- Condition the leather afterward.
Ready to give your bag a little TLC? Let’s walk through the steps to get that leather looking smooth again.
“`htmlRepairing Chipped Leather on Your Bag
Seeing a chip or a scuff on your favorite leather bag can be a little disheartening. It’s like finding a tiny crack in your favorite mug. But don’t despair! Many times, these little injuries are totally fixable. We’ve found that with a few simple tools and a bit of patience, you can restore the smooth look of your bag.
Assessing the Damage to Your Bag
Before you grab any products, let’s take a close look. Is the chip just in the top layer of the leather, or has it gone deeper? Gently run your finger over the damaged area. If the edges feel rough or lifted, it’s a good sign that repair is needed.
Understanding Leather Layers
Most leather bags have a few layers. The top grain is the outer, protective layer. When this gets chipped, it’s usually less serious. If the chip has gone through to the underlying material, the repair might be a bit more involved. Many common damages are only on the surface, which is great news for a DIY fix.
Is it a Chip or a Deep Cut?
A chip often means a small piece of the leather’s surface has flaked off. A deep cut or a tear is more like a slice. This guide focuses on those chips and minor scuffs. For deep cuts or tears, you might need a different approach, like a leather patch or professional help.
Gathering Your Leather Repair Supplies
You don’t need a whole workshop to fix a chipped bag. A few key items will do the trick. Most of what you need can be found in a good quality leather repair kit. Think of it as a mini first-aid kit for your accessories.
Essential Items for the Repair Kit
We found that having these items on hand makes the process much smoother:
- Leather Cleaner: To prep the area.
- Leather Filler/Compound: This fills in the missing bits.
- Applicator Tools: Small spatulas or even an old credit card work well.
- Colorant/Dye: To match your bag’s original shade.
- Fine-Grit Sandpaper: For smoothing.
- Leather Conditioner: To finish and protect.
- Clean Cloths: For wiping and buffing.
Choosing the Right Leather Repair Kit
When you’re shopping for a kit, look for one that matches your bag’s color. Many kits come with a color-mixing guide. This helps you find the perfect shade. Read reviews to see what other users found effective. We found that kits with good instructions are a lifesaver.
The Step-by-Step Repair Process
Let’s get down to business! Repairing a chip is like a little bit of art and a little bit of science. Take your time, and you’ll be happy with the results.
Step 1: Clean the Damaged Area Thoroughly
First things first, you need a clean slate. Use your leather cleaner on a soft cloth. Gently wipe down the chipped area and a little around it. This removes any dirt or oils. This step is crucial, as debris can interfere with the filler. Many cleaning guides suggest avoiding harsh chemicals. You want to clean, not strip the leather.
Step 2: Prepare and Apply the Leather Filler
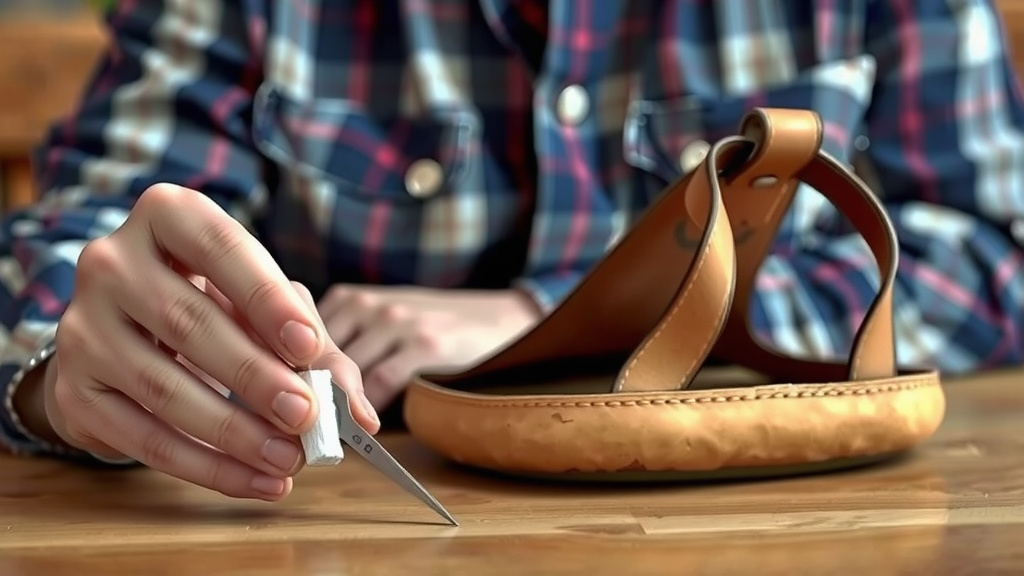
Now for the filling part. If your filler is a two-part compound, mix it according to the kit’s instructions. Use your applicator tool to carefully spread the filler into the chip. You want to fill the void, making it level with the surrounding leather. Don’t over-apply; you can always add more. Smooth it out as best you can. Let it dry completely as directed by the product. This can take a few hours.
Achieving a Smooth Surface
Once the filler is dry, it might feel a little stiff. You might need to gently sand it down. Use a very fine-grit sandpaper. Your goal is to make the filled area flush with the rest of the leather. Wipe away any dust with a clean cloth. This ensures the surface is ready for color.
Step 3: Color Matching and Application
This is where your bag starts to look whole again. If you’re mixing colors, do so on a scrap piece of paper or an old cloth. Test the color match in an inconspicuous spot first. Once you’re happy, use a small applicator (like a cotton swab or a fine brush) to apply the colorant. Dab it gently over the filled area. Build up the color in thin layers. Allow each layer to dry before applying the next. This helps prevent a blotchy look. Many sources suggest that patience here pays off.
Step 4: Seal and Protect the Repair
After the color has dried, you might want to apply a sealant if your kit includes one. This helps protect the new color and makes the area more durable. Then, it’s time for the final touch: conditioning.
Step 5: Condition Your Bag
Leather needs moisture to stay supple. Apply a good quality leather conditioner to the entire bag, paying special attention to the repaired spot. This helps blend the repair into the rest of the leather and keeps it from drying out. Use a clean cloth and buff gently. Your bag will thank you!
What to Do if the Chip is Deep
If you discovered the chip went deeper than just the top grain, don’t panic. Some kits are designed for deeper repairs. These might involve a more substantial filler or even a flexible adhesive. For very deep damage or tears, you might consider seeking professional help. A cobbler or a leather specialist can assess the best course of action.
Preventing Future Leather Chips
Prevention is always easier than repair, right? Taking a few simple steps can help keep your bag looking its best:
- Store Properly: Keep your bag stuffed to maintain its shape. Use dust bags.
- Avoid Rough Surfaces: Be mindful of where you set your bag down.
- Condition Regularly: Keep the leather hydrated.
- Protect from Elements: Avoid excessive sun or moisture exposure.
Conclusion
You’ve learned that fixing chipped leather on your bag is entirely achievable. With the right supplies, like a quality repair kit, and a patient approach, you can restore its appearance. Remember to always clean the area first, carefully apply filler and colorant, and finish with a good conditioning. Don’t let minor damage keep you from enjoying your favorite accessory.
Your next step is to gather your supplies and tackle that chip. You have the knowledge to make your bag look great again!
Frequently Asked Questions
How do I know if my bag’s chip is too deep to fix myself?
If the chip has gone through to the underlying material or if the edges of the damage are very rough and torn, it might be too deep for a simple DIY fix. For these situations, we found professional help is often the best route.
Can I use regular nail polish to fill a leather chip?
While nail polish might seem like a quick fix, it’s generally not recommended for leather bags. It can create a hard, unnatural finish that may crack later on. Leather-specific fillers and colorants are designed to be flexible and blend better.
What if I can’t find a repair kit in my bag’s exact color?
Many leather repair kits come with a color-mixing guide, allowing you to create a custom shade. We researched and found that mixing a small amount on a scrap surface and testing it in an inconspicuous area is key to achieving a good match.
How long does a leather repair typically last?
With proper application and care, a well-done leather repair can last for a long time. Regular conditioning and avoiding harsh treatment of the repaired area will help extend its lifespan. We found that consistent care is important.
Should I condition the entire bag after repairing a chip?
Yes, absolutely! Conditioning the entire bag after a repair helps to blend the treated area with the rest of the leather. It also ensures the whole bag remains supple and protected from drying out.
![10 Best Men'S Leather Sling Bag [2026]](https://mybestreviewss.com/wp-content/uploads/2026/08/10-best-men-s-leather-sling-bag-2026-featured-768x432.jpg)
![10 Best Genuine Leather Shoulder Bags [2026]](https://mybestreviewss.com/wp-content/uploads/2026/09/10-best-genuine-leather-shoulder-bags-2026-featured-768x432.jpg)
![10 Best Leather Weekend Bags For Men [2026]](https://mybestreviewss.com/wp-content/uploads/2026/08/10-best-leather-weekend-bags-for-men-2026-featured-768x432.jpg)