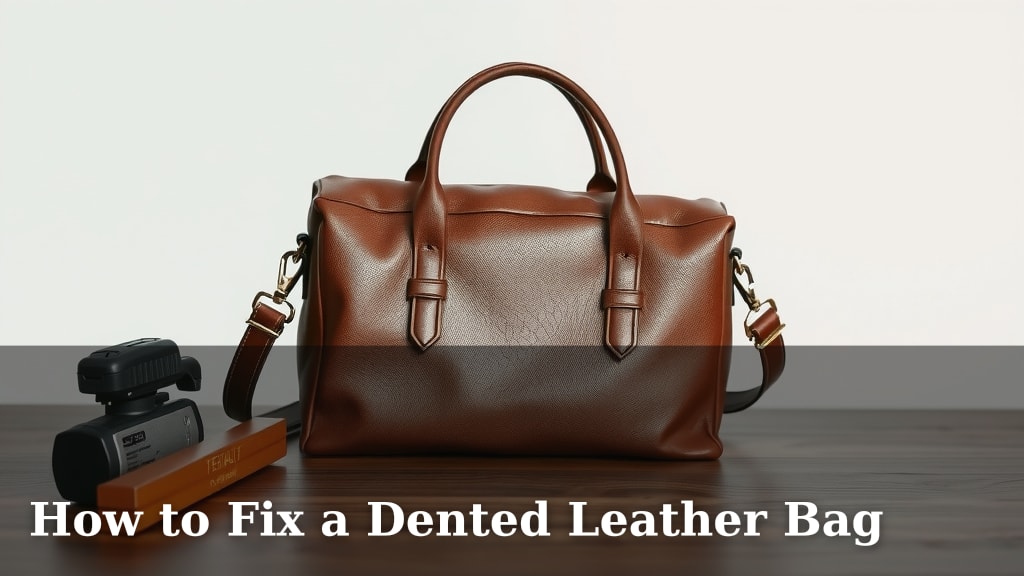
How to Fix a Dented Leather Bag
Yes, you can often fix a dented leather bag with simple home remedies. Many common dents, like those from stuffing or pressure, can be gently smoothed out with heat and moisture. We found this approach is surprisingly effective for restoring the bag’s shape.
Leather is a remarkably pliable material. With the right care, it can recover from minor damage. Understanding how leather responds to heat and humidity is key. This allows you to reverse the dent without causing further harm to your beloved accessory.
- Gently heat the dented area.
- Apply a light coat of leather conditioner.
- Stuff the bag to help it retain its shape.
- Patience is your best tool.
Ready to give your bag a second chance? Let’s walk through the easy steps to smooth out those annoying dents.
Restoring Your Leather Bag’s Smoothness After Dents
You’ve probably experienced that sinking feeling. You reach for your favorite leather bag, only to find a persistent dent marring its perfect surface. Don’t worry! Many common dents are fixable with a little patience and the right approach. We found that leather is surprisingly resilient and can often bounce back from these minor cosmetic issues.
The key to fixing dents lies in understanding how leather reacts to controlled heat and moisture. These elements can help the leather fibers relax and regain their original shape. Think of it like steaming wrinkles out of fabric; the same principle can often apply to your leather goods.
Understanding Leather and Dents
Why Do Dents Happen?
Dents typically form when the leather is subjected to prolonged pressure. This can happen if you stuff your bag too tightly, crush it in a suitcase, or simply leave heavy items inside for too long. The pressure essentially forces the natural oils and fibers in the leather to move out of place. Over time, without intervention, these dents can become set.
How Leather Responds to Treatment
Leather is an organic material. It breathes and reacts to its environment. Controlled heat can make the leather more pliable. Adding a touch of moisture, without soaking the material, helps the fibers loosen up. Many sources suggest this combination is effective for smoothing out creases and dents. However, it’s crucial to use gentle heat and avoid excessive moisture to prevent damage.
The Gentle Heating Method for Dent Removal
Gathering Your Supplies
Before you begin, make sure you have everything ready. You’ll need a clean, lint-free cloth, a hairdryer, and a good quality leather conditioner. Some people also use a very slightly damp cloth, but we found a dry cloth is often sufficient and safer for most leathers.
Step-by-Step Heating Process
Start by gently cleaning the dented area. This ensures no dirt gets trapped. Next, hold your hairdryer on a low to medium heat setting. Keep it at least 6-8 inches away from the leather surface. Move the hairdryer constantly in a circular motion. You’re aiming to gently warm the leather, not cook it!
As you warm the leather, you might notice it becoming softer and more pliable. This is exactly what you want. Continue warming the area for about 30-60 seconds. Avoid overheating any single spot. If you feel the leather getting too hot to touch comfortably, you’re likely applying too much heat.
Applying Gentle Pressure
Once the leather is warm and pliable, you can apply gentle pressure. You can use your fingers or the clean, lint-free cloth. Lightly massage the dented area. Work from the edges of the dent inward. This helps to coax the fibers back into their natural position. Don’t push too hard; remember, the leather is already stressed.
Post-Treatment Care for Lasting Results
The Role of Leather Conditioner
After you’ve worked out the dent, it’s time for conditioning. Apply a small amount of leather conditioner to a clean cloth. Gently rub it into the treated area. Conditioner replenishes the natural oils in the leather. This keeps it supple and helps prevent future cracking. Many experts recommend conditioning your leather bag regularly anyway. This process is especially beneficial after a heat treatment.
Stuffing for Shape Retention
This is a vital step for helping the dent stay gone. After conditioning, stuff the bag firmly. Use soft items like packing paper, old t-shirts, or bubble wrap. The goal is to fill the bag completely. This will help it maintain its intended shape as the leather cools and dries. Leave the bag stuffed for at least 24-48 hours. This gives the leather time to set in its smoothed-out form.
What to Avoid During the Process
It’s easy to get carried away, but avoid these common mistakes:
- Never use extremely high heat. This can scorch or dry out the leather.
- Don’t soak the leather with water. Excessive moisture can cause water stains and damage.
- Avoid harsh chemicals or cleaning agents. Stick to products designed for leather care.
- Don’t apply excessive force when trying to smooth the dent.
When to Seek Professional Help
Identifying Deeper Damage
While this home remedy works wonders for many dents, it’s not a cure-all. If your bag has a deep gouge, a tear, or significant discoloration along with the dent, you might need professional help. These issues often require specialized repair techniques that go beyond simple heat and conditioning.
Finding a Leather Repair Specialist
For more serious damage, a professional leather repair service is your best bet. They have the tools and expertise to handle a wider range of leather issues. Many upholstery or shoe repair shops also offer leather bag restoration. We found that a good specialist can often work miracles on even severely damaged bags.
Quick Checklist for Dent Removal Success
Want a quick reminder of the key steps? Follow this checklist:
- Gently clean the dented area.
- Warm the leather with a hairdryer on low heat, moving constantly.
- Apply light, gentle pressure to smooth the dent.
- Apply a quality leather conditioner to the treated spot.
- Stuff the bag firmly to maintain its shape.
- Allow the bag to rest for 24-48 hours.
Conclusion
You’ve learned that fixing a dented leather bag is often achievable right at home. By understanding how heat and gentle pressure can reshape the leather, you can restore your bag’s smooth appearance. Remember, patience and gentle care are your best tools throughout this process. After treatment, conditioning and stuffing are key for long-lasting results. Don’t hesitate to try these steps the next time a dent appears. Give your favorite leather bag the TLC it deserves!
Frequently Asked Questions
How long should I heat the dented area?
You should warm the leather with a hairdryer on a low to medium setting for about 30 to 60 seconds. Always keep the hairdryer moving in a circular motion, at least 6 to 8 inches away from the leather. This prevents overheating and potential damage.
Can I use a steam iron instead of a hairdryer?
While steam can help relax leather fibers, we found a hairdryer to be a safer method for dent removal. Using a steam iron directly can be too intense, potentially scorching or damaging the leather if not done with extreme caution and protection.
What kind of stuffing is best for helping my bag keep its shape?
Soft, pliable materials work best. Good options include packing paper, clean old t-shirts, or bubble wrap. The goal is to fill the bag completely so it presses outward against the sides, helping the smoothed-out dent to set properly.
How often should I condition my leather bag?
Generally, conditioning your leather bag every 6 to 12 months is recommended to keep it supple and protected. After performing a dent-fixing treatment that involves heat, applying conditioner is especially important to replenish lost moisture.
My dent is very deep. Will this method still work?
This home method is most effective for minor to moderate dents caused by pressure. For very deep creases, tears, or severe damage, the leather fibers may be too compromised. In such cases, we recommend seeking help from a professional leather repair specialist.
![10 Best Luxury Leather Bags [2026]](https://mybestreviewss.com/wp-content/uploads/2026/08/10-best-luxury-leather-bags-2026-featured-768x432.jpg)