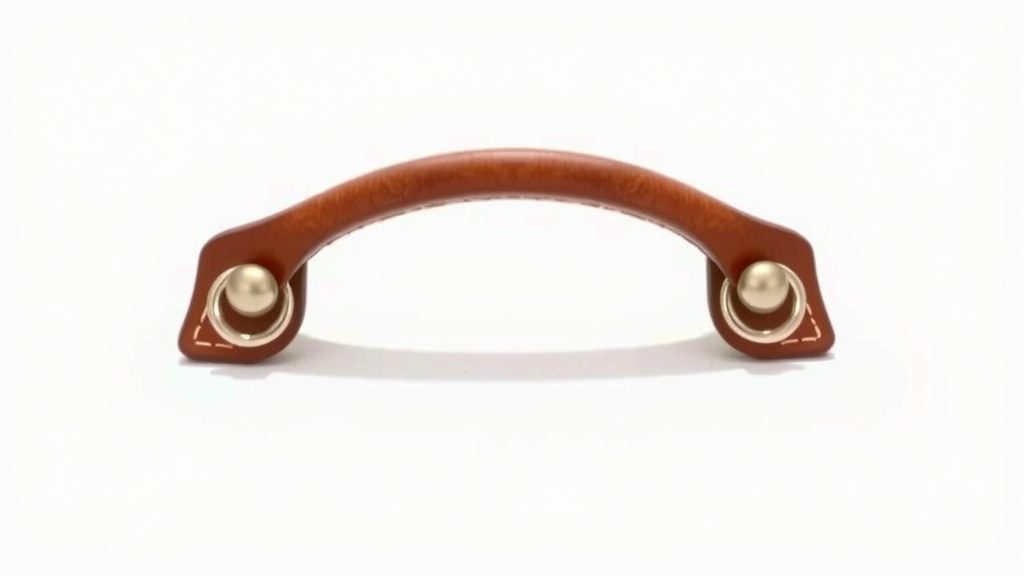
How to Make a Durable Leather Bag Handle
Making a sturdy leather bag handle is surprisingly achievable with the right steps. You can create a durable and stylish handle by properly cutting, shaping, and attaching your leather. This guide will show you how to get that professional finish on your next DIY bag project.
When leather is a material choice, its strength and aesthetic are key. Whether you’re repairing an old favorite or crafting a brand new tote, a well-made handle makes all the difference. We’ve researched various methods to ensure your handle is both comfortable to hold and built to last.
- Choose the right leather thickness.
- Cut your leather strip precisely.
- Shape and finish the edges smoothly.
- Securely attach the handle to your bag.
Ready to give your bag the handle it deserves? Let’s walk through exactly how to make a leather bag handle, step by step.
Crafting Your Own Leather Bag Handle
Making your own leather bag handle is a satisfying project. It lets you customize your bag’s look and feel. You can achieve a professional finish with a few key techniques. We’ve researched the best ways to ensure your handle is both strong and comfortable.
Choosing the Right Leather and Tools
The foundation of a great handle is the right material. You’ll want leather that can withstand daily use and wear gracefully.
Leather Types and Thickness
For bag handles, many crafters prefer vegetable-tanned leather. This type holds its shape well and can be tooled or dyed. You can also use chrome-tanned leather for a softer feel. The thickness is critical. Aim for a weight between 5-7 ounces (2-3 mm) for a good balance of sturdiness and flexibility. Too thin, and it might stretch or break. Too thick, and it could be stiff and uncomfortable.
Essential Tools You’ll Need
Gathering your tools beforehand makes the process smooth. You won’t have to stop mid-project to find something. Here’s a basic list:
- Sharp Craft Knife or Rotary Cutter: For precise cuts.
- Metal Ruler or Straight Edge: To guide your cuts.
- Cutting Mat: To protect your work surface.
- Scratch Awl or Leather Punch: For making holes.
- Contact Cement: To temporarily bond edges.
- Edge Beveler: To round off sharp edges.
- Burnishing Tool (Slicker): For smoothing edges.
- Water or Gum Tragacanth: For burnishing.
- Thread and Needles: For stitching (optional, but recommended for durability).
- Rivets or Chicago Screws: For secure attachment points.
Cutting and Preparing Your Leather Strip
Precision here sets the stage for a professional look. Measure twice, cut once!
Determining the Handle Length and Width
Consider how you want to carry your bag. Will it be a shoulder bag, a crossbody, or a tote with hand straps? Measure the desired drop length. Add extra inches for attachment points. For width, 1 to 1.5 inches (2.5 to 3.8 cm) is common for tote bags. You can adjust this based on the bag’s size and your preference. Remember, the final width will be slightly less after finishing the edges.
Cutting the Leather Strip
Lay your leather flat on the cutting mat. Use your metal ruler to mark the cutting lines with a scratch awl. Then, using your sharp craft knife or rotary cutter, make a single, clean cut along the marked line. A steady hand is key here. Many crafters find it helpful to make a shallow initial scoring cut, then follow with a firmer second cut. This helps ensure a straight line without the knife slipping.
Creating a Two-Ply Handle (Optional but Recommended)
For extra strength and a more substantial feel, many prefer a two-ply handle. This means cutting two identical strips of leather. You’ll then adhere them together, creating one thicker strap. This method also hides any rougher backing of the leather. It offers a really clean, finished look.
Shaping and Finishing the Edges
This is where your handle goes from raw leather to a polished piece.
Applying Contact Cement
If you’re making a two-ply handle, this is where you join them. Apply a thin, even coat of contact cement to one side of each strip. Let it dry until it’s tacky to the touch, not wet. Then, carefully align the two strips and press them together firmly. Work from one end to the other to avoid air bubbles. A roller can help here for a strong bond.
Beveling and Smoothing the Edges
Use an edge beveler to create a slight rounded edge on all sides of your handle. This removes the sharp corner. Then, dampen the beveled edges with water or gum tragacanth. Use a burnishing tool (a slicker) to rub the edges vigorously. This friction raises the leather fibers and creates a smooth, sealed surface. It looks professional and prevents fraying. This step is vital for a durable and attractive finish.
Adding Holes for Attachment
Decide where your handle will attach to the bag. Mark these points clearly on both ends of the handle. Use a scratch awl to start the hole, then switch to a leather punch or a drill with a small bit. Ensure the holes are the right size for your chosen fasteners (rivets, screws, or stitching). For a two-ply handle, punch through both layers at once.
Attaching the Handle to Your Bag
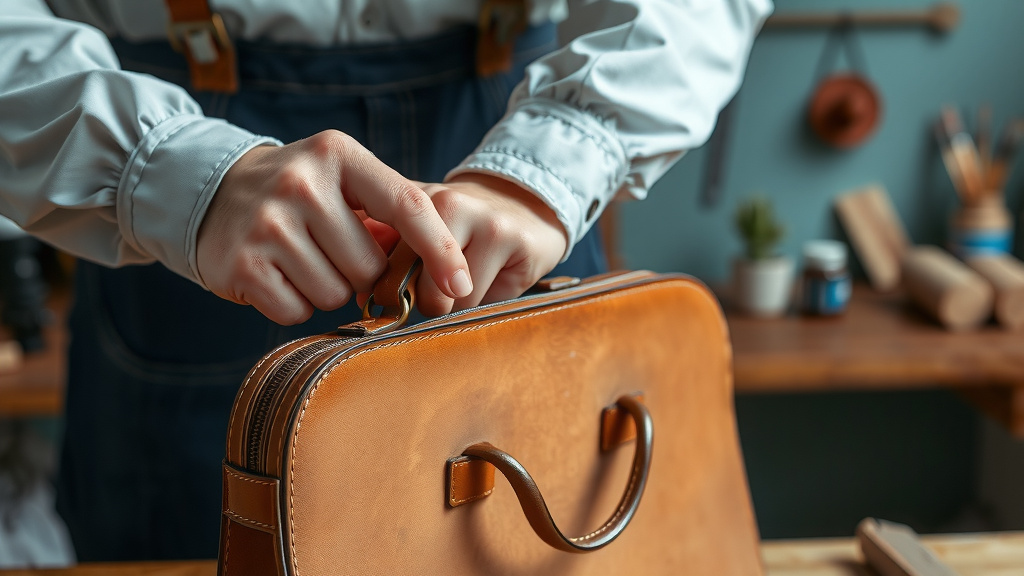
This is the final, critical step. A secure attachment means a handle that lasts.
Using Rivets or Chicago Screws
These are popular for a strong, clean look. Insert the rivet or screw through the hole in your handle and the corresponding hole in the bag. Secure it according to the fastener’s instructions. Chicago screws (also called binding posts) offer a screw-together closure. Rivets often require hammering to set.
Stitching the Handle
For an even more robust and classic look, you can stitch the handle. This involves hand-stitching through the handle and the bag’s attachment points. Use a strong waxed thread and a saddle stitch for maximum durability. This method requires practice but results in a beautifully finished product. Many high-end bags use a combination of rivets and stitching for ultimate strength.
Reinforcing Attachment Points
No matter your chosen method, consider reinforcing where the handle meets the bag. You can do this by adding a small leather washer on the inside of the bag before attaching the handle. This distributes the stress and helps prevent tearing. This is especially important for heavier bags.
Quick Checklist for Your Leather Handle Project
Here’s a quick recap to make sure you have everything covered:
- Selected appropriate leather thickness (5-7 oz).
- Cut your leather strips accurately.
- Attached plies securely with contact cement (if applicable).
- Beveled and burnished all edges smooth.
- Created clean, aligned holes for attachment.
- Secured the handle firmly to your bag.
Conclusion
You’ve learned how to craft a professional-looking leather bag handle that’s built to last. By carefully selecting your materials, precisely cutting and shaping your leather, and securely attaching your new handle, you’ve transformed your bag. You can now confidently create handles that are not only durable and comfortable but also add a custom touch to any project. Your next step? Grab your tools and start on your bag’s new signature feature!
Frequently Asked Questions
What’s the best way to make a leather handle feel softer?
If you find your finished leather handle a bit stiff, you can gently condition it. Use a leather conditioner sparingly and work it into the material. This will help soften the fibers over time, making it more comfortable for carrying. If your finished leather handle feels stiff, a leather conditioner can help soften it.
Can I use a different type of leather besides vegetable-tanned?
Absolutely! While vegetable-tanned leather is excellent for holding shape and tooling, chrome-tanned leather can also work well for handles. It’s typically softer and more flexible right from the start, which can be a great advantage for comfort.
How can I ensure my stitched handle won’t pull out?
For maximum stitch strength, we recommend using a strong waxed thread and the saddle stitch technique. Before you start stitching, reinforce the attachment points on your bag with a small leather washer. This helps distribute the stress evenly across the fabric.
Is it okay to skip the edge beveling and burnishing steps?
While you *can* skip these steps, we highly advise against it for durability and aesthetics. Beveling and burnishing seal the edges, preventing them from fraying over time. This not only makes your handle look more polished but also significantly increases its lifespan.
How do I make sure the holes for my rivets are perfectly aligned?
To ensure perfect alignment when punching holes for rivets or screws, it’s best to attach the handle temporarily first. You can use a dab of glue or clips to hold it in place. Then, punch your holes through both the handle and the bag at the same time. This guarantees a precise match.