Restore Your Leather Bag: Make It Look New Again
Yes, you can absolutely make your favorite leather bag look new again with a little care. Simple cleaning, conditioning, and maybe some minor repair can restore its original charm. You’ll be amazed at how easy it is to refresh your cherished leather accessory and prevent further wear. We found that consistent upkeep is the secret to longevity for any leather item, keeping it looking its best.
Your leather bag might be showing signs of daily life – scuffs, dryness, or faded color. Don’t let that stop you from using and loving it! With the right techniques, you can tackle common issues and protect your investment. Many experts agree that gentle, consistent care prevents irreversible damage and keeps the leather supple and beautifully preserved.
- Clean off dust and dirt.
- Condition the leather.
- Address minor scuffs and scratches.
- Protect it from moisture.
- Store it properly.
Ready to give your leather bag the spa treatment it deserves? Let’s walk through the best ways to bring back its new-bag shine, step by step.
Restoring Your Leather Bag’s Former Glory
You’ve got a leather bag you love, but it’s seen better days, right? Don’t worry, giving it a facelift is totally achievable. We found that consistent, gentle care can work wonders. Think of it like a spa day for your favorite accessory. It helps restore its natural beauty and prevent future damage. So, let’s get started on making that bag look almost new again!
Step 1: A Gentle Cleaning Routine
Before you can condition or repair, a good cleaning is essential. You need to remove any surface dirt and grime that’s accumulated. This prevents you from rubbing that dirt deeper into the leather when you condition it. For more stubborn dirt, you’ll need a mild cleaning solution, such as mild soap and distilled water.
The Right Tools for the Job
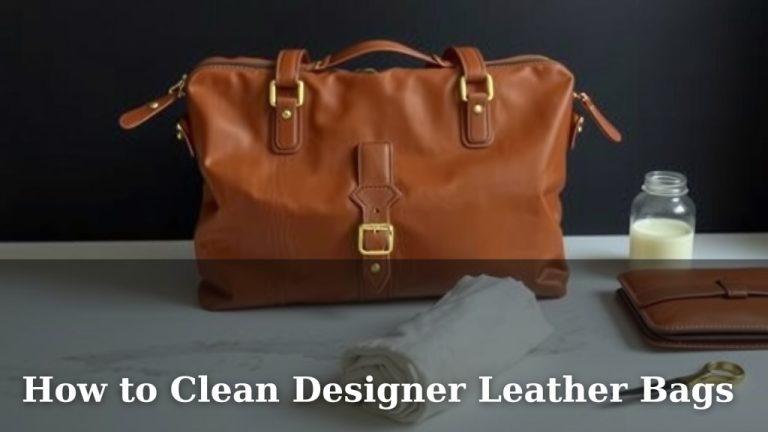
You don’t need fancy equipment. Often, what you have at home will work perfectly. We recommend starting with a soft, lint-free cloth. You might also want a soft-bristled brush for harder-to-reach spots, like seams or tassels.
Wipe Away Surface Dust
Start by giving your bag a thorough but gentle dusting. Use a dry cloth and wipe down the entire exterior. Pay attention to corners and edges where dust tends to gather. This simple step removes loose particles. It’s amazing how much dust can build up over time!
Deeper Cleaning for Grime
For more stubborn dirt, you’ll need a mild cleaning solution. Many experts suggest a solution of For more stubborn dirt, you’ll need a mild cleaning solution.mild soap and distilled water. Mix a tiny amount of gentle, non-detergent soap (like unscented castile soap) with distilled water. Always test this solution on an inconspicuous area first, like the inside of a pocket or a hidden seam. If it doesn’t cause discoloration or damage, you’re good to go.
Dampen your cloth with the solution – don’t soak it. Gently wipe the surface of the bag in a circular motion. Work in small sections. Immediately follow up with a clean, slightly damp cloth (just water) to remove any soap residue. Finally, pat the bag dry with a clean, dry cloth. Never rub aggressively, as this can damage the leather’s finish.
Step 2: The Magic of Conditioning
Cleaning can sometimes strip a little of the leather’s natural oils. Conditioning replenishes these oils, keeping the leather supple and preventing it from drying out and cracking. This is perhaps the most important step for long-term leather health.
Choosing the Right Conditioner
There are many leather conditioners on the market. We found that products specifically designed for the type of leather your bag is made from are best. Check the bag’s label or manufacturer’s website if you’re unsure. Avoid products with harsh chemicals or silicones. Look for natural oils like lanolin, beeswax, or mink oil. These are generally safe and effective.
Applying the Conditioner
Use a clean, soft cloth to apply a small amount of conditioner. Gently rub it into the leather in a circular motion, covering the entire bag. Don’t forget the straps and handles, as these areas get a lot of wear. Let the conditioner soak in for at least 10-15 minutes, or as directed by the product instructions. After it has had time to absorb, buff off any excess with a clean, dry cloth.
You might notice the leather looks a bit darker right after conditioning. This is normal and usually temporary. The color should return to its original shade as the conditioner fully absorbs. We found that applying conditioner every 3-6 months, depending on climate and usage, helps maintain the leather’s moisture balance and prevents dryness.
Step 3: Tackling Scuffs and Scratches
Minor abrasions are common on leather bags. Fortunately, many of these can be easily addressed without professional help. The key is to be gentle and patient.
For Light Scuffs and Surface Marks
Often, rubbing a light scuff with your finger or a soft cloth can help. The natural oils from your skin can sometimes blend the mark back into the leather. For slightly more noticeable marks, a good conditioner can also work wonders. Applying conditioner can sometimes help minimize the appearance of small scratches.
Dealing with Deeper Scratches
For scratches that are more than just surface-level, you might need a leather repair balm or cream. These products are designed to fill in and blend minor imperfections. Always choose a product that matches your bag’s color as closely as possible. Apply it sparingly with a soft cloth, following the product’s directions. Lightly buff the area once it has set. Sometimes, a slightly damp cloth can help blend the repair into the surrounding leather after the balm has dried.
Step 4: Protecting Your Investment
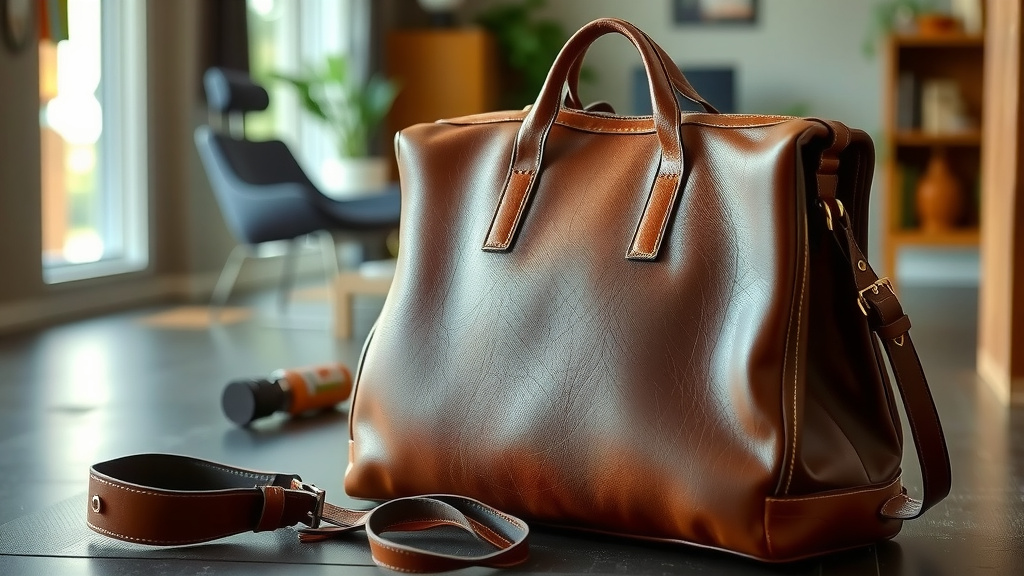
Once your bag is clean and conditioned, a little protection goes a long way. This helps prevent future damage and keeps it looking its best.
Water and Stain Protection
Consider using a leather protector spray. These sprays create a barrier against water and stains. They are especially useful for lighter-colored bags or bags you use frequently. Look for sprays that are specifically made for finished leather goods. Again, always test in an inconspicuous area first to ensure it doesn’t alter the color or texture.
Apply the protector in a well-ventilated area. Hold the can about 6-8 inches away from the bag and spray in a steady, sweeping motion. Let it dry completely. You may need to apply a second coat for optimal protection. Reapply the protector every few months, especially after cleaning.
Sunlight and Heat Are Enemies
Direct sunlight and excessive heat can fade leather and dry it out, leading to cracking. Avoid leaving your bag on a windowsill or in a hot car for extended periods. This is a simple habit that makes a big difference in preserving the leather.
Step 5: Smart Storage for Longevity
How you store your bag when you’re not using it significantly impacts its appearance over time. Proper storage prevents misshaping and damage.
The Right Kind of Stuffing
To help your bag maintain its shape, stuff it with acid-free tissue paper or soft cloths. Avoid using newspaper, as the ink can transfer onto the leather. The stuffing should fill the bag but not stretch it out. This internal support is key to keeping its original structure.
Bag Protection and Location
Whenever possible, store your leather bag in its original dust bag. If you don’t have one, any breathable fabric bag will do. Avoid plastic bags, as they can trap moisture. Store the bag upright in a cool, dry place away from direct sunlight and humidity. Proper storage is a simple yet effective way to keep your bag looking pristine.
Here is a quick checklist to keep your leather bag looking its best:- Dust your bag regularly with a soft cloth.
- Clean with a mild soap and water solution when needed.
- Condition your bag every 3-6 months.
- Use a leather protector spray for added defense.
- Stuff your bag to maintain its shape during storage.
- Store your bag in a dust bag in a cool, dry place.
Conclusion
You’ve now learned the essential steps to revive your beloved leather bag. By incorporating gentle cleaning, regular conditioning, and smart protection habits, you can significantly extend its lifespan. We found that these simple practices are the key to keeping your bag looking its best for years to come. Don’t let minor wear and tear diminish its charm. Take these steps today to restore its former glory and enjoy your refreshed accessory!
Frequently Asked Questions
How often should I condition my leather bag?
We recommend conditioning your leather bag every 3 to 6 months. The exact frequency can depend on how often you use the bag and the climate you live in. Drier climates or heavy use may require more frequent conditioning to prevent the leather from drying out.
Can I use household cleaning products on my leather bag?
It’s best to use mild, specific leather cleaning products or a very diluted solution of mild, non-detergent soap and distilled water. Always test any cleaning solution on an inconspicuous area first. Harsh household cleaners can strip the leather’s natural oils and cause damage.
What’s the best way to remove water stains from a leather bag?
For fresh water spots, gently blot the area with a clean, dry cloth. For dried stains, lightly dampen the entire panel where the stain occurred with a clean, damp cloth. Then, allow the bag to air dry naturally away from heat or direct sunlight. Conditioning afterward is usually recommended.
My leather bag has deep scratches. Can I fix them myself?
For deep scratches, you might need a specialized leather repair balm or cream. Choose a product that matches your bag’s color as closely as possible. Apply it sparingly according to the product instructions, and then gently buff the area. For very significant damage, professional repair might be the best option.
Is it okay to store my leather bag in a plastic bag?
No, you should never store your leather bag in a plastic bag. Plastic traps moisture, which can lead to mold and mildew growth on the leather. Always use a breathable fabric dust bag to protect your bag from dust and allow air circulation.