
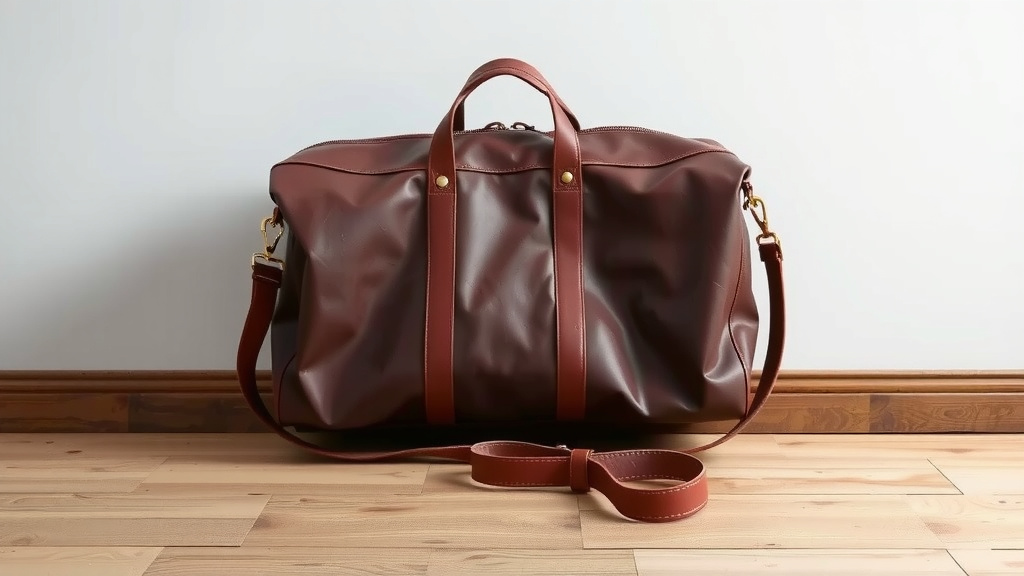
Craft a Leather Duffle Bag: Step-by-Step Guide
Making your own leather duffle bag is totally doable with the right plan and materials. You can create a stylish and sturdy bag that’s perfect for weekends or the gym. We found that by following a few key steps, you can craft a fantastic piece you’ll be proud of. If you’re looking to buy one instead of making it, check out our guide to the best leather duffle bag brands.
This project involves cutting leather, stitching, and adding hardware. Many crafters find satisfaction in hand-making durable goods like this. You’ll be able to customize its size, color, and features. It’s a rewarding way to get a high-quality bag without the high price tag.
- Gather your leather and tools.
- Cut out your bag pieces accurately.
- Stitch the main seams securely.
- Attach hardware like zippers and handles.
- Finish and condition the leather.
Ready to get started? Let’s walk through exactly how to make your very own leather duffle bag step by step.
Crafting Your Own Leather Duffle Bag
Creating your own leather duffle bag can feel like a big undertaking, but we found it’s absolutely achievable with a good plan. You’ll end up with a bag that’s not just functional but a real statement piece. Think of it as an investment in a durable, stylish accessory that you made yourself.
Choosing the Right Leather for Your Duffle
The foundation of any great leather project is, of course, the leather itself. For a duffle bag, you need something that’s both tough and flexible. We recommend looking at full-grain or top-grain leather. These types are durable and will develop a beautiful patina over time.
Understanding Leather Types
Full-grain leather is the highest quality. It uses the entire grain of the hide. This means it’s incredibly strong and has natural markings that add character. Top-grain leather is also excellent. It’s sanded to remove imperfections, making it smoother but slightly less durable than full-grain. Both are great choices for a duffle.
Leather Thickness Matters
Thickness is measured in ounces (oz) or millimeters (mm). For a sturdy duffle bag, you’ll want leather that’s between 5-7 oz (2-2.8 mm) thick. This provides structure without being too stiff or heavy. Too thin, and your bag might sag or tear. Too thick, and it’ll be difficult to stitch.
Essential Tools and Supplies You’ll Need
Before you start cutting, gather everything you need. Having your tools ready makes the process flow much smoother. We found that a good set of basic leatherworking tools goes a long way.
Cutting and Marking Tools
You’ll need a sharp craft knife or rotary cutter. A metal ruler is essential for making straight cuts. For marking your pattern lines on the leather, a scratch awl or a leather marking pen works well. Don’t forget a cutting mat to protect your work surface.
Stitching and Assembly Tools
Hand stitching is common for leather projects. You’ll need a harness needle and strong waxed thread. A stitching groover can help you create an even stitch line. For punching holes, a rotary punch or an awl is necessary. You might also want a rubber mallet and an anvil or a pounding surface.
Hardware and Finishing Supplies
Consider the hardware: zippers, D-rings, strap adjusters, and buckles. Choose metal hardware that complements your leather. For finishing, you’ll need leather conditioner and possibly a leather finish or sealant. A polishing cloth is also useful.
Patterning and Cutting Your Leather Pieces
A good pattern is key to a well-made bag. Many patterns are available online, or you can design your own. You’ll typically need pieces for the main body, ends, top flap, and straps.
Transferring the Pattern
Once you have your pattern pieces, carefully lay them out on your leather. Consider the grain direction and any natural markings. Use your scratch awl or pen to trace around the pattern pieces. Double-check your measurements before cutting.
Precise Cutting Techniques
Use your sharp knife and metal ruler for clean, straight cuts. Cut slowly and deliberately. For curved pieces, a rotary cutter can offer more control. It’s often helpful to cut through the leather in multiple passes rather than trying to cut all the way through at once. This ensures a cleaner edge and less chance of slipping.
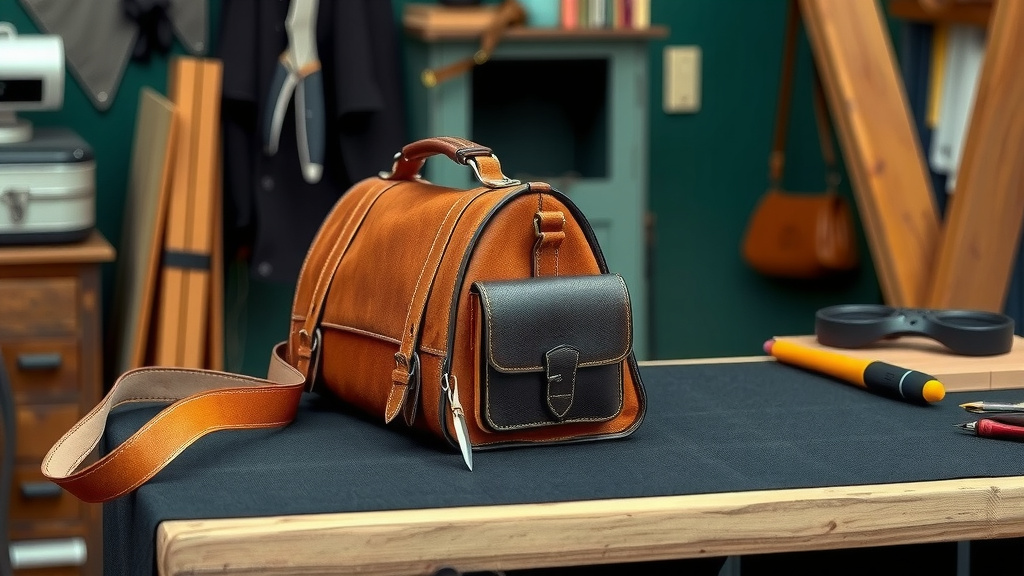
Stitching Your Leather Duffle Bag Together
Stitching is where your bag starts to take shape. Hand stitching can be time-consuming, but it creates a beautiful, strong seam. Many crafters find it a very satisfying part of the process.
Preparing for Stitching
Before you stitch, you’ll need to punch your stitching holes. Use a stitching chisel or an awl to make evenly spaced holes along the edges of your pieces. A consistent distance from the edge is important for a professional look. We found that a stitching groover helps keep your thread from sitting on the surface, making it more durable.
The Hand-Stitching Method
Thread your harness needle with a generous length of waxed thread. A good rule of thumb is to use thread that’s about four times the length of the seam you’re stitching. Use a saddle stitch for the strongest results. This involves passing the needle through each hole twice, creating a lock stitch. Keep your tension even throughout.
Attaching Hardware and Straps
Hardware adds both function and style to your duffle bag. Carefully measure and mark placement for zippers, D-rings, and any other embellishments.
Installing the Zipper
Zippers can be tricky. For a duffle, you’ll typically install it along the top opening. You might need to stitch it to a separate piece of leather or directly to the bag body. Make sure the teeth of the zipper are aligned before you start sewing. Many find using a zipper foot on a sewing machine helpful, but hand-stitching is also effective.
Securing Straps and D-Rings
Attach D-rings for the shoulder strap by folding a small loop of leather and stitching it securely. Handles are usually attached with rivets or strong stitching. Ensure they are firmly attached to bear the weight of the bag. We found that reinforcing these stress points with rivets adds significant durability.
Finishing Touches and Leather Care
Once your bag is stitched and assembled, it’s time for the finishing touches. This step protects your bag and enhances its appearance.
Edge Finishing
Smooth down the cut edges of your leather. You can use sandpaper for this. Then, apply an edge finish or burnish them with a wooden slicker and water to create a smooth, sealed edge. This makes your bag look more professional and prevents fraying.
Conditioning and Protection
Apply a good quality leather conditioner to your finished bag. This nourishes the leather and keeps it supple, preventing it from drying out or cracking. Buff it with a soft cloth. We recommend applying conditioner periodically to maintain the leather’s health and appearance.
Here’s a quick checklist to keep you on track:
- Have all your tools and materials ready before you start.
- Double-check your pattern measurements before cutting leather.
- Punch consistent stitching holes for neat seams.
- Test stitch a scrap piece to get your tension right.
- Securely attach all hardware for durability.
- Apply a final conditioner to protect your new bag.
Conclusion
You’ve learned how to craft your own durable and stylish leather duffle bag! It’s a rewarding project that allows for personal customization. From selecting the right leather and tools to precise cutting and secure stitching, each step contributes to a beautiful, handmade piece. We found that paying attention to detail, especially in the stitching and hardware attachment, makes a big difference.
Now that you have the knowledge, your next step is to gather your materials and begin. Start with a simple pattern, and don’t be afraid to take your time. You’ll soon have a custom duffle bag you’ll be proud to use for years to come!
Frequently Asked Questions
What’s the best type of leather for a beginner making a duffle bag?
For beginners, top-grain leather is a great choice. It’s more forgiving than full-grain, meaning it has fewer natural imperfections to work around. It’s still durable enough for a duffle bag and will age well.
Can I use a regular sewing machine to stitch my leather duffle bag?
While a heavy-duty industrial sewing machine can work for some leather projects, most home machines aren’t designed for thick leather. Hand-stitching with waxed thread and harness needles is the traditional and most reliable method for creating strong seams on a duffle bag.
How do I prevent my leather duffle bag from getting scratched?
To prevent scratches, always use a cutting mat and a metal ruler when cutting. When storing your bag, avoid placing it where it can rub against rough surfaces. Regularly conditioning the leather also helps maintain its surface and minor scratch resistance.
What if my stitching looks uneven on my leather bag?
Uneven stitching often comes from inconsistent hole punching or stitch tension. Ensure you use a stitching groover to create a consistent channel for your thread. Practicing on scrap leather pieces first can help you get a feel for the stitch tension and hole spacing.
How often should I condition my finished leather duffle bag?
You should condition your leather duffle bag every 6-12 months, or more often if it’s exposed to harsh conditions like direct sun or frequent moisture. This keeps the leather supple and prevents it from drying out or cracking.
![10 Best Mid Range Leather Bags [2026]](https://mybestreviewss.com/wp-content/uploads/2026/08/10-best-mid-range-leather-bags-2026-featured-768x432.jpg)
![10 Best Leather Weekend Bags For Men [2026]](https://mybestreviewss.com/wp-content/uploads/2026/08/10-best-leather-weekend-bags-for-men-2026-featured-768x432.jpg)