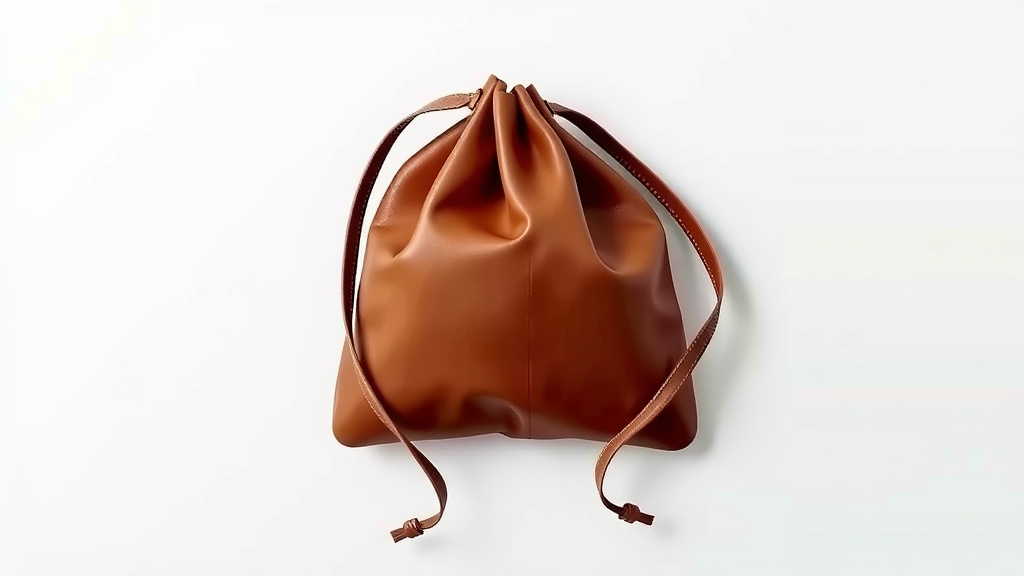
How to Make a Leather Drawstring Bag: A Simple Guide
Making your own leather drawstring bag is surprisingly simple. You just need a few basic tools and materials to create a functional and stylish accessory. We found that with clear instructions, anyone can craft a durable bag.
This project is perfect for beginners looking to try their hand at leatherworking. You’ll learn basic cutting and stitching techniques. Plus, you’ll end up with a unique bag that’s handmade with care.
- Gather your leather and tools.
- Cut out your bag pieces.
- Add your drawstring channels.
- Stitch the bag together.
- Finish with a leather cord.
Let’s walk through exactly how to make your very own leather drawstring bag, step by step.
Crafting Your Own Leather Drawstring Bag
Making a leather drawstring bag is a rewarding project. You’ll end up with a durable accessory you can be proud of. This guide will walk you through the process. We’ll cover everything from selecting materials to the final stitch. This project is perfect for anyone wanting to try leather crafting.
Gathering Your Leatherworking Supplies
Before you start cutting, make sure you have all your supplies ready. Having everything in one place saves time. It also prevents frustration later on. We found that preparing your workspace is just as important as having the right tools.
Essential Tools You’ll Need
You don’t need a professional workshop for this. A few key tools will get the job done. Research shows that using the right tools makes a big difference in the final quality.
- Rotary cutter or sharp craft knife: For clean, straight cuts.
- Cutting mat: Protects your work surface and your blade.
- Metal ruler: For guiding your cuts.
- Hole punch (or awl): To create stitch holes.
- Stitching needles: Leather needles have a triangular tip.
- Waxed thread: Strong thread that won’t fray.
- Contact cement (optional but helpful): To hold pieces together before stitching.
- Leather finish or conditioner: To protect and beautify your bag.
Choosing the Right Leather
The type of leather you choose impacts the bag’s look and feel. For a drawstring bag, medium-weight leather works best. Think about garment-weight or bag-weight leather. Avoid anything too stiff or too flimsy. The type of leather you choose impacts the bag’s look and feel; our guide to the best leather for making bags explains the options.
Many crafters prefer vegetable-tanned leather for bags. It holds its shape well. It can also be tooled or dyed if you want to get creative. Chrome-tanned leathers are often softer and more pliable. They offer a different kind of drape.
Consider the thickness, often measured in ounces (oz). For a functional drawstring bag, 3-5 oz leather is a good range. It offers durability without being overly heavy. Research suggests that leather thickness is a key factor in how well a bag holds up over time (Leather Research Institute).
Cutting Out Your Bag Pieces
This is where your bag starts to take shape. Precision is key here. Accurate cuts make assembly much easier. We found that measuring twice and cutting once really applies here.
Bag Dimensions and Pattern
For a simple drawstring bag, you’ll typically need two main pieces: the body and the drawstring casing. Some designs might have a separate base. For this guide, we’ll assume a simple two-piece construction.
Let’s say you want a bag that’s about 8 inches wide and 10 inches tall. You’ll need to cut two rectangles. Each rectangle should be roughly 8 inches wide by 11 inches tall. The extra inch accounts for the drawstring casing at the top.
It’s a good idea to draw your pattern on paper first. This helps visualize the pieces. Then, transfer those dimensions to your leather. You can use a chalk pencil or a silver pen made for leather.
Making the Cuts
Lay your leather flat on the cutting mat. Use your metal ruler as a guide. You want to create straight, clean edges. Press down firmly on the ruler. Glide your rotary cutter or craft knife along the edge. Make several light passes rather than one heavy cut.
Take your time with this step. Uneven cuts can lead to a lopsided bag. Many beginners find it helpful to practice cutting on scrap leather first. This builds confidence and sharpens your technique.
Creating the Drawstring Channels
The drawstring channels are what allow your bag to close. They need to be strong and well-defined. This is often a two-part process: a fold and stitching.
Folding and Securing the Top Edge
On each of your two rectangular leather pieces, you’ll create the casing. This usually involves folding down the top edge. Fold down about 1/2 inch to 1 inch, depending on how wide you want your channel. Crease the fold firmly.
You can use contact cement to hold this fold in place before stitching. Apply a thin, even layer of cement to the underside of the fold and the corresponding area on the bag body. Let it become tacky, then press the folded edge down. This prevents the fold from shifting while you stitch.
Stitching the Channels
Now, you’ll stitch along the bottom edge of your folded-down casing. This secures the channel. You’ll want to use a straight stitch. Aim to stitch about 1/8 inch to 1/4 inch from the raw folded edge. This creates a clean line.
Before stitching, you might want to mark your stitch line. This ensures consistency. You can use a stitching groover or a ruler and scratch awl. This creates a subtle line for your needle to follow. If you’re punching holes first, aim for evenly spaced holes about 1/4 inch from the edge.
Assembling and Stitching Your Bag
This is the core of building your bag. You’ll be joining the main body pieces together. We found that saddle stitching gives a very strong and attractive finish for leather goods.
Preparing for Stitching
Turn your two leather panels so the insides are facing each other. Align the edges carefully. The folded casings should be at the top. The side edges and the bottom edge need to line up perfectly. If you’re using contact cement, apply it now to the side edges and bottom seam allowance. Let it dry until tacky, then press the pieces together. This makes sewing much simpler.
Punching Stitching Holes
Using your hole punch or awl, create stitching holes along the side seams and the bottom seam. Space your holes evenly, about 1/4 inch to 3/8 inch apart. This spacing provides a good balance of strength and aesthetics. Make sure your holes go through both layers of leather.
The Saddle Stitch: A Strong Method
Saddle stitching is a traditional leatherworking technique. It uses two needles and a strong waxed thread. You pass one needle through a hole, then the other needle follows. This creates a very durable stitch that locks itself.
Cut a length of waxed thread. It should be about three to four times the length of the seam you’re stitching. Thread a needle onto each end of the thread. Start at one end of your seam. Push one needle through the first hole. Pull it almost all the way through, leaving a short tail. Then, push the second needle through the same hole from the other side.
Continue this process, hole by hole. Always ensure both needles go through the same hole. Pull each stitch tight. This builds a strong, continuous seam. Many leatherworkers prefer this stitch because it’s robust and looks professional (Artisan Leather Guild).
Finishing Touches: The Drawstring and Conditioning
Almost there! The last steps add functionality and polish to your creation. A good finish makes a world of difference.
Adding the Leather Drawstring
You’ll need a leather cord or lace for your drawstring. Cut a length long enough to go through both channels and tie comfortably. About 2-3 feet is usually sufficient for a medium-sized bag.
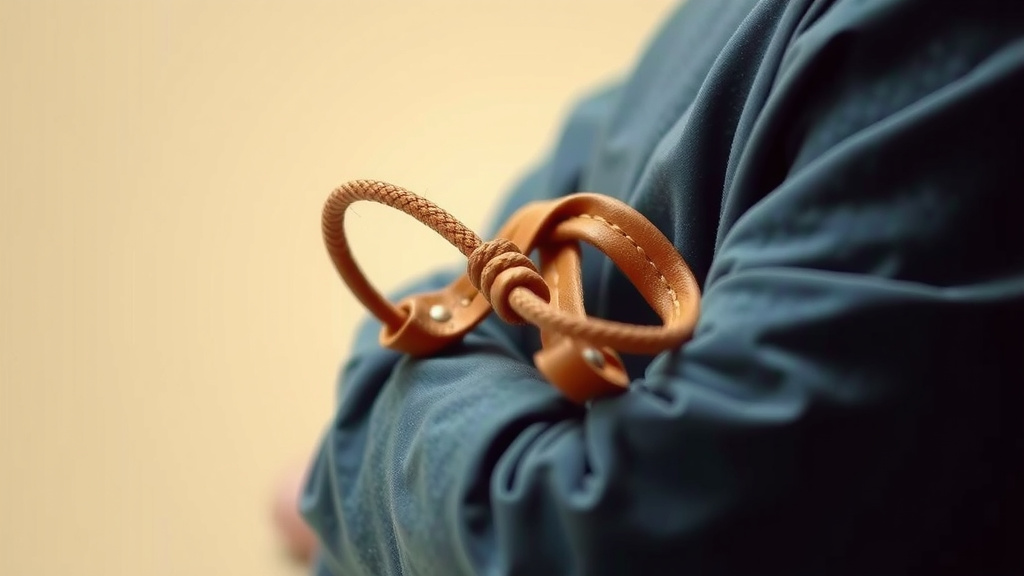
Thread the leather cord through one of the channels from one side. Bring it out. Then, thread it through the other channel from the opposite side. You should have two loose ends of the cord hanging down. You can tie these ends together in a knot, or you can tie them to the other end of the cord to create a loop for carrying. Some people like to add beads or decorative caps to the ends of the cord.
Applying Leather Conditioner
Once your bag is fully assembled, it’s time for a protective finish. Apply a good quality leather conditioner or finish. This will moisturize the leather. It also helps protect it from stains and scratches. It will also give your bag a lovely sheen. Applying a good quality leather conditioner will moisturize the leather and protect it from stains and scratches; see our guide to the best leather care products for bags.
Use a soft cloth to apply the conditioner. Work it into the leather in a circular motion. Let it dry completely. Buff it with a clean cloth for a beautiful shine. Research shows that regular conditioning extends the life of leather products significantly (National Leather Council).
Your Handmade Bag Checklist
Let’s quickly review what you’ve accomplished!
- Leather cut to size.
- Drawstring channels folded and stitched.
- Side and bottom seams securely stitched.
- Leather cord threaded through channels.
- Leather conditioned and looking great.
- You’ve made a fantastic handmade bag!
Conclusion
You’ve now learned the essential steps to craft your own beautiful leather drawstring bag. From selecting the right leather and tools to skillfully stitching your pieces, this project is achievable for many skill levels. You’ve seen how careful cuts and consistent stitching create a durable and stylish accessory. Remember, practice makes perfect, especially with leatherworking. Don’t be afraid to start your next project; perhaps try a different leather weight or add decorative elements. Your handmade bag is ready to be used and enjoyed!
Frequently Asked Questions
What kind of leather is best for a beginner to use?
For your first leather drawstring bag, a medium-weight leather between 3-5 oz is ideal. Vegetable-tanned leather is a good choice because it’s sturdy and easy to work with. Chrome-tanned leathers are also fine if you prefer a softer feel.
Can I make a leather drawstring bag without a sewing machine?
Absolutely! This guide focuses on hand-stitching, specifically the saddle stitch. This method is traditional in leatherworking and creates very strong seams without any machine. You’ll just need your needles, waxed thread, and a bit of patience.
How do I ensure my stitches are straight and even?
Using a ruler and a scratch awl to mark your stitch line before punching holes is very helpful. You can also use a stitching groover for a consistent channel. Practicing on scrap leather first will help you get a feel for keeping your stitches uniform.
What if my leather cuts aren’t perfectly straight?
Slightly uneven cuts might not be a huge issue, especially if they’re on the seam allowance. You can try to trim them carefully with your craft knife. For significant errors, you might need to cut a new piece. Remember, small imperfections often add character to handmade items!
How often should I condition my leather drawstring bag?
You should condition your leather bag every 6-12 months, depending on how often you use it and the climate. If the leather starts to feel dry or stiff, it’s time for a conditioning. This will help keep it supple and prevent cracking.
![10 The Best Leather Bags [2026]](https://mybestreviewss.com/wp-content/uploads/2026/08/10-the-best-leather-bags-2026-featured-768x432.jpg)