
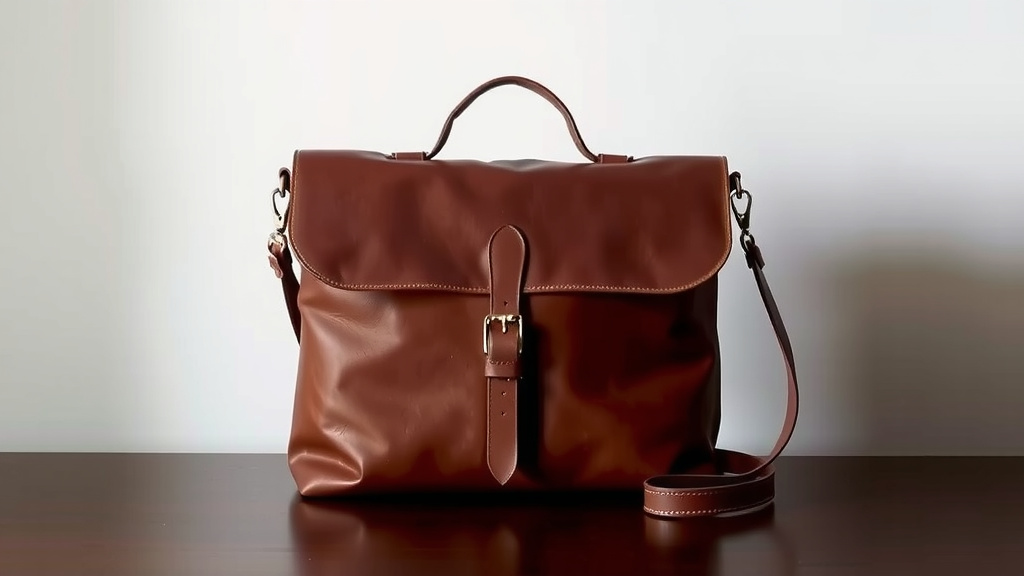
Craft Your Own Leather Laptop Bag: A Step-by-Step Guide
Making your own leather laptop bag is totally achievable. You can create a unique accessory that fits your style and needs perfectly. With some basic tools and materials, you’ll be carrying a handmade bag in no time. It’s a rewarding project for anyone who loves a good DIY.
This project isn’t just about making a bag; it’s about crafting something durable and personal. You get to choose the leather type, color, and design elements. Many people find that a handmade bag offers a superior quality and a special touch you can’t buy in stores.
- Gather your leather, patterns, and tools.
- Cut the leather pieces carefully.
- Stitch the bag together.
- Add any finishing touches.
- Enjoy your custom creation!
Ready to get started? Below, we’ll walk you through exactly how to make your own leather laptop bag, step by step.
You’re ready to craft a leather laptop bag that’s as stylish as it is functional. It might seem daunting at first, but we’ll break down the process into simple, manageable steps. Think of it as a journey from a flat piece of leather to a sturdy, personalized bag.
Creating Your Own Leather Laptop Satchel
Making a leather laptop bag is a rewarding project that lets you customize your accessory. You get to choose the exact size, features, and style. This guide will walk you through each stage, from selecting materials to the final stitch.
Step 1: Gathering Your Supplies
Before you cut a single piece, make sure you have everything you need. Having all your tools and materials ready will make the whole process much smoother. It’s like preparing your ingredients before you start cooking!
Choosing the Right Leather
The type of leather you pick is important. For a laptop bag, you want something durable but also something that feels good. Full-grain leather is a great choice. It’s the strongest and will develop a beautiful patina over time. Cowhide is a popular and reliable option for bags.
Consider the thickness, too. A good range is 4 to 6 ounces (oz) for the main body of the bag. This gives it structure without being too stiff. For straps, you might want something a bit thicker, maybe 6 to 8 oz, for added strength.
Essential Tools and Notions
You won’t need a professional leather shop, but a few key tools are essential.
- Cutting Tools: A sharp utility knife or a rotary cutter is a must. A cutting mat will protect your work surface.
- Marking Tools: A scratch awl or a silver pen to mark your cut lines and stitch holes.
- Stitching Tools: An overstitch wheel to mark stitch lines evenly, and a stitching chisel or pricking irons to create the holes.
- Awl and Needles: A harness awl for punching through thicker leather and leather needles for hand stitching.
- Thread: Waxed linen or polyester thread is recommended for its durability.
- Mallet: A rubber or rawhide mallet for striking your stitching chisels.
- Adhesive: Leather cement or contact adhesive to temporarily hold pieces together before stitching.
- Burnisher: To smooth and seal the edges of your leather.
- Hardware: Buckles, D-rings, and strap adjusters if your design requires them.
Step 2: Preparing Your Pattern
A pattern is your blueprint. You can find many patterns online, or you can design your own. Think about the size of your laptop and any extra pockets you might want.
Sizing and Design Considerations
Measure your laptop carefully. Add a little extra room for padding or other items. For a standard 13-inch laptop, a bag around 14 inches wide and 10 inches tall might be suitable. Don’t forget to account for seam allowances.
Consider the flap design, strap attachments, and any interior pockets. Will it have a buckle closure, a magnetic snap, or a simple fold-over?
Transferring the Pattern to Leather
Once you have your pattern pieces, trace them onto the back of your leather using a scratch awl or a silver pen. The flesh side (the rough side) is where you’ll mark. This keeps your cuts clean on the finished side of the leather.
Step 3: Cutting the Leather Pieces
This is where your bag starts to take shape. Precision is key here. Take your time to ensure straight cuts.
Making Precise Cuts
Lay your leather flat on a cutting mat. Use a metal ruler as a guide for your straight edges. Apply firm, steady pressure with your knife. It’s better to make multiple light passes than one heavy pass. This prevents the knife from jumping and creating uneven cuts.
For curved areas, freehand cut carefully. Always cut away from yourself for safety. Research and found that a sharp blade makes a world of difference. A dull blade can tear the leather instead of cutting it cleanly.
Cutting Stitching Holes
Using your stitching chisel or pricking irons, mark out where your stitches will go. Place the chisel on your marked stitching line and strike it firmly with your mallet. Ensure the prongs of the chisel are evenly spaced. This creates the perforations for your stitches.
Step 4: Assembling and Stitching the Bag
Now comes the satisfying part: bringing the pieces together. Hand-stitching leather is a traditional method that creates a very strong and beautiful seam.
Preparing for Stitching
Before you stitch, you might want to glue the edges together. Apply a thin layer of leather cement to both surfaces that will be joined. Let it dry until it’s tacky. Then, carefully press the pieces together. This temporary bond helps keep everything aligned while you stitch.
The Saddle Stitch Method
The saddle stitch is the go-to for hand-stitching leather. It involves using two needles and a single thread. You pass each needle through the same hole in opposite directions. Many experts say this method creates an incredibly strong and durable seam.
Thread your needles with your waxed thread. Start by stitching through the first hole. Pull the thread until you have an equal amount on both sides. Then, for each subsequent hole, pass one needle through, followed by the other needle in the same hole. Pull each stitch tight to create a neat, firm seam.
Here’s a quick look at what your stitch count might look like:
| Bag Section | Approximate Stitch Count per Inch |
|---|---|
| Main Body Seams | 6-8 SPI |
| Strap Attachments | 8-10 SPI |
| Flap Edges | 6-8 SPI |
SPI stands for Stitches Per Inch. A higher SPI creates a more refined look but takes more time.
Adding Hardware and Straps
Attach any D-rings for shoulder straps or buckle hardware before you fully assemble the main body. You can often use rivets or strong stitching for these components. Reinforce these areas well, as they will bear a lot of weight.
Step 5: Finishing Touches
The final details make your bag truly unique and professional-looking.
Edge Finishing
Once everything is stitched, you’ll want to finish the raw edges. Use an edge burnisher with a bit of water or gum tragacanth to smooth and seal the leather edges. This prevents fraying and gives a polished appearance. You can also paint or dye the edges for an extra pop of color.
Conditioning and Care
Apply a good quality leather conditioner. This will help protect the leather and keep it supple. It also brings out the natural richness of the hide.
Always test conditioners on a scrap piece first. Many sources suggest applying conditioner every 6-12 months, depending on use and climate.
You’ve now created a durable, stylish leather laptop bag! It’s a project that shows off your skills and provides you with a fantastic, personalized accessory for years to come.
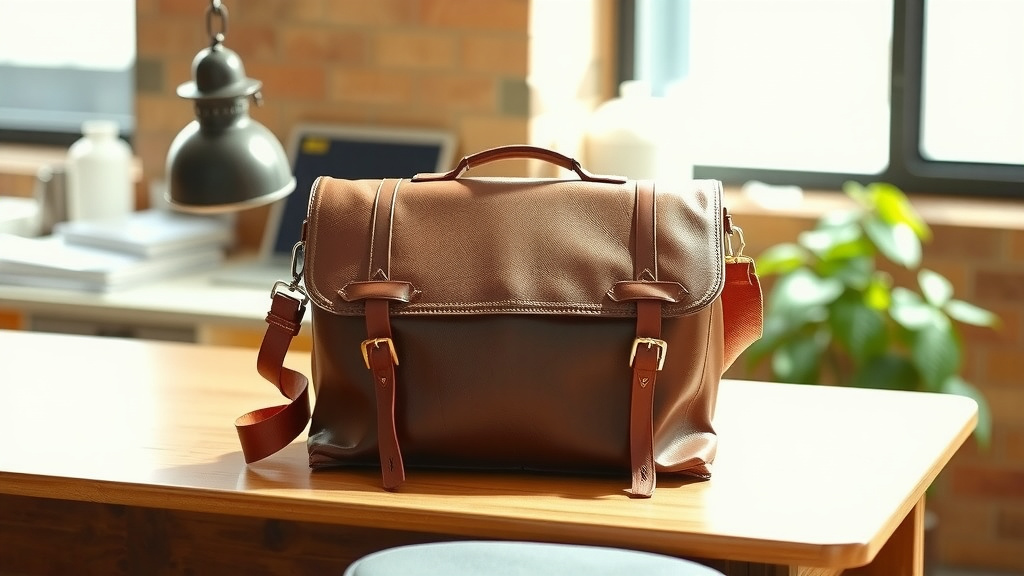
Conclusion
You’ve now journeyed through the process of crafting your very own leather laptop bag. You’ve learned how to select the perfect leather, gather your essential tools, and accurately cut and stitch your pieces. Remember, the beauty of this project is in its personalization. Your finished bag won’t just carry your tech; it will tell a story of your creativity and effort. Now, take a moment to admire your handmade creation and start planning your next leatherworking project. Consider what other custom accessories you might like to make!
Frequently Asked Questions
What’s the best type of leather for a DIY laptop bag?
For durability and a beautiful look that improves with age, full-grain leather is highly recommended. Cowhide in a thickness of 4 to 6 ounces is a great starting point for the main body of your bag.
Can I make a leather laptop bag without a sewing machine?
Absolutely! Hand-stitching with the saddle stitch method, using two needles and waxed thread, creates exceptionally strong seams that are perfect for leather goods.
How do I ensure my stitches look neat and even?
Using a stitching chisel or pricking irons to mark your stitch holes consistently is key. An overstitch wheel can also help you mark out evenly spaced lines before you punch your holes.
What if I make a mistake while cutting or stitching?
For cutting errors, a sharp blade and steady hand are important. If you make a mistake in stitching, you can carefully unpick it with an awl and re-stitch. Leather can often hide minor imperfections!
How should I care for my finished leather laptop bag?
To keep your bag in top condition, apply a quality leather conditioner every 6 to 12 months. This will keep the leather supple and protected. Always test the conditioner on a scrap piece first.
![10 The Best Leather Duffle Bag [2026]](https://mybestreviewss.com/wp-content/uploads/2026/08/10-the-best-leather-duffle-bag-2026-featured-768x432.jpg)
![10 The Best Leather Bags [2026]](https://mybestreviewss.com/wp-content/uploads/2026/08/10-the-best-leather-bags-2026-featured-768x432.jpg)
![10 Best Leather Weekender Bag For Women [2026]](https://mybestreviewss.com/wp-content/uploads/2026/08/10-best-leather-weekender-bag-for-women-2026-featured-768x432.jpg)