
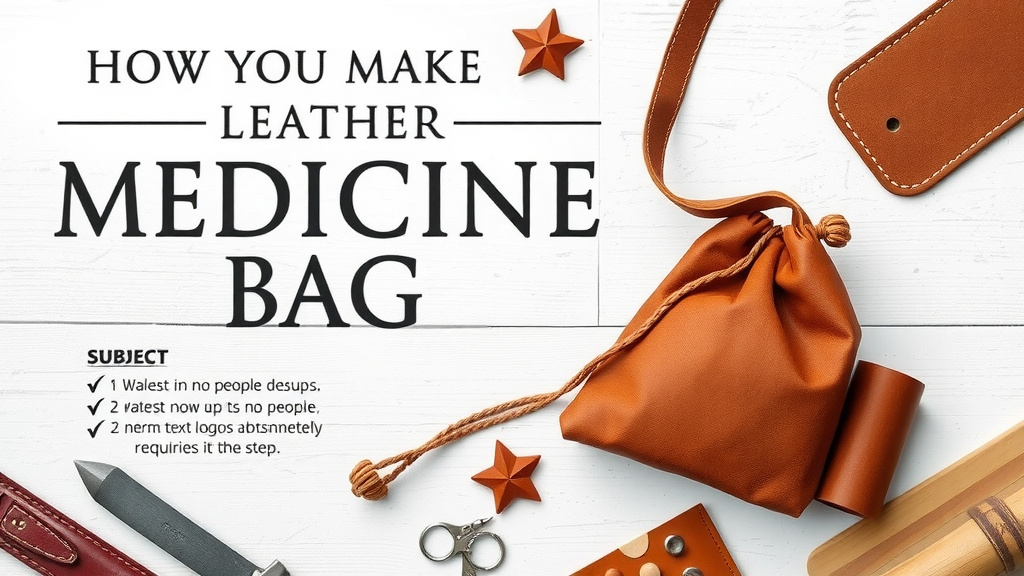
Craft Your Own Leather Medicine Bag Step-by-Step
Making your own leather medicine bag is a rewarding project. You can create a unique pouch for your herbs, crystals, or other small essentials. It’s a practical way to craft something personal and useful. You’ll need just a few simple tools and materials.
This DIY project allows you to customize size and style. Think about the purpose of your bag. Will it hold larger items or just tiny trinkets? Designing it yourself means you control the look and feel. It’s a great way to connect with your craft.
- Gather your leather and tools.
- Cut your leather pieces to size.
- Punch holes for stitching.
- Stitch the bag together securely.
- Add any closures or decorative touches.
Let’s walk through exactly how to make your own custom leather medicine bag, step by step. It’s simpler than you might think!
You’re ready to start crafting your very own leather medicine bag. It’s a wonderfully tactile project. You’ll end up with a useful pouch that’s completely personal. Let’s gather what you’ll need and get started.
Creating Your Custom Leather Pouch
Making a leather medicine bag is quite straightforward. You’ll need a few basic tools and some quality leather. The process involves cutting, punching, and stitching. We’ll guide you through each step.
Materials and Tools Checklist
Before you begin, make sure you have everything on hand. This makes the whole process smoother. You don’t want to stop halfway through to hunt for a specific item.
- Leather: About a 1-2 square foot piece.
- Leather Awl or Punch: For making holes.
- Leather Needles: Strong and sharp.
- Leather Thread or Cord: Waxed is best for durability.
- Sharp Craft Knife or Rotary Cutter.
- Cutting Mat.
- Ruler or Straight Edge.
- Pencil or Scratch Awl: For marking.
- Optional: Hole Punch for straps, decorative stamps.
Choosing the Right Leather
The type of leather you choose really impacts your finished bag. For a medicine bag, you want something that’s both durable and flexible. Veg-tanned leather is a great option. It holds its shape well and can be tooled if you wish. For a durable and flexible medicine bag, veg-tanned leather is an excellent choice.
Consider the thickness, too. A weight between 2-4 ounces is usually ideal for pouches. It’s sturdy enough to last but not so stiff that it’s hard to work with. We found that thicker leather can make stitching more challenging for beginners.
Designing Your Bag: Size and Shape
Think about what you’ll keep inside. This will determine the size of your bag. A common size is about 4×5 inches, but you can adjust this. Do you need space for larger herbs, small bottles, or just a few crystals?
For a simple drawstring bag, you’ll typically cut a single piece of leather. You’ll fold it in half and stitch the sides. Another popular design uses two pieces sewn together.
Simple Two-Piece Design Example
Let’s plan for a basic two-piece bag. Imagine two rectangles. One will be the front, and the other will be the back. The size of these rectangles is up to you.
For instance, if you want a finished bag that’s 4 inches wide and 5 inches tall, you’ll need to cut two pieces. Each piece should be 4 inches wide. For the height, you’ll need about 5.5 inches. This extra half-inch on each piece accounts for the seam allowance at the bottom.
Simple Folded Design Example
Alternatively, a single folded piece creates a seamless look. For a 4×5 inch bag, you’d cut a piece that is 8 inches wide (4 inches for the front + 4 inches for the back) and 5.5 inches tall. You fold this piece in half width-wise. Then, you stitch the two sides.
Cutting Your Leather Pieces
Once you’ve decided on your design and size, it’s time to cut. Lay your leather flat on a cutting mat. Use a ruler and a pencil or scratch awl to mark your cutting lines. Double-check your measurements!
Use a very sharp craft knife or rotary cutter. Cut slowly and steadily along your marked lines. This ensures clean, straight edges. Straight edges make for easier and neater stitching later on. Take your time here; it’s worth it.
Preparing for Stitching: Punching Holes
Now comes the part where your bag starts to take shape. You need to create evenly spaced holes along the edges that will be stitched. This is often called “punching” or “pricking” the stitching line.
You can use a leather awl for this. Mark your stitch line about 1/8 to 1/4 inch from the edge. Use a ruler to ensure it’s consistent. Then, carefully push the awl through the leather at regular intervals. Small, consistent holes are key. Many crafters use a stitching groover tool to create a channel for the thread.
Spacing Your Stitch Holes
The spacing of your holes affects both the look and the strength of your bag. Aim for holes about 1/4 inch apart. This spacing is common for many leather goods. It provides a good balance of strength and visual appeal.
A stitching chisel or prong punch can speed this up. These tools punch multiple holes at once. Just be sure to align them correctly on your stitch line. We found that practicing on scrap leather helps get a feel for this step.
Stitching Your Medicine Bag Together
You’re almost there! Now it’s time to stitch. For leather, a saddle stitch is usually recommended. This stitch is incredibly strong and durable. It uses two needles and one thread.
Cut a piece of waxed thread. It should be about three to four times the length of the seam you’re stitching. Thread a needle onto each end of the thread. Begin by passing one needle through the first hole.
The Saddle Stitch Technique
Push the first needle through a hole. Then, pull the second needle through the same hole, coming from the other side. Pull both needles until the thread is centered. You’ll then move to the next hole. Pass one needle through, then the other. Keep your stitches snug but not so tight that you tear the leather.
Work your way along the entire seam. When you reach the end, tie off your thread securely. Backstitch a couple of stitches. Then, tie a knot and trim the excess thread. Many experts suggest using a thimble to protect your fingers when pushing the needle through tougher leather.
Adding Closures and Finishing Touches
A medicine bag needs a way to stay closed. A simple drawstring is classic. For this, you’ll need to punch holes around the top opening for the drawstring to pass through.
Punch holes about 1/2 inch from the top edge, spaced about 1/2 inch apart. You can then thread a leather cord or strong twine through these holes. Tie the ends together to create your drawstring.
Decorative Elements
Want to make your bag extra special? You can add decorative stamps before you stitch. Or, you might add a small leather fringe to the bottom. Some people like to add a small bead to the drawstring.
Your Finished Bag: A Quick Checklist
Let’s see if you’ve covered all the bases for your finished bag:
- Leather cut precisely to your design.
- Stitching holes punched evenly.
- Strong, secure saddle stitching used.
- Closure method (like a drawstring) attached.
- Any decorative elements added neatly.
You’ve done it! You’ve created a beautiful, handmade leather medicine bag. It’s ready for your personal treasures.
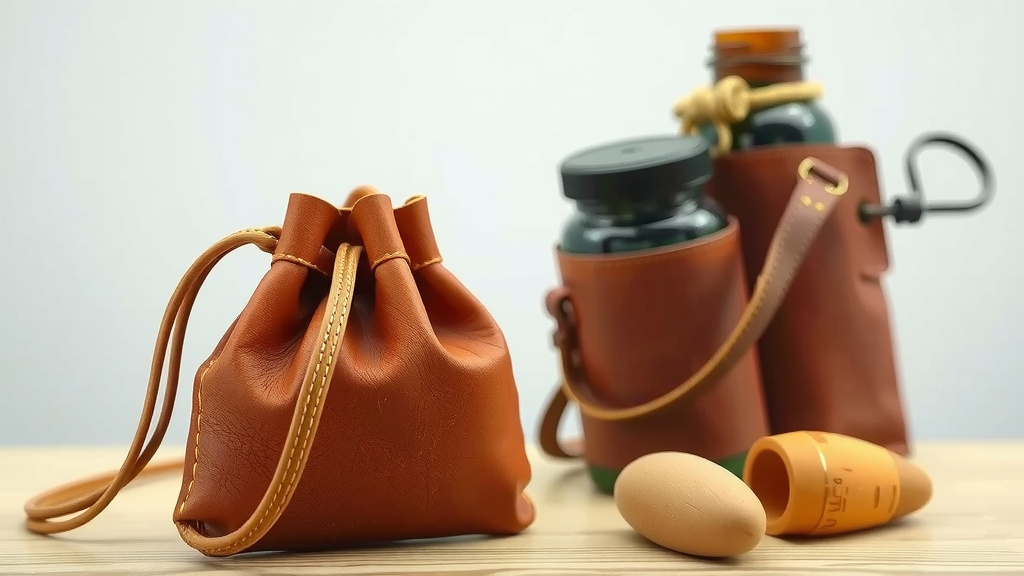
Conclusion
You’ve successfully learned how to make your own leather medicine bag. This project combines simple techniques with creative freedom. You now have the knowledge to craft a unique pouch that perfectly suits your needs. Remember to take your time and enjoy the process. Your handmade bag is ready for your personal treasures and daily essentials. Now, go ahead and start stitching your next personalized creation!
Frequently Asked Questions
What kind of leather is best for a medicine bag?
For a durable and flexible medicine bag, veg-tanned leather is an excellent choice. A weight between 2-4 ounces works well for pouches. It’s sturdy enough for regular use but still easy to work with for beginners.
How do I make sure my stitching is strong?
Using a saddle stitch is the best way to ensure strong, durable stitching. This technique uses two needles and one thread, creating a very secure seam. Make sure your thread is waxed for added toughness.
Can I make a medicine bag without specialized leather tools?
While specialized tools make it easier, you can improvise. A sharp craft knife and a thick needle can work for cutting and stitching. For punching holes, a sturdy awl or even a strong skewer can be used carefully.
How large should my medicine bag be?
The size depends entirely on what you plan to store. A common size is around 4×5 inches, but you can adjust this. Measure the items you want to carry to determine the best dimensions for your bag.
How do I add a drawstring closure to my bag?
To add a drawstring, punch small holes evenly spaced around the top edge of your bag, about half an inch down. Thread a leather cord or strong twine through these holes. Tie the ends of the cord together to create your closure.
![10 Best Vegan Leather Bag Brands [2026]](https://mybestreviewss.com/wp-content/uploads/2026/08/10-best-vegan-leather-bag-brands-2026-featured-768x432.jpg)

![10 Best Genuine Leather Tote Bag Handles [2026]](https://mybestreviewss.com/wp-content/uploads/2026/09/10-best-genuine-leather-tote-bag-handles-2026-featured-768x432.jpg)