How to Decorate a Plain Leather Bag
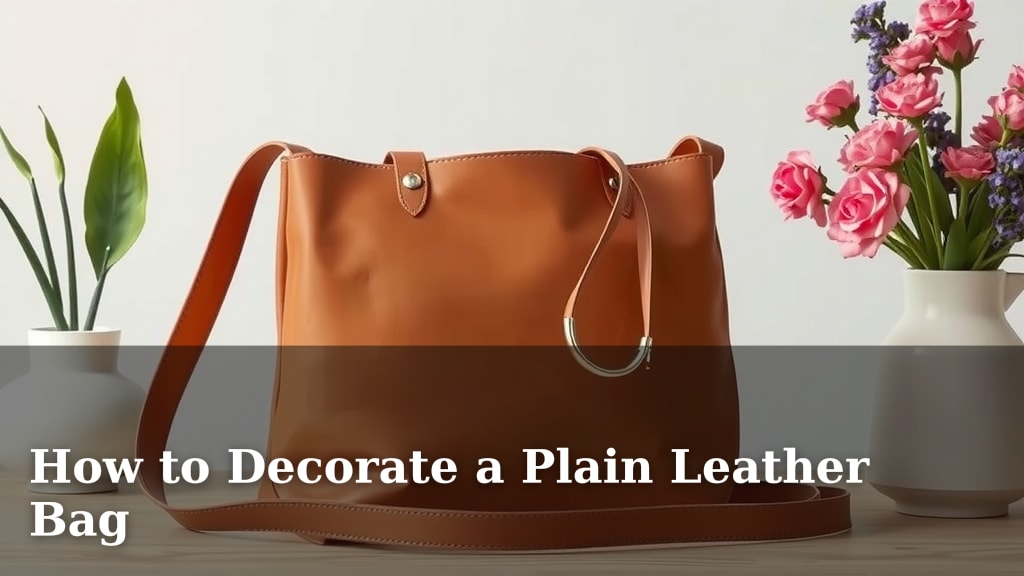
You can absolutely decorate a plain leather bag to give it a unique personality. It’s a fun way to personalize your accessory and make it stand out from the crowd. Think of it like giving your favorite purse a stylish makeover!
Transforming a basic leather bag doesn’t require professional skills. We found that simple techniques like painting, adding studs, or using patches can dramatically change its look. It’s a creative outlet that many people enjoy.
- Paint designs or patterns.
- Add studs or rhinestones.
- Attach unique patches.
- Use stencils for clean lines.
- Consider leather dyes.
Let’s walk through exactly how you can give your plain leather bag a fresh, custom look, step by step.
Giving Your Plain Leather Bag a Custom Touch
Decorating a plain leather bag is a fantastic way to express your personal style. You can transform a simple, everyday accessory into a unique statement piece. We found that with a few simple tools and a bit of creativity, you can make your bag truly your own. It’s easier than you might think!
Preparation is Key: Getting Your Bag Ready
Before you start any decorating, proper preparation is essential for the best results. This step ensures your design sticks well and lasts longer. Think of it like prepping a canvas before painting; it makes all the difference.
Cleaning Your Leather Bag
First, you’ll want to clean your bag thoroughly. Dust, dirt, and oils can prevent paints or adhesives from sticking properly. Use a soft, damp cloth to wipe down the entire surface. For stubborn grime, a specialized leather cleaner can be very effective. Always test any cleaner in an inconspicuous spot first, like the inside of a pocket or the bottom seam.
Protecting Your Workspace
Decorating can get a little messy, so it’s wise to protect your workspace. Lay down old newspapers, a drop cloth, or a large piece of cardboard. This will save you from accidental spills or stray paint marks on your furniture or floor. You’ll thank yourself later for this simple step!
Choosing Your Decoration Method
Now for the fun part – deciding how you want to decorate! There are many wonderful ways to personalize your bag. We’ve researched popular methods that yield great results for beginners and those with a bit more experience.
Painting Your Leather Bag: A Splash of Color
Leather paints are specifically designed to be flexible and durable on leather. They won’t crack or peel as easily as regular craft paints. This is a popular choice for adding custom designs, patterns, or even a bold new color.
Selecting the Right Leather Paint
Look for paints labeled as “flexible leather paint” or “fabric paint” that can be used on leather. Brands like Angelus or Jacquard are often recommended. They come in a wide range of colors, including metallics and neons.
Applying the Paint
You can apply leather paint with a small brush for detailed work or a sponge applicator for larger areas. For a cleaner look, consider using stencils. Apply thin, even coats, allowing each layer to dry completely before adding the next. This layering approach helps prevent the paint from becoming thick and prone to cracking. Many experts suggest two to three thin coats are better than one thick one.
Sealing Your Painted Design
Once your paint is dry, it’s important to seal it. A leather finisher or acrylic sealer will protect your artwork from scuffs and moisture. This step is vital for ensuring your design looks great for a long time. Again, apply this in thin coats and let it cure fully according to the product instructions.
Adding Embellishments: Studs, Gems, and More
If painting isn’t quite your style, embellishments offer another fantastic way to add personality. Studs, rhinestones, rivets, and even small metal charms can completely change the vibe of your bag.
Types of Embellishments and How to Attach Them
Studs and Rivets: These often come with prongs on the back that you push through the leather and then flatten or fold on the other side. You might need a small hammer and a piercing tool for this. Research and found that a sturdy surface underneath helps with flattening the prongs.
Rhinestones and Gems: You can find these with flat backs that are designed to be glued on. Use a strong adhesive suitable for leather and jewelry, like E6000 or a specialized leather glue. Place the gems carefully, and let them dry completely before handling the bag.
Charms and Dangles: Small charms can often be attached by punching a tiny hole (or using existing seams/zipper pulls) and using a jump ring or small clasp. This is a great way to add a playful touch without permanently altering the bag’s surface.
Placement and Design Ideas
Think about where you want your embellishments to go. You could create a border along the flap, add a scattering of studs around a pocket, or form a specific shape or initial. Planning your layout beforehand can prevent mistakes. Many designers suggest laying out your embellishments without glue first to get the spacing just right.
Using Leather Dyes for a New Hue
If you want to change the color of your bag entirely, or deepen its existing shade, leather dye is the way to go. It soaks into the leather, providing a rich, lasting color. This is a more permanent change than painting, so consider your desired outcome carefully.
Choosing and Applying Leather Dye
Leather dyes are available in various colors. Similar to paints, it’s important to use dyes specifically made for leather. Apply the dye evenly using a wool dauber or sponge. Work in thin coats, allowing each to dry before applying the next. Work in a well-ventilated area, as dyes can have strong fumes. Many sources recommend wearing gloves to protect your hands.
Conditioning After Dyeing
After dyeing, the leather can sometimes feel a bit dry. It’s essential to condition it afterward to restore its suppleness and protect the new color. Use a quality leather conditioner and buff it in gently. This process helps the dye set and keeps your bag looking its best.
Patches and Appliqués: A Quick Fix
For a quick and easy customization, iron-on or sew-on patches are excellent choices. They can add a pop of color, a fun graphic, or a touch of personality with minimal effort.
Applying Patches to Leather
Iron-On Patches: While some iron-on patches can adhere to leather, it’s often best to use a pressing cloth and a medium heat setting to avoid melting or damaging the leather. For a more secure bond, you might consider using a fabric glue or leather adhesive in addition to ironing. We found that securing the edges with a few stitches can also help them stay put.
Sew-On Patches: These are generally a more reliable option for leather bags. Simply use a needle and strong thread (leather or upholstery thread works well) to sew the patch directly onto the bag. You can do this by hand or with a sewing machine if your machine is capable of handling thick materials.
Creative Placement of Patches
Patches can be placed almost anywhere on your bag. Consider the front flap, the side panels, or even along the straps. A single statement patch can be bold, while a collection of smaller patches can create a fun, collage-like effect. Don’t be afraid to mix different styles and sizes for a truly unique look.
Your Custom Bag Checklist
Ready to get started? Here’s a quick checklist to help you prepare:
- Gather all your chosen decorating supplies.
- Ensure your workspace is protected and well-ventilated.
- Clean your leather bag thoroughly.
- Sketch out your design idea (if applicable).
- Test paints, dyes, or adhesives on an inconspicuous area first.
- Have fun with the process!
Conclusion
You’ve learned that decorating a plain leather bag is an exciting way to express your individuality. We’ve covered several creative methods, from painting and adding embellishments to using dyes and patches. Each technique offers a unique way to transform your accessory. Remember that preparation is key to achieving a lasting, professional-looking result. Now, you have the knowledge to give your bag that custom touch you’ve been dreaming of. So grab your supplies and start personalizing!
Frequently Asked Questions
Can I paint any type of leather bag?
Yes, you can paint most types of leather bags, but it’s best to use paints specifically made for leather. These paints are flexible and designed to bond well without cracking. Always clean the bag first and test your paint on a small, hidden area to ensure compatibility.
How do I make sure paint or dye won’t rub off?
The key is proper application and sealing. For paint, use thin, even coats and apply a flexible leather sealer or finisher once it’s completely dry. For dyes, ensure thorough drying between coats and always condition the leather afterward to help set the color.
What’s the easiest way to add a design to a leather bag?
For beginners, applying iron-on or sew-on patches is often the easiest method. Patches add instant personality with minimal artistic skill required. You can also find stencils that make it easier to paint clean patterns or shapes onto your bag.
How do I prevent damaging my leather bag while decorating?
Always protect your workspace with old newspapers or a drop cloth. When using tools like hammers for studs or irons for patches, be gentle and use protective layers like a pressing cloth. Research specific techniques beforehand and test glues or adhesives on a discreet spot first.
Can I change the original color of my leather bag?
Yes, you can change the original color using a leather dye. This is a more permanent alteration than painting a design on top. Ensure you choose a dye specifically formulated for leather, work in a well-ventilated area, and condition the leather well after dyeing.