
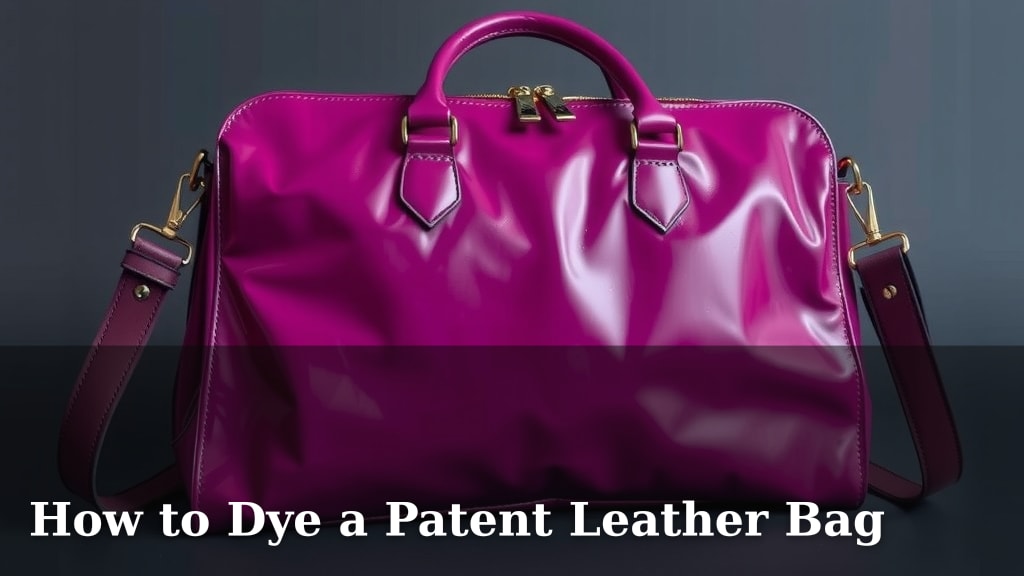
How to Dye a Patent Leather Bag
Yes, you can dye a patent leather bag, but it requires special care and the right products. The most effective way to dye patent leather is by using a specialized leather dye designed for glossy finishes. Expect a durable color change if you follow the process correctly.
Dyeing patent leather is different from regular leather. The plastic-like coating on patent leather means it won’t absorb dye like unfinished leather. You’ll need to prepare the surface properly to ensure the dye bonds effectively. This process can revive an old bag or give a new look to one you already own.
- Prepare your patent leather bag thoroughly.
- Choose a dye specifically made for patent leather.
- Apply the dye in thin, even coats.
- Allow adequate drying time between coats.
- Seal the dye for lasting color.
Ready to give your patent leather bag a fresh new hue? Let’s walk through exactly how to do it step by step.
So, you’ve got a patent leather bag that’s looking a little tired, or maybe you just want to give it a fun, new color. You might be wondering, “Can I *really* dye this shiny stuff?” The answer is a resounding yes! It just takes a little know-how. Dyeing patent leather isn’t quite like dyeing a pair of jeans, but with the right approach, you can achieve a fabulous, **long-lasting color transformation**.
Getting Your Patent Leather Bag Ready for Dye
Before you even think about color, the most important step is proper preparation. Think of it like getting a canvas ready for paint. You need a clean, receptive surface for the dye to stick. If you skip this, your color might be patchy or rub off easily.
Cleaning the Surface
First, you need to give your bag a good, thorough cleaning. Patent leather has a protective coating that can prevent dye from penetrating. You want to remove any dirt, oils, or residues that might be sitting on the surface. A mild soap and water solution is usually your best bet. Gently wipe down the entire bag with a damp cloth. Make sure you use a soft microfiber cloth to avoid scratching the patent finish.
Removing Old Finishes (If Necessary)
Sometimes, patent leather might have a wax or polish on it. If you suspect this is the case, you might need a specialized cleaner. Many leather care product manufacturers offer cleaners designed for patent leather. These can help strip away any buildup without damaging the material. You’ll want to test this in an inconspicuous spot first, just to be sure. We found that a little goes a long way, so don’t overdo it.
Ensuring the Bag is Dry
After cleaning, it’s absolutely essential that your bag is completely dry. Even a little bit of moisture can interfere with how the dye sets. Let your bag air dry for at least 24 hours. You can speed this up slightly by gently blotting it with a dry cloth. Avoid using heat sources like hair dryers, as this could potentially warp or damage the leather.
Choosing the Right Dye for Patent Leather
This is where many people get tripped up. Not all leather dyes are created equal, especially when it comes to glossy patent finishes. You can’t just grab any old dye off the shelf. You need something specifically formulated for this type of material.
Specialized Patent Leather Dyes
We discovered that dyes designed for “smooth leather” or “high-gloss finishes” are your best bet. These dyes are often more flexible and formulated to adhere to the non-porous surface of patent leather. Look for products that mention compatibility with patent, vinyl, or PVC materials. These are usually liquid dyes that you apply with a sponge or applicator.
Color Considerations and Compatibility
When choosing a color, remember that dyeing a darker color over a lighter one is much easier. Trying to dye a black bag red, for example, will likely result in a dark reddish-brown, not a vibrant red. If you want a drastic color change, you might need to use a leather stripper first, but this can be risky with patent leather. Most experts suggest sticking to darker shades or similar tones for the best results. Always read the product instructions carefully for color mixing or preparation.
Testing Your Dye
Before you commit to dyeing your entire bag, it’s a smart move to test the dye. Find an area on the inside of the bag or a less visible spot. Apply a small amount of dye there. Let it dry completely. This helps you see how the color will look and if the dye adheres well. Many users report that this simple test saved them a lot of potential heartache.
The Dyeing Process Step-by-Step
Now for the fun part! Applying the dye is straightforward, but it requires patience. Rushing this process is a recipe for a less-than-perfect finish. Think of it as painting a delicate object; slow and steady wins the race.
Applying the Dye
Start by applying a thin, even coat of dye. Use the applicator that comes with the dye or a clean sponge. Work in smooth, overlapping strokes. Don’t try to get full coverage in one go. It’s better to apply multiple thin coats than one thick, gloopy one. This helps prevent streaks and drips. Many sources recommend applying in a well-ventilated area, which is always a good idea when working with dyes.
Drying Between Coats
This is non-negotiable. You must allow each coat of dye to dry completely before applying the next. Drying times can vary depending on the product and humidity, but generally, you’ll want to wait at least 15-30 minutes between coats. Proper drying ensures that the previous layer is set and ready for more color. Patience here will pay off in the final appearance.
Building Color and Coverage
Continue applying thin coats and allowing them to dry. You’ll see the color deepening with each layer. Keep going until you achieve the desired color intensity and coverage. Most projects will need 2-4 coats, but sometimes more might be needed for very dark or vibrant shades. Always aim for that smooth, uniform finish. You don’t want any spots where the original color is peeking through.
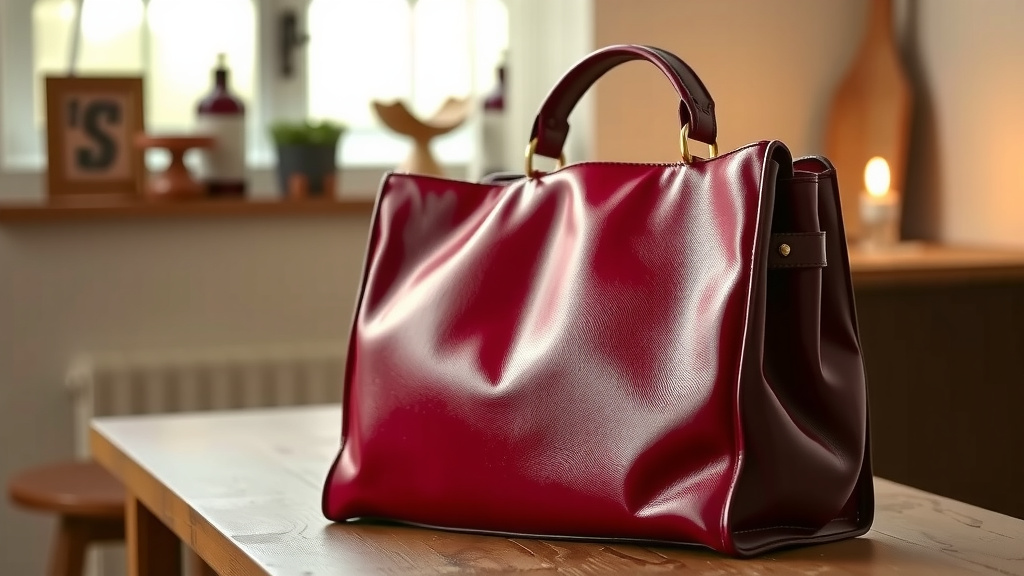
Sealing and Finishing Your Dyed Bag
Once you’ve achieved your perfect color, the job isn’t quite done. Sealing the dye is crucial for protecting your work and ensuring the color lasts. Without a sealant, the dye can rub off on clothing or fade over time.
Applying a Leather Sealer or Finish
After the final coat of dye has dried for at least 24 hours, you need to apply a protective topcoat. Many dye kits come with a recommended finisher, or you can purchase a separate leather sealant. Again, apply this in thin, even coats. This sealant acts like a protective shield for your new color.
Buffing for Shine
Once the sealant is dry, you can often buff the bag to restore its natural shine. Use a clean, soft cloth and gentle circular motions. This step brings back that glossy patent leather look. It can take a bit of elbow grease, but the results are usually worth it. You’ve transformed your bag, and now you want it to look its absolute best.
Here’s a quick checklist to keep you on track:- Clean your bag thoroughly with a mild soap.
- Ensure the bag is completely dry before starting.
- Select a dye specifically for patent or high-gloss leather.
- Apply dye in thin, even coats, allowing adequate drying time.
- Apply a protective sealant once the dye is fully dry.
- Buff to restore the glossy shine.
Conclusion
You’ve learned that dyeing a patent leather bag is entirely possible with the right approach. The key is careful preparation of the surface and using specialized dyes formulated for glossy finishes. By following the steps of cleaning, choosing the correct dye, applying it in thin coats, and sealing your work, you can achieve a stunning, durable color transformation. Don’t be afraid to experiment with color! Now that you have the know-how, take your favorite patent leather bag and give it the vibrant makeover it deserves.
Frequently Asked Questions
What happens if I don’t prepare the patent leather bag properly?
If you skip the preparation steps, the dye may not adhere correctly. This can lead to patchy color, streaks, or the dye rubbing off easily onto your clothes or other surfaces. Proper cleaning and prepping are essential for a lasting finish.
Can I dye a light-colored patent leather bag a dark color?
Yes, it’s generally much easier to dye a light-colored patent leather bag a darker shade. Trying to dye a dark bag a very light or vibrant color is often unsuccessful without using harsh strippers, which can damage the patent finish.
How many coats of dye will I need?
Most projects require 2 to 4 thin coats of dye to achieve even coverage and the desired color intensity. Some darker or brighter shades might need an additional coat or two. Always apply in thin layers and let each coat dry completely.
Can I use regular leather dye on patent leather?
No, we found that regular leather dyes typically won’t work well on patent leather. The smooth, plastic-like coating on patent leather is non-porous and requires a specialized dye designed to bond with this type of surface.
How long should I wait before using my dyed patent leather bag?
After applying the final coat of dye and the sealant, allow the bag to dry thoroughly for at least 24 hours. Buffing can then be done once the sealant is dry. This waiting period ensures the color and finish are fully set and durable.
![10 Best Leather Makeup Bag [2026]](https://mybestreviewss.com/wp-content/uploads/2026/08/10-best-leather-makeup-bag-2026-featured-768x432.jpg)
![10 Best Leather Bags For Laptops [2026]](https://mybestreviewss.com/wp-content/uploads/2026/09/10-best-leather-bags-for-laptops-2026-featured-768x432.jpg)
![10 Best Designer Leather Bags [2026]](https://mybestreviewss.com/wp-content/uploads/2026/09/10-best-designer-leather-bags-2026-featured-768x432.jpg)