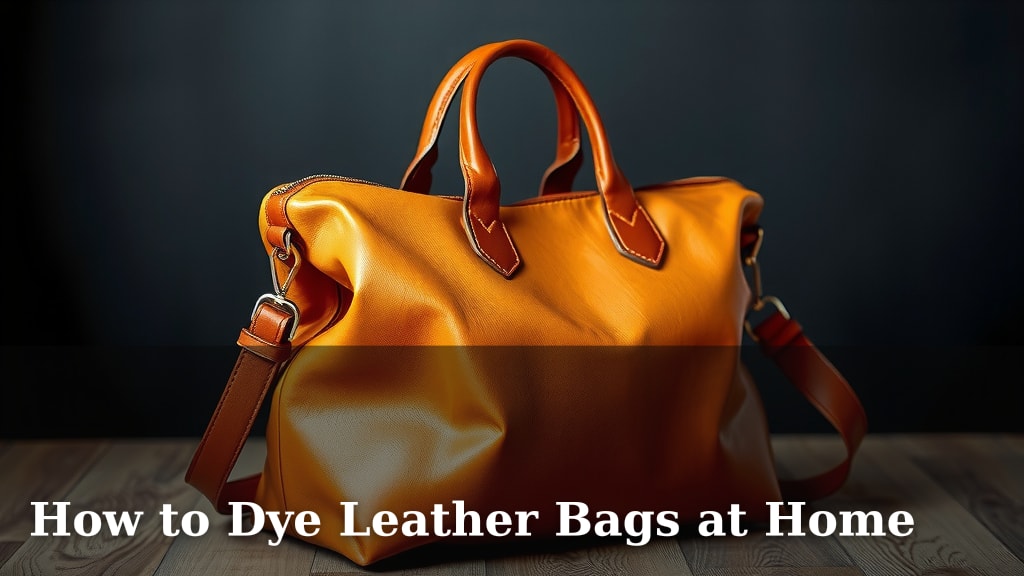
How to Dye Leather Bags at Home
Yes, you can absolutely dye your leather bags at home to give them a whole new look! With the right materials and a little patience, you can easily transform an old bag into something fresh and fashionable. It’s a rewarding way to refresh your accessories without breaking the bank.
Dyeing leather can seem daunting, but many DIYers have found success with specialized leather dyes. The key is understanding your leather type and using appropriate prep work. This process can give a worn-out bag a second life or simply update a color to match your current style.
- Choose the right dye for your leather.
- Properly clean and prep the bag surface.
- Apply dye evenly for a consistent finish.
- Seal and condition the leather afterward.
- Be patient and follow instructions carefully.
Ready to give your favorite bag a makeover? Let’s walk through the simple steps to dye your leather bag right in your own home.
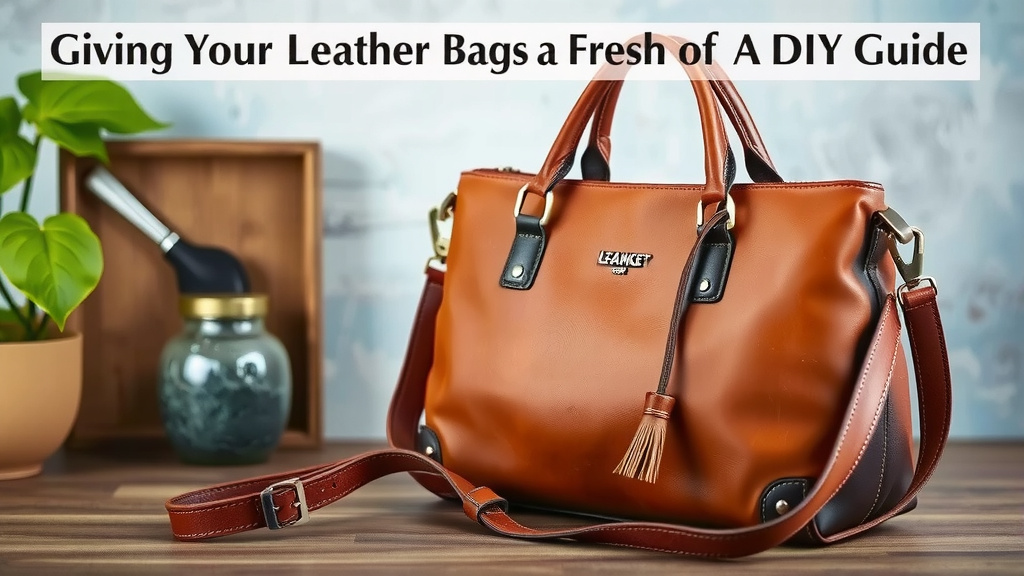
Giving Your Leather Bag a Fresh Color: A DIY Guide
You can definitely dye your leather bag at home! It’s a fantastic way to revive a tired accessory. You can make an old bag look brand new. Or, you can simply change its color to match your style. This process is rewarding. It saves you money too. Let’s get your bag looking fabulous!
Choosing the Right Dye for Your Project
The first step is picking the correct dye. Not all dyes work on all types of leather. It’s important to understand what you’re working with. This ensures the best, longest-lasting results. You don’t want your hard work to fade away quickly.
Types of Leather and Their Dyeing Properties
Leather comes in many forms. Some are easier to dye than others. Finished or top-grain leathers are common. They have a protective coating. This coating might need special treatment to let the dye penetrate. Unfinished or suede leathers are different. They absorb dye more readily but can be trickier to get an even color.
Understanding Leather Dye Types
There are two main types of leather dyes: oil-based and alcohol-based. Oil-based dyes tend to be more traditional. They create rich, deep colors. They might require more prep work. Alcohol-based dyes are often easier to use. They dry faster and can give a more vibrant finish. Many DIYers find them user-friendly. Research shows alcohol-based dyes are popular for beginners (Leather Craft Magazine).
What About Fabric Dyes?
Please, don’t use fabric dyes on your leather bag. They are not formulated for leather. Fabric dyes will likely just sit on the surface. They will probably crack or rub off. This will leave you with a messy, uneven color. Stick to dyes specifically made for leather. Your bag will thank you for it.
Preparing Your Leather Bag for Dyeing
Proper preparation is key to a successful dye job. Think of it like painting a wall. You wouldn’t paint over dirt or grease, right? The same applies to your leather bag. Cleaning and prepping the surface ensures the dye bonds correctly. This leads to a smooth, even color application.
Cleaning the Leather: The Essential First Step
You need to start with a spotless bag. Use a good quality leather cleaner. Gently wipe down the entire surface. This removes dirt, oils, and any old conditioning products. Pay attention to seams and crevices. Any remaining residue can create splotches. Many experts recommend a thorough wipe-down (The Leather Artisan Guide).
Stripping Old Finishes (If Necessary)
Some bags have a factory finish or seal. This can prevent the new dye from soaking in. If your bag feels very smooth and non-porous, you might need a leather stripper. A stripper is an acetone or alcohol-based solution. It helps to remove the top coating. Work in a well-ventilated area when using a stripper. Test it on an inconspicuous spot first.
Drying Time is Your Friend
After cleaning or stripping, let the bag dry completely. This is crucial. Damp leather won’t accept dye evenly. It can lead to streaks and blotches. Give it at least a few hours, or even overnight, depending on humidity. Patience here prevents headaches later.
Applying the Leather Dye: Techniques for Success
Now for the exciting part: applying the color! This stage requires a steady hand and some care. The goal is an even coat. You want to avoid drips and streaks. It’s better to apply multiple thin coats than one thick one.
Gather Your Supplies and Set Up Your Workspace
Before you start, gather everything you need. You’ll want your chosen dye, applicators (wool daubers, sponges, or brushes), lint-free cloths, gloves, and old newspapers or a drop cloth. Choose a well-lit, well-ventilated area. Protect your surfaces from drips. This is messy work, so wear old clothes too.
Test the Dye First!
Always, always test the dye. Find a hidden spot on your bag. This could be the inside flap or the bottom. Apply a small amount of dye there. Let it dry completely. This lets you see the true color. It also helps you get a feel for the application. You can make adjustments before coloring the whole bag.
Applying Thin, Even Coats
Dip your applicator into the dye. Don’t overload it. Start applying the dye in smooth, overlapping strokes. Work in sections. Try to maintain a consistent pressure. Wipe away any excess dye immediately with a clean cloth. If you see drips, gently blend them in. Wait for the first coat to dry before applying the next. Most projects require 2-3 coats for full coverage. It’s better to build up color slowly.
The Finishing Touches: Sealing and Conditioning
Once you’ve applied the final coat of dye and it’s completely dry, you’re almost done! The last steps protect your new color. They also keep the leather soft and supple. Skipping this can lead to a stiff bag or color transfer.
Applying a Leather Sealer or Topcoat
A leather sealer or topcoat is vital. It locks in the dye. It also provides protection against scuffs and moisture. Many dyes come with a recommended sealer. If not, choose a clear acrylic sealer designed for leather. Apply it in thin, even coats, just like the dye. Allow each coat to dry fully.
Conditioning Your Newly Dyed Bag
Dyeing can sometimes dry out leather. Conditioning restores its natural oils. Use a good quality leather conditioner. Apply it with a clean, soft cloth. Gently rub it into the leather using circular motions. This keeps the leather from becoming brittle. It also brings out a beautiful sheen. Many sources suggest conditioning after sealing (Professional Leather Care Guide).
Allowing for Full Curing Time
After sealing and conditioning, your bag needs time to cure. This means the dye and finishes fully set. Avoid using the bag for at least 24-48 hours. Some recommend even longer. This ensures your hard work lasts. It prevents color transfer onto your clothes. Be patient; a little extra waiting goes a long way.
Quick Checklist for Your Dyeing Project
Here’s a quick rundown to keep you on track:
- Gather all your supplies before you start.
- Clean your bag thoroughly.
- Test the dye in a hidden spot.
- Apply dye in thin, even coats.
- Seal and condition the leather after dyeing.
- Allow ample time for curing.
Conclusion
You’ve got this! Dyeing your leather bag at home is totally achievable. By selecting the right dye, prepping your bag carefully, and applying the color with patience, you can achieve a stunning transformation. Remember that testing first and following up with sealing and conditioning are key steps. These final touches protect your work. They also ensure your bag stays soft and beautiful. So, go ahead and give that favorite accessory a vibrant new life. Grab your supplies and get ready to create something amazing!
Frequently Asked Questions
Can I dye a faux leather bag?
Generally, it’s not recommended to dye faux leather bags with standard leather dyes. These dyes are designed to penetrate natural leather. Faux leather is often plastic-based and may not absorb the dye. You might end up with a patchy or sticky finish.
Will dyeing my leather bag make it stiff?
Dyeing can sometimes make leather feel a bit stiffer, especially if too much dye is applied or if it’s not conditioned afterward. This is why using thin coats and conditioning well is so important. Proper conditioning restores moisture and flexibility to the leather.
How long does a dyed leather bag last?
With proper dyeing, sealing, and conditioning, the color on your leather bag can last for years. Factors like the quality of the dye, how often you use the bag, and exposure to sunlight can affect longevity. Regular care, like conditioning, will help maintain the color.
Is it safe to dye leather bags indoors?
It’s best to dye leather bags in a well-ventilated area, even if indoors. Some dyes and strippers can have strong fumes. Make sure you have open windows or use a fan. Protecting your workspace with newspaper or a drop cloth is also essential to prevent stains.
What if I get an uneven color on my bag?
If you notice uneven color, don’t panic! Sometimes, an additional thin coat of dye can help blend it out. Ensure you’re applying the dye evenly with consistent strokes. If it’s very splotchy, you might need to use a leather stripper to remove the uneven dye and start over. Testing on an inconspicuous area first helps avoid this.
![10 Best Leather Camera Bag Womens [2026]](https://mybestreviewss.com/wp-content/uploads/2026/09/10-best-leather-camera-bag-womens-2026-featured-768x432.jpg)
![10 Best Men'S Leather Computer Bag [2026]](https://mybestreviewss.com/wp-content/uploads/2026/08/10-best-men-s-leather-computer-bag-2026-featured-768x432.jpg)
![10 Best Leather Sling Bag For Men [2026]](https://mybestreviewss.com/wp-content/uploads/2026/08/10-best-leather-sling-bag-for-men-2026-featured-768x432.jpg)
![10 Best Leather Tote Bags For Teachers [2026]](https://mybestreviewss.com/wp-content/uploads/2026/08/10-best-leather-tote-bags-for-teachers-2026-featured-768x432.jpg)