How to Change the Color of a Leather Bag
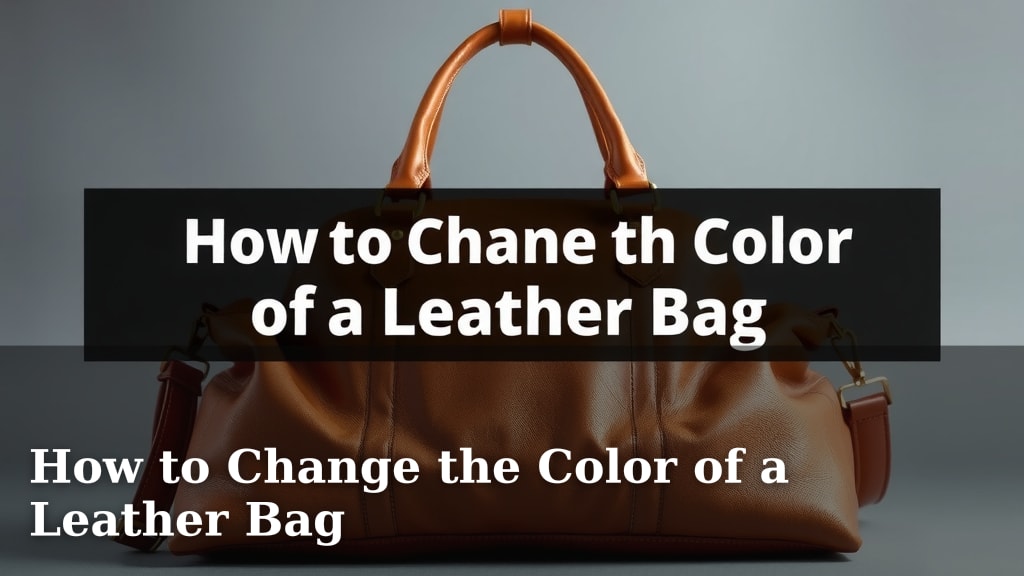
Yes, you can absolutely change the color of a leather bag with the right preparation and products. It’s a **rewarding DIY project** if you’re patient. You’ll want to choose a leather dye designed for your specific leather type. This guide will help you get started.
Refreshing your favorite bag’s look is easier than you think. It’s a great way to give an older bag a **brand new life**. Many people find success with this process at home. We’ll cover everything from cleaning to sealing the new color.
- Choose the right leather dye.
- Properly clean and prep your bag.
- Apply dye evenly for best results.
- Seal and condition your newly colored bag.
Ready to transform your leather bag? Let’s walk through exactly how this works step by step.
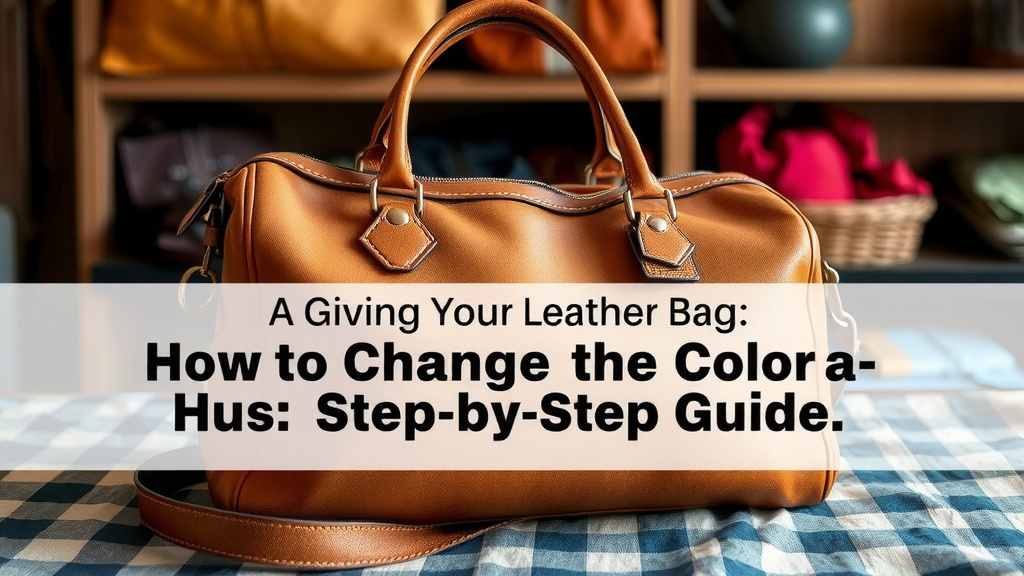
Giving Your Leather Bag a New Hue: A Step-by-Step Guide
Yes, you can definitely change the color of your leather bag! It’s a really satisfying project. You just need the right supplies and a little patience. The key is using a leather dye made for the type of leather your bag is crafted from. We’ll walk you through everything needed to achieve a fantastic new look for your favorite accessory.
Choosing the Right Leather Dye for Your Project
Before you even think about cleaning, you need to pick your color. This is where the magic begins! Not all dyes are created equal, so understanding your leather type is step one. Different finishes and types of leather react differently to dyes. Picking the wrong one can lead to splotchy results or damage your bag.
Understanding Different Leather Types
Most handbags are made from either full-grain, top-grain, or genuine leather. Sometimes, you might encounter faux leather or patent leather. Each requires a specific approach. For example, oil-tanned leathers or those with a waxy finish can be a bit trickier. Always check the manufacturer’s label or the bag’s original description if you can.
Types of Leather Dyes Available
There are a few main types of leather dyes you’ll find. Alcohol-based dyes are common. They penetrate the leather quickly. This means vibrant colors. However, they can dry out the leather. Water-based dyes are another option. They are easier to clean up. They offer more control during application. Oil-based dyes are also available. They can provide a richer, deeper color. Many sources recommend spirit-based dyes for the most vibrant and permanent results on unfinished leather (Leather Artisan Quarterly).
Selecting Your New Color
Think about what you want! Do you want a subtle change or a dramatic transformation? Going lighter is much harder than going darker. If your bag is a bright red, turning it a light pastel pink will be a challenge. It might require stripping the old color first. It’s often easier to dye a lighter bag a darker color. For instance, a tan bag can become brown or black without too much fuss.
| Leather Type | Best Dye Type | Considerations |
|---|---|---|
| Full-Grain/Top-Grain (smooth finish) | Alcohol-based or Water-based | Ensure proper prep and conditioning. |
| Genuine/Lower Quality Leather | Water-based or specialized paints | May absorb dye unevenly. Seal thoroughly. |
| Oily or Waxy Leathers | Specialized degreasers and dyes | Requires more cleaning and specific products. |
| Suede/Nubuck | Suede Dyes/Sprays | These are different and need specific products. |
Preparing Your Leather Bag for Dyeing
This step is absolutely critical for success. Skipping cleaning is like trying to paint a dirty wall. You won’t get a smooth, even finish. Proper prep ensures the dye adheres well and lasts. It removes oils, dirt, and any old finishes that might block the dye. Think of it as creating a blank canvas for your new color.
Thorough Cleaning is Key
You’ll need a good leather cleaner. Gently wipe down the entire surface of your bag. Pay attention to seams and crevices. You want to remove all surface dirt and grime. Let the bag air dry completely. Never use heat to speed up drying, as it can damage the leather.
Stripping Old Finishes (If Necessary)
If your bag has a heavy topcoat or sealant, you might need to strip it. Leather preparers or strippers are available for this. Follow the product instructions carefully. This step can be aggressive. You want to remove the old finish, not the leather itself. Always test in an inconspicuous spot first. Many DIY guides suggest using isopropyl alcohol for lighter finishes (DIY Leather Enthusiast Blog).
Protecting Hardware and Linings
Mask off any metal parts like zippers, buckles, or studs with painter’s tape. This prevents them from getting stained. If the inside lining is fabric, you’ll want to protect that too. You can use plastic sheeting or more tape. Consider stuffing the bag with old towels or newspaper to keep its shape and prevent dye from seeping through to the other side.
Applying the Leather Dye
Now for the fun part! Applying the dye needs a steady hand and a bit of technique. The goal is an even, consistent coat. Over-application or uneven strokes are common mistakes. Work in a well-ventilated area. Leather dyes can have strong fumes.
Tools You’ll Need
You’ll want a few things: your chosen leather dye, applicator pads or sponges, wool daubers, lint-free cloths, and gloves. Some people prefer using an airbrush for very even coats, but manual application is perfectly fine for most projects. You can often find dye kits that include most of these essentials.
Technique for Even Application
Start with a small amount of dye on your applicator. Apply it in smooth, overlapping strokes. Work in small sections. Wipe away any excess dye immediately with a clean cloth. If you’re dyeing a dark color over a light one, you might need multiple thin coats. Let each coat dry for at least 20-30 minutes before applying the next. Patience here is your best friend.
Drying Between Coats
It’s vital to let the dye dry properly. Rushing this can lead to streaks or smudges. You want the color to penetrate evenly. The leather will feel slightly stiff after dyeing. This is normal. Just let it rest and dry completely between applications. Many recommend drying overnight for the best results (Craft Leather Magazine).
Sealing and Conditioning Your Newly Colored Bag
Once you’re happy with the color, the job isn’t quite done. Sealing protects your new color. Conditioning keeps the leather soft and supple. Without these steps, your beautiful new color might fade or crack over time.
Applying a Leather Sealer
After the final coat of dye has dried for at least 24 hours, apply a leather sealer. This locks in the color. It also provides protection against scuffs and water. Choose a sealer that is compatible with your dye and leather type. Apply it in thin, even coats using a lint-free cloth or applicator pad. Let it dry completely according to the product directions.
The Importance of Conditioning
Dyeing can strip natural oils from the leather. Conditioning replenishes these oils. This keeps the leather from becoming dry and brittle. Use a good quality leather conditioner. Apply it generously with a soft cloth. Gently rub it into the leather in a circular motion. Buff off any excess with a clean cloth.
Final Inspection and Care
Give your bag a final check. Make sure the color looks even. Are there any spots you missed? You can often do a touch-up with a small amount of dye on a Q-tip if needed. Once everything is sealed and conditioned, let the bag cure for a few days before heavy use. This allows the products to fully set.
Here’s a quick checklist to keep you on track:- Gather all your supplies: dye, cleaner, stripper (if needed), applicators, tape, cloths, sealer, conditioner.
- Thoroughly clean and prep your bag.
- Mask off all hardware and the lining.
- Apply dye in thin, even coats, allowing adequate drying time between.
- Let the dye cure completely (at least 24 hours).
- Apply your leather sealer and then condition the bag.
Conclusion
You’ve learned that changing your leather bag’s color is achievable with careful planning and execution. By selecting the right dye, thoroughly preparing your bag, and applying the color with patience, you can give your accessory a stunning new look. Remember to always seal and condition your work to protect your vibrant new shade and keep your leather supple. Your newly transformed bag awaits!
Frequently Asked Questions
Can I change a dark leather bag to a lighter color?
Changing a dark bag to a lighter color is generally much more difficult and often not recommended for DIY projects. It usually requires stripping the original color, which can be harsh on the leather. You might end up with uneven results or damage the material.
Will dyeing my leather bag make it stiff?
It’s common for leather to feel a bit stiff after dyeing, as the process can remove some of its natural oils. This is why conditioning afterward is so important. Proper conditioning will restore the leather’s softness and flexibility, making it feel like new again.
How long does it take for the dye to dry completely?
Drying times can vary based on the dye type, humidity, and how many coats you apply. Generally, you should allow at least 20-30 minutes between thin coats. After the final coat, let the dye cure for at least 24 hours before applying a sealer. Some sources suggest even longer for optimal setting.
What if I make a mistake or don’t like the color?
Minor mistakes, like streaks, can sometimes be fixed with more dye application or careful blending. For more significant issues, you might need to use a leather stripper to remove the dye and start over. It’s best to test your technique on an inconspicuous area first.
How do I clean my leather bag after it’s been dyed?
After your bag has been dyed, sealed, and conditioned, you can clean it using a mild leather cleaner. Always avoid harsh chemicals or excessive water. Gently wipe the surface with a soft, damp cloth and allow it to air dry naturally. Regular conditioning will help maintain the color’s vibrancy.
![10 Best Men'S Leather Messenger Bags [2026]](https://mybestreviewss.com/wp-content/uploads/2026/08/10-best-men-s-leather-messenger-bags-2026-featured-768x432.jpg)