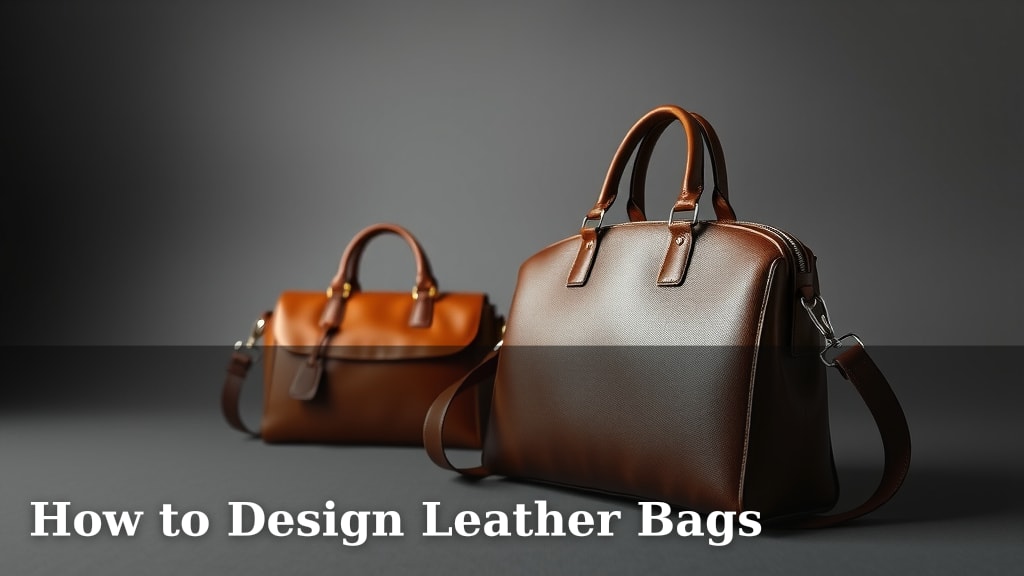
How to Design Leather Bags
Designing your own leather bags can be a rewarding creative process. You can create a unique accessory that perfectly fits your style and needs. It involves understanding materials, patterns, and construction techniques.
Many aspiring designers wonder about the first steps to creating a custom leather bag. It’s not just about sewing; it’s about bringing a concept to life from scratch. We found that starting with a clear vision and a good understanding of the basics is key to success.
- Start with a clear design concept.
- Choose the right type of leather for your project.
- Learn basic pattern-making skills.
- Understand the essential tools you’ll need.
- Practice fundamental leather construction methods.
Let’s walk through exactly how to approach designing your very own leather bags, step by step.
Getting Started with Leather Bag Design
Designing your own leather bags is an exciting journey. You’ll learn to transform raw materials into a stylish accessory. It requires a mix of creativity and practical know-how. We found that having a solid plan from the start makes the whole process smoother.
Defining Your Bag’s Purpose and Style
Before you pick up a single tool, think about your bag’s main job. Will it be a daily tote for work, a small clutch for evenings out, or a rugged backpack for travel? Knowing its purpose will guide many design decisions. You want a bag that’s both beautiful and functional for its intended use.
Consider your personal style, too. Are you drawn to minimalist designs, or do you prefer something more bohemian and detailed? Perhaps you love vintage looks or modern, sleek lines. Your aesthetic will influence everything from the shape to the hardware you choose. We found that sketching out a few ideas helps solidify your vision.
Choosing the Right Leather Type
Leather isn’t just one thing; it’s a whole world of textures and strengths. The type of leather you select is incredibly important. It affects the bag’s drape, durability, and overall feel. Different leathers are suited for different bag styles. For example, a structured handbag needs a stiffer leather than a slouchy hobo bag.
Here are some common types of leather you might consider:
| Leather Type | Characteristics | Best For |
|---|---|---|
| Full-Grain Leather | Most durable, natural markings, develops a beautiful patina over time. | High-end bags, briefcases, wallets, items meant to last a lifetime. |
| Top-Grain Leather | Second strongest, has the top layer of hide, often smoother and more uniform. | Most handbags, wallets, everyday leather goods. |
| Genuine Leather | Lower quality, made from the remaining hide after top layers are removed, can be less durable. | Entry-level bags, fashion accessories where extreme durability isn’t the main concern. |
| Suede/Nubuck | Soft, velvety texture, made by buffing the grain side (nubuck) or flesh side (suede). | Accents, linings, or bags where a soft feel is desired, requires more care. |
When you’re starting out, a medium-weight, relatively firm leather like a vegetable-tanned cowhide can be a good choice. It’s easier to handle for beginners. Many suppliers offer different weights, often measured in ounces per square foot. A 4-6 ounce weight is often a good starting point for bag panels. We found that ordering small swatches is a smart way to feel the difference before committing to a larger piece.
Developing Your Bag Pattern
A pattern is essentially the blueprint for your leather bag. It’s a set of paper pieces that you’ll trace onto your leather and then cut out. Getting the pattern right is crucial for a well-constructed bag.
Sketching and Measuring
Start with detailed sketches. Don’t just draw the outside shape; think about the interior pockets, gussets (the side panels that give the bag depth), straps, and closure. Measure everything carefully. You can use existing bags you own as inspiration for proportions, but don’t copy them directly unless you intend to.
Think about how the pieces will fit together. For example, how wide should the side panels be to achieve the desired depth? How long should the straps be for comfortable carrying? It’s helpful to draw your design to scale. Many designers use graph paper for this. We found that drawing a 3D view alongside flat pattern pieces helps visualize how it all comes together.
Creating Your Paper Pattern
Once your sketches are finalized, you’ll transfer them to pattern paper. Cardstock or even heavy poster board works well for more durable patterns. Each distinct shape of your bag will be a separate pattern piece. This includes the front, back, sides, bottom, strap pieces, and any pocket pieces.
Carefully label each piece on your pattern paper. Indicate which edge is the top, bottom, or side, and mark where seams will join. Also, mark where any hardware will be attached or where decorative elements will go. Precision here saves a lot of headaches later. We found that adding seam allowance to your pattern pieces is important, though for leather, some people prefer to mark it separately or account for it in their stitching lines.
Prototyping with Fabric (Optional but Recommended)
Before cutting into expensive leather, consider making a test version of your bag using a less costly material like canvas or cheap fabric. This is called a “muslin” or prototype. You can trace your pattern pieces onto the fabric and sew them together. This allows you to check the fit, proportions, and overall construction. Did the gussets fold correctly? Is the strap length right? This step is a fantastic way to catch and fix design flaws. We found that this prototype step can save you a significant amount of time and money in the long run.

Essential Tools and Techniques
Working with leather requires specific tools that differ from those used for fabric sewing. Investing in good quality tools will make your work easier and the finished product look more professional. We’ve found that starting with the basics is key.
Cutting Tools
You’ll need a way to cut leather cleanly and accurately. A sharp utility knife or a rotary cutter is essential. Always use a cutting mat underneath to protect your work surface and your blade. For cutting straight lines, a metal ruler is indispensable. For curved edges or intricate shapes, a craft knife or a specialized round knife can be useful.
Marking and Measuring Tools
You’ll need to transfer your pattern lines onto the leather and mark stitching lines. A scratch awl is great for marking directly onto the leather. For stitching lines, a wing divider or a stitching groover can create consistent parallel lines. A metal ruler is also vital for accurate measuring.
Punching and Setting Tools
Leather crafting often involves punching holes for stitching and for attaching hardware. A set of pricking irons or stitching chisels, along with a mallet (preferably a non-metal one like rawhide or poly), are used to create evenly spaced holes for hand stitching. A rotary punch or hole punches are used for creating single holes for rivets or other hardware. You’ll also need tools for setting rivets and snaps, often involving a rivet setter and a base.
Stitching Methods
Leather bags are often hand-stitched for durability and a classic look. This involves using an awl to punch holes and then using two needles with strong waxed thread to stitch through those holes in a saddle stitch pattern. This method creates a very strong and beautiful seam. Alternatively, if you have a heavy-duty sewing machine capable of handling thick leather, you can use that. Many makers recommend starting with hand stitching to truly understand the material. We found that practicing your stitching on scrap leather is a great way to build muscle memory.
Finishing Touches
Consider how you’ll finish the edges of your bag. Some prefer to burnish them smooth using water, tokonole (a burnishing agent), and a slicking tool. Others might add edge paint for a more refined look. For hardware like buckles, zippers, and clasps, ensure they are sturdy and complement your bag’s design. We found that clean, well-finished edges make a huge difference in the professional appearance of your bag.
Here’s a quick checklist to get you started:
- Have a clear design concept and sketches.
- Choose the appropriate leather type and weight.
- Create accurate pattern pieces on sturdy paper.
- Gather your essential cutting and marking tools.
- Practice hand stitching or prepare your heavy-duty machine.
- Plan for hardware and edge finishing.
Conclusion
Designing your own leather bag is an achievable dream. You’ve learned that success starts with a clear vision for purpose and style. Choosing the right leather is vital, affecting both look and longevity. Developing an accurate pattern and gathering the correct tools are your next big steps. Don’t forget to practice your construction techniques, especially stitching. With these foundations, you’re ready to create something unique. Your next step is to sketch your first design and start gathering your basic tools!
Frequently Asked Questions
What’s the easiest type of leather for a beginner to work with?
We found that a medium-weight, vegetable-tanned cowhide is often the easiest for beginners. It’s firm enough to hold its shape well. This type of leather also handles well for cutting and stitching, making it forgiving for new crafters.
How do I know if my bag design is practical?
Before cutting leather, make a prototype from fabric. This test version lets you check proportions, strap comfort, and how the bag functions. We discovered that this step reveals design flaws you might not see on paper.
Do I really need special leather tools?
Yes, you’ll need specific tools for working with leather. Standard sewing machine needles can break on leather. Tools like awls, pricking irons, and specialized knives create clean holes and cuts. We’ve found these tools make a big difference in professional results.
How important is the edge finishing on a leather bag?
Edge finishing is very important for the overall appearance of your bag. Clean, smooth edges look professional and prevent fraying. You can achieve this through burnishing or applying edge paint. We found that well-finished edges truly elevate your finished product.
Can I use a regular sewing machine for leather bags?
Most standard home sewing machines are not designed for thick leather. You might be able to use them for very thin leathers or small accents with a special needle. However, for most bag construction, hand stitching or a heavy-duty industrial machine is recommended for durability.
![10 Best Paint For Leather Bags [2026]](https://mybestreviewss.com/wp-content/uploads/2026/08/10-best-paint-for-leather-bags-2026-featured-768x432.jpg)