
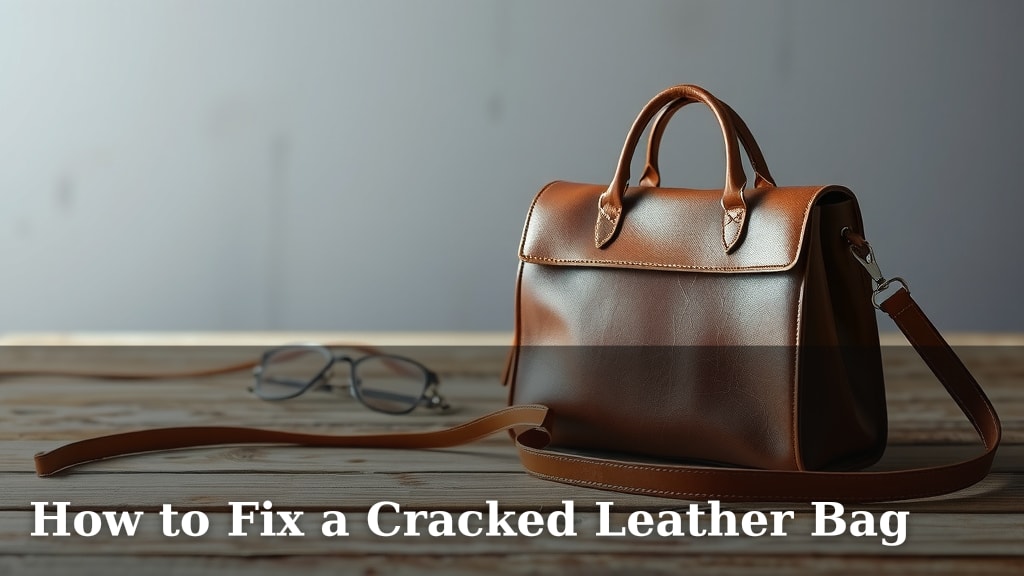
How to Fix a Cracked Leather Bag
Yes, you can absolutely fix a cracked leather bag with the right techniques and products. Often, small cracks can be repaired at home with some patience and a few simple supplies, restoring your bag’s beauty and function. Don’t let those minor damages get you down!
Leather is a durable material, but it can still show signs of wear like tears and scratches. Proper care helps prevent these issues, but sometimes cracks happen despite our best efforts. Knowing how to address them promptly can save your favorite accessory from further damage and keep it looking its best.
- Clean the cracked area thoroughly.
- Use a leather repair kit for best results.
- Apply filler and color to match your bag.
- Seal and condition the repaired spot.
Ready to bring your beloved bag back to life? Let’s walk through exactly how to fix that crack, step by step.
Repairing Your Cracked Leather Bag: A Step-by-Step Guide
Don’t panic if you spot a crack on your favorite leather bag! Many common cracks are **fixable at home**. With a little patience and the right approach, you can often restore its look and feel. We’ll guide you through the process to bring your bag back to its former glory. It’s like giving your bag a little spa treatment.
Assessing the Damage and Gathering Supplies
Before you start, take a close look at the crack. Is it a surface scuff or a deeper split? This will help you choose the right repair method. You’ll need a few key items to get started on your repair journey. Having everything ready means you can move smoothly from one step to the next.
What You’ll Need for the Repair
Most DIY leather repairs require a specialized kit. These kits typically include everything from cleaners to fillers and colorants. You can find them at most craft stores or online retailers. Here’s a general list of what you might need:
- Leather Cleaner: To prep the area and remove dirt and oils.
- Leather Filler or Repair Compound: This fills the crack itself.
- Applicator Tools: Small spatulas or plastic cards work well for applying filler.
- Leather Dye or Colorant: To match the color of your bag.
- Fine-Grit Sandpaper (optional): For smoothing rough edges.
- Leather Conditioner: To restore moisture after the repair.
- Clean Cloths: For wiping and buffing.
Understanding Different Types of Cracks
Cracks can range from simple surface dryness to deeper tears. Surface cracks often look like fine lines. These are usually caused by a lack of moisture. Deeper cracks might show separation in the leather fibers. These require a bit more work to mend. Knowing the difference helps you choose the correct repair product.
Preparing Your Leather Bag for Repair
This is a **critical first step**. Cleaning ensures that the repair products will adhere properly. If you skip this, your repair might not last. Think of it like painting a wall – you wouldn’t paint over dirt, would you?
Cleaning the Affected Area
Gently wipe the area around the crack with a soft, damp cloth. If the crack is dirty, use a dedicated leather cleaner. Follow the product’s instructions carefully. You want to lift away any grime or old product. Be sure to **avoid harsh chemicals**. They can damage the leather finish.
Allow the area to **air dry completely**. This might take a few hours. You can also use a hairdryer on a low, cool setting to speed things up. Ensure there’s no lingering moisture before proceeding. This helps guarantee a strong bond for your repair.
Applying Leather Filler or Repair Compound
This is where the magic starts to happen! The filler will help bridge the gap in the leather. It provides a smooth surface for the colorant. Applying it evenly is key to a natural-looking finish.
Filling Small to Medium Cracks
For minor cracks, you might only need a small amount of filler. Use a spatula or an old credit card to apply it. Press the filler gently into the crack. Try to keep the surface as smooth as possible. Wipe away any excess filler that gets on the surrounding leather. You can do this with a clean, damp cloth before it dries.
Dealing with Deeper Splits
Deeper cracks may require a bit more attention. You might need to apply the filler in thin layers. Let each layer dry before adding the next. Some repair kits come with a mesh backing. This can help support deeper fills. Always follow the specific instructions in your chosen repair kit. They know their product best!
Smoothing the Filler
Once the filler is dry, you might notice it’s slightly raised. You can gently **sand it down**. Use very fine-grit sandpaper, like 400-grit or higher. Sand in a circular motion until it’s flush with the leather surface. Be careful not to sand the surrounding good leather. This step is crucial for a seamless repair.
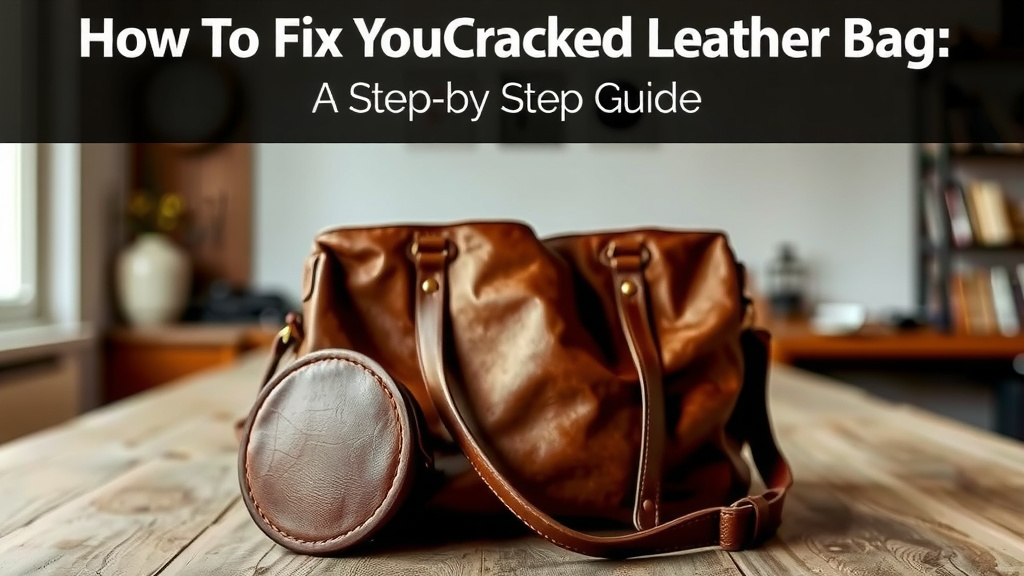
Color Matching and Dye Application
Getting the color right is essential for an **invisible repair**. Most kits come with a range of colors or a color-mixing guide. It’s better to start with a lighter shade and build up. You can always add more color, but it’s hard to take it away.
Testing the Color
Always test your color mix first. Apply a small amount of the mixed dye to an inconspicuous area of the bag. This could be the bottom or inside flap. Let it dry completely. Compare it to the surrounding leather. Adjust the color as needed until you achieve a **perfect match**. This testing phase saves you from costly mistakes.
Applying the Dye
Use a small brush or sponge applicator to apply the dye. Work in thin, even coats. Dab the color into the repaired area. Try to blend the edges into the original leather. Allow each coat to dry thoroughly before applying the next. Patience here makes a huge difference in the final appearance. Several thin coats are better than one thick one.
Sealing and Conditioning Your Repair
The final steps protect your repair and keep the leather supple. Sealing locks in the color and the filler. Conditioning adds moisture back into the leather.
Applying a Leather Sealer
Once the dye is completely dry, apply a thin layer of leather sealer. This product acts as a protective topcoat. It helps prevent the color from rubbing off. It also shields the repair from scuffs and wear. Use a soft cloth or applicator to spread it evenly. Let it dry according to the product’s instructions.
Conditioning the Leather
Leather is skin, and it needs moisture to stay flexible. After sealing, apply a good quality leather conditioner. This will help the entire bag, including the repaired spot, feel soft and supple. It also helps prevent future cracks from forming. Gently rub the conditioner in with a clean cloth. Buff the area after it has had a chance to soak in. You’ve successfully repaired your bag!
Here’s a quick checklist to keep you on track:
- Clean the cracked area thoroughly.
- Apply leather filler in thin layers if needed.
- Allow filler to dry completely and sand smooth.
- Test dye color on an inconspicuous spot first.
- Apply dye in thin coats to match the bag.
- Seal the repair and finish with leather conditioner.
Conclusion
You’ve now learned how to tackle those annoying cracks on your leather bag. It’s empowering to know you can often repair them yourself! Remember, proper preparation and patience are your best tools. By cleaning thoroughly, carefully applying filler, matching the color, and finishing with a sealer and conditioner, you can significantly extend your bag’s life. Don’t let minor damage ruin your favorite accessory. Take a deep breath, gather your supplies, and get ready to give your leather bag a new lease on life!
Frequently Asked Questions
How often should I condition my leather bag?
You should condition your leather bag at least every 6-12 months. If you live in a dry climate or use your bag frequently, more frequent conditioning might be beneficial. This helps keep the leather supple and prevents future cracks from forming.
Can I use nail polish to fix small cracks?
It’s best to avoid nail polish for leather repairs. Nail polish is not designed for leather and can harden it or cause discoloration. Stick to dedicated leather repair products for the best and safest results.
What if the crack is very deep and goes all the way through the leather?
For very deep cracks or tears that go all the way through the leather, a simple filler might not be enough. You may need a stronger adhesive or a leather patching kit. For extensive damage, consider consulting a professional leather repair service.
Can I repair a cracked patent leather bag?
Patent leather has a different finish than standard leather, and cracks can be more challenging to repair invisibly. While some repair kits offer solutions for patent leather, results can vary. Often, deep cracks on patent leather are difficult to conceal completely with DIY methods.
How long does a leather bag repair typically take?
The total time can vary, but expect to spend at least a few hours on a repair, spread over a couple of days. This includes drying times for the cleaner, filler, and dye. Rushing the process can lead to a less effective or noticeable repair.
![10 Best Quality Leather Bags For Men [2026]](https://mybestreviewss.com/wp-content/uploads/2026/08/10-best-quality-leather-bags-for-men-2026-featured-768x432.jpg)