How to Fix a Leather Strap on a Bag
You can absolutely fix a leather strap on a bag yourself. Often, a broken strap just needs a simple stitch or a bit of glue. We’ve found that most common leather strap repairs are quite manageable with a few basic tools. Don’t let a loose strap keep your favorite bag out of commission!
Repairing your leather bag strap can save you money and preserve a beloved accessory. Whether the stitching has come undone or the leather itself is torn, there are several effective methods. Many people successfully tackle these fixes at home, giving their bags a new lease on life.
- Check the type of damage (stitching vs. tear).
- Gather simple repair supplies.
- Use strong thread for stitching repairs.
- Consider leather glue for smaller tears.
- Test your repair before heavy use.
Let’s walk through exactly how to fix your leather bag strap step by step.
Bringing Your Leather Bag Straps Back to Life
A ripped or broken leather strap on your favorite bag can feel like a disaster. But don’t worry, repairing it is often simpler than you think. You might be surprised at how many common strap issues can be fixed with just a few basic tools and a little patience. We’ve found that most people can handle these repairs at home, saving both money and the sentimental value of their bag.
Assessing the Damage to Your Leather Strap
Before you grab any tools, take a good look at what’s wrong with the strap. The fix will depend entirely on the type of damage. Is it a seam that’s come apart? Or is the leather itself torn or frayed?
Stitching Issues: The Most Common Culprit
Often, a leather strap fails because the threads holding it together have worn out or snapped. This is especially common on bags that see a lot of use. You’ll notice loose threads or entire sections of stitching that have disappeared. This is usually the easiest type of damage to repair.
Leather Tears and Cracks: A Bit More Involved
Sometimes, the leather material itself might be the problem. You could have a tear, a rip, or even a crack where the leather has become brittle with age. These repairs might require a bit more finesse, but they are still very much doable. We found that strong adhesives can be a lifesaver here.
Gathering Your Leather Strap Repair Toolkit
You don’t need a professional leatherworking shop to fix a strap. Most common repairs can be done with supplies you might already have or can easily find at a craft or hardware store. Having the right tools makes the job much smoother.
Essential Supplies for Stitching Repairs
- Heavy-duty thread: Look for waxed linen or polyester thread specifically designed for leather. It’s much stronger than regular sewing thread.
- Leather needles: These have a sharp point to easily pierce the leather. A curved needle can sometimes make stitching in tight spots easier.
- Thimble: Protect your finger when pushing the needle through tough leather.
- Pliers (optional but helpful): To grip and pull the needle when the leather is thick.
- Scissors or craft knife: For trimming threads.
Supplies for Leather Tears and Cracks
- Leather adhesive or contact cement: Choose a flexible glue that’s made for leather.
- Clamps or binder clips: To hold the glued pieces together while they dry.
- Sandpaper (fine-grit): To lightly roughen surfaces for better glue adhesion.
- Rubbing alcohol: To clean the area before gluing.
Fixing Loose or Broken Stitches: Step-by-Step
This is where you can really give your bag a new lease on life. If your strap’s stitching has failed, follow these steps. We found that patience is key here!
Preparing the Area for Re-stitching
First, remove any old, loose threads. You want a clean surface to work with. If the holes from the old stitching are still visible, that’s great! They’ll serve as your guide. If not, you might need to mark new stitch lines.
The Saddle Stitch: A Strong and Durable Method
The saddle stitch is a favorite among leatherworkers for its strength. It uses two needles and a single strand of thread. If you’re new to this, consider watching a quick video tutorial; seeing it done can be incredibly helpful.
- Cut a length of thread about three to four times the length of the seam you need to repair.
- Thread a needle onto each end of the thread.
- Start by passing one needle through a stitch hole. Pull the thread until you have equal lengths on each side.
- Pass the needle from the opposite side through the next hole.
- Continue this process, ensuring each stitch goes through the same holes as the original thread, if possible.
- When you reach the end, tie off the thread securely with a few knots. Trim the excess.
Many craft guides recommend using a thicker, waxed thread for durability (Leatherworking Essentials). It creates a strong, weather-resistant seam.
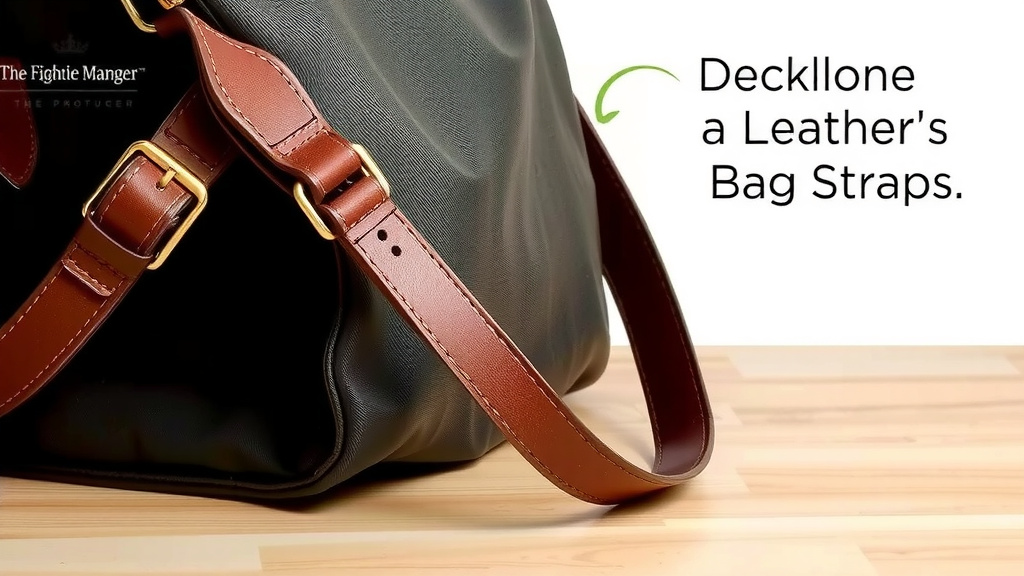
Repairing Torn or Cracked Leather
For tears or cracks, the goal is to re-bond the leather and reinforce it. This method is a bit different, focusing on adhesion.
Cleaning and Preparing the Torn Area
Gently clean the area around the tear with rubbing alcohol on a soft cloth. This removes oils and dirt that can prevent the glue from sticking. If the tear has rough edges, you might want to lightly sand them with fine-grit sandpaper. This helps the glue adhere better. Make sure the leather is completely dry before proceeding.
Applying Leather Adhesive
Carefully apply a thin, even layer of leather adhesive to one side of the torn leather. Then, press the two sides of the tear together. If it’s a crack, apply glue into the crack and gently press the edges together.
Now, this is important: use clamps or binder clips to hold the pieces firmly in place. You want good contact between the glued surfaces. Check the adhesive’s instructions for drying time; it can vary.
Reinforcing a Weakened Strap Area (Optional)
Sometimes, a strap might be weak even if it’s not torn. You can add a reinforcing patch. Cut a piece of thin leather slightly larger than the weakened area. Glue this patch to the underside of the strap. This adds strength and can help prevent future tears.
Testing Your Handiwork
Once your repair is completely dry and secure, it’s time for a test run. Gently pull on the strap. Does it feel solid? Does it hold its shape?
A Gentle Tug Before Heavy Use
Before you load up your bag with all its usual contents, try putting a little weight on the strap. If it was a stitching repair, check that the stitches are holding. If it was a glued repair, ensure the glue is firm and not giving way.
If everything feels secure, you’re good to go! You’ve successfully repaired your leather bag strap. It’s a rewarding feeling to fix something yourself, especially when it brings a beloved item back into service.
Quick Checklist for Your Leather Strap Repair
- Assess the damage: Stitching issue or leather tear?
- Gather tools: Thread, needles, glue, clamps ready?
- Clean the area: Remove dirt and debris.
- Choose the right method: Stitching or gluing.
- Apply pressure: Ensure good contact for glue.
- Test carefully: Gentle tug before full use.
Conclusion
You’ve learned that fixing a leather bag strap is within your reach. Whether it’s a few loose stitches or a small tear, the methods we covered can restore your bag. Remember to always assess the damage first and gather the right supplies. With a little patience and the correct technique, you can extend the life of your favorite accessories. So, pick up your tools and give your bag the repair it deserves. Your next favorite bag repair project is waiting!
Frequently Asked Questions
What’s the best thread for repairing a leather bag strap?
We found that waxed linen or polyester thread specifically made for leather is your best bet. It’s much stronger than regular sewing thread and resists wear and tear better. This type of thread ensures your repair will last.
Can I use super glue to fix a torn leather strap?
While tempting, super glue is generally not recommended for leather. It can become brittle and crack over time, or even damage the leather. It’s better to use a flexible adhesive designed for leather, like contact cement.
My strap is fraying at the edges, not torn or unstitched. What can I do?
For fraying edges, you can often use a bit of leather adhesive applied sparingly to the underside of the fraying area. You might also trim the loose threads carefully with sharp scissors or a craft knife and then seal the edge with a leather conditioner or a very light coat of glue.
How long does a leather strap repair typically take?
The time it takes depends on the repair. A simple re-stitching might take 30 minutes to an hour, depending on your speed and the length of the seam. Gluing a tear and waiting for it to dry could take longer, as you’ll need to factor in drying time, sometimes several hours.
Will my repaired leather strap look exactly like new?
While a good repair can be nearly invisible, especially with matching thread, slight imperfections are possible. The goal is to make it strong and functional. For minor cosmetic differences, consider using a leather dye or conditioner after the repair to blend the colors.

![10 Best Men'S Leather Briefcase Messenger Bag [2026]](https://mybestreviewss.com/wp-content/uploads/2026/08/10-best-men-s-leather-briefcase-messenger-bag-2026-featured-768x432.jpg)