
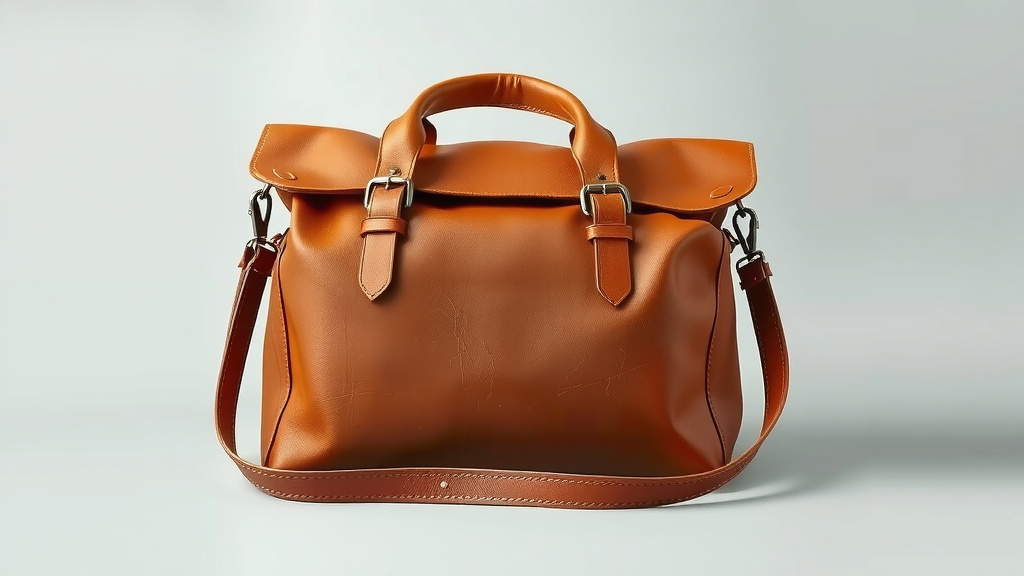
Craft Your Own Leather Bag: A Step-by-Step Guide
Making your own handmade leather bag is totally doable! You can create a unique, high-quality bag with a few basic tools and some patience. Think of it as a fun weekend project that results in something you’ll actually use and love. The key is getting good quality leather and taking your time with each step. You’ll be surprised at what you can achieve!
This craft allows for so much personal expression. Whether you’re aiming for a sturdy tote, a sleek crossbody, or a stylish clutch, the process is adaptable. Many people find the tactile nature of working with leather incredibly satisfying. Plus, a handmade bag is a fantastic gift idea. We found that starting with a simple pattern makes the learning curve much smoother.
- Start with simple patterns for your first bag.
- Choose good quality leather for durability.
- You’ll need basic tools like an awl and stitching needles.
- Take your time with each cut and stitch.
- Enjoy the process of creating something unique!
Ready to get started on your own leather masterpiece? Let’s walk through exactly how to make a handmade leather bag, step by step.
Crafting Your Own Leather Bag: A Step-by-Step Guide
Creating a handmade leather bag might seem daunting, but it’s a rewarding craft. You can produce a unique accessory that reflects your personal style. The key is patience and attention to detail. Let’s get you started on this exciting project!
Gathering Your Leather Bag-Making Essentials
Before you begin cutting and stitching, you’ll need the right supplies. Having everything ready makes the process much smoother. Think of this as preparing your workspace for a successful creative session.
Choosing the Right Leather
The type of leather you select is crucial for your bag’s look and feel. Different leathers offer varying durability and aesthetics. We found that vegetable-tanned leather is a popular choice for beginners. It’s stiff enough to hold its shape well. It also takes tooling and dyeing beautifully. The type of leather you select is crucial for your bag’s look and feel; our guide to the best leather for making bags explains the options.
Consider the thickness, often measured in ounces (oz). For a tote bag, 5-7 oz leather is generally recommended. For smaller items like wallets or clutches, 2-4 oz might be better. You can often buy leather by the square foot or in pre-cut kits. Many online suppliers offer a good variety.
Essential Tools for Leatherwork
You don’t need a professional workshop to make a leather bag. A few key tools will get you far. You can often find starter kits that bundle many of these items together.
Cutting Tools
A sharp utility knife or a rotary cutter is essential for clean cuts. A self-healing cutting mat is also a must-have. It protects your work surface and your blade. For more precise work, you might consider a specialized leather knife.
Marking and Measuring Tools
A metal ruler is vital for straight lines. You’ll also need a scratch awl or a silver pen for marking cut lines and stitching holes. A leathercraft marking tool can help create dotted lines for stitching. Accuracy here prevents mistakes later.
Stitching Tools
This is where the magic happens! You’ll need a stitching awl, which punches holes. You’ll also need leather needles and waxed thread. Harness needles are often used for leather. They have blunt tips to avoid splitting the thread.
Other Handy Items
Don’t forget a mallet for setting rivets or snaps. A stitching pony or clamp can hold your work steady while you sew. A leather burnisher helps smooth edges. Sandpaper in various grits is useful for edge finishing.
Starting Your Leather Bag Project: The Pattern and Cutting
A good pattern is your roadmap. It ensures all your pieces fit together perfectly. Don’t skip this step, especially for your first project!
Selecting or Creating a Pattern
For beginners, starting with a simple pattern is highly recommended. Many websites offer free downloadable patterns for basic bags like totes or simple crossbody styles. You can also purchase patterns from craft stores or online retailers. If you’re feeling adventurous, you can draft your own simple pattern on paper or cardstock.
Transferring the Pattern to Leather
Once you have your pattern, carefully trace its shapes onto the flesh (rough) side of your leather. Use your awl or marking pen. Double-check your measurements. Ensure everything aligns correctly. It’s often helpful to mark stitching lines as well.
Cutting Your Leather Pieces
This is a critical step that requires a steady hand. Place your leather on the cutting mat. Use your metal ruler as a guide for your knife. Cut slowly and deliberately. You want clean, straight edges. Rushing this can lead to uneven seams.
Press down firmly but evenly. Make multiple passes with your knife if needed, rather than trying to cut through thick leather in one go. If your pattern has curves, follow them as smoothly as possible.
Assembling Your Leather Bag: Stitching and Finishing
Now comes the part where your bag starts to take shape. Stitching is time-consuming but incredibly satisfying. It creates a strong, beautiful bond between your leather pieces.
Marking Stitching Lines and Punching Holes
Before you stitch, you need to mark your stitching lines. Use a wing divider or a ruler to mark a consistent distance from the edge. This ensures your stitches are even. Then, use your awl or a specialized hole punch to create the stitch holes along this line. Make sure the holes are evenly spaced. This makes stitching much easier.
The Art of Hand Stitching Leather
Hand-stitching is the traditional way to join leather. It creates a strong and durable seam. You’ll typically use a saddle stitch. This involves using two needles on one thread. You pass one needle through a hole from one side, then the other needle from the opposite side.
Cut a length of waxed thread. It should be about three to four times the length of the seam you plan to stitch. Thread a needle onto each end of the thread. Start at one end of your seam. Pass one needle through the first hole. Then pass the second needle through the same hole from the opposite direction.
Pull both needles through, tightening the stitch. Alternate which needle goes through the hole next. This creates a strong, interlocking stitch. Keep your tension consistent. This makes the seam look professional. Many experts agree saddle stitching is one of the strongest hand stitches (The Leather Artisans Guild).
A stitching pony is incredibly helpful here. It holds the leather piece firmly. This frees up your hands to control the needles and thread. It makes the process much faster and more comfortable. Research shows that consistent stitch tension is key to a professional finish (Craft Leather Journal).
Adding Hardware and Final Touches
Depending on your bag design, you might add snaps, buckles, or rivets. These often require specific tools for setting. Follow the manufacturer’s instructions for your hardware.
Edge finishing is the final step for a polished look. You can burnish the edges with a wooden burnisher and a little water or beeswax. This smooths and seals them. You can also bevel the edges for a rounded appearance. Some people even apply a leather dye or finish to the entire bag.
Your Handmade Leather Bag Checklist
Here’s a quick rundown to keep you on track:
- Chosen a pattern that suits your skill level.
- Selected appropriate leather thickness and type.
- Gathered all necessary cutting, marking, and stitching tools.
- Carefully traced and cut all leather pieces.
- Marked stitch lines and punched consistent holes.
- Stitched all seams using a strong method like saddle stitching.
- Applied any hardware and finished the edges.
Conclusion
You’ve now walked through the essential steps to create your very own handmade leather bag! From selecting the perfect leather and gathering your tools to carefully cutting and the satisfying art of stitching, you’re ready to craft something truly special. Remember, patience is your best tool, and each stitch brings you closer to a unique, durable accessory you’ll be proud to carry. Don’t be afraid to start simple. Your first bag is a learning experience, and the skills you build will last a lifetime. Ready to start? Pick out your pattern and your leather, and begin your creative journey today!
Frequently Asked Questions
What’s the best type of leather for a beginner making a bag?
For your first bag, vegetable-tanned leather is often recommended. We found it holds its shape well, making it easier to work with. It also looks great and can be tooled or dyed if you decide to add decorative elements later.
How thick should the leather be for a tote bag?
For a sturdy tote bag that can handle everyday use, we suggest leather between 5 and 7 ounces. This thickness provides durability without being too difficult to stitch by hand. Thinner leathers might not hold up as well over time.
What’s the difference between an awl and a needle for leatherwork?
An awl is used to punch holes through the leather for stitching. Needles, specifically blunt harness needles, are used to pass the waxed thread through those pre-punched holes. They work together to create strong seams.
Is hand-stitching leather really that strong?
Yes, hand-stitching, especially the saddle stitch method, is incredibly strong. Research shows it’s often stronger than machine stitching for leather. This technique creates a tight, interlocking seam that is built to last.
How can I make the edges of my leather bag look neat?
You can achieve neat edges through finishing techniques. Gently sanding the edges and then using a wooden burnisher with a little water or beeswax will smooth and seal them beautifully. This process is called burnishing.


![10 Best Leather Office Bags [2026]](https://mybestreviewss.com/wp-content/uploads/2026/08/10-best-leather-office-bags-2026-featured-768x432.jpg)