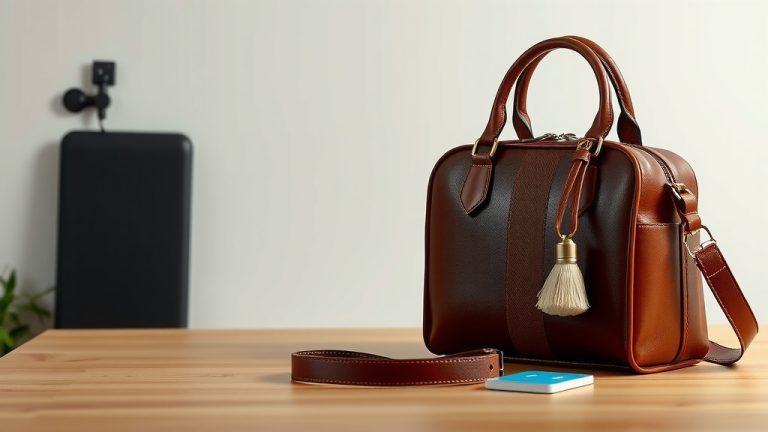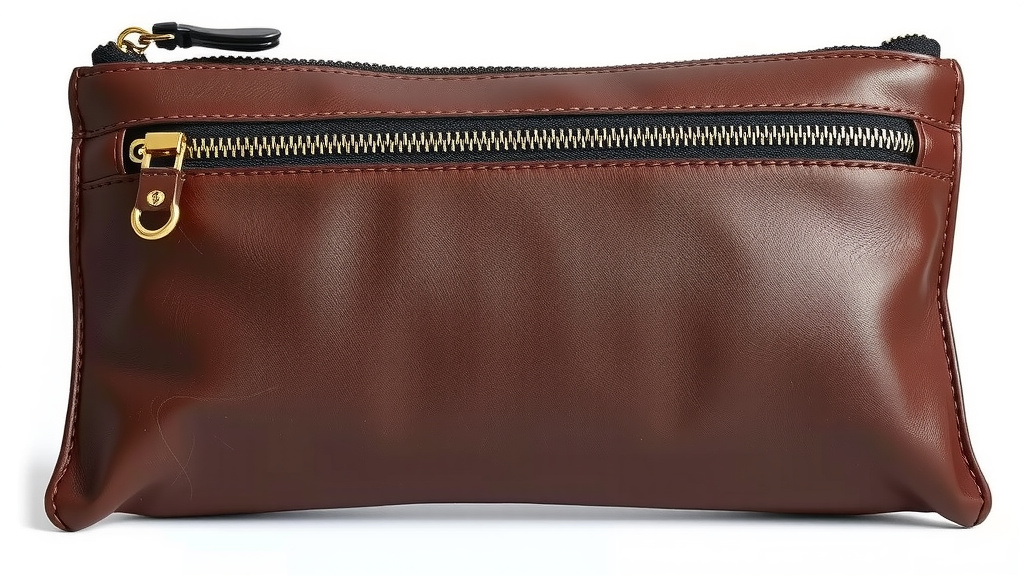
DIY Zipper Leather Clutch Bag: A Step-by-Step Guide
You can absolutely make your own leather clutch bag with a zipper! It’s a rewarding DIY project that requires a few basic tools and some careful stitching. With the right pattern and materials, you’ll have a stylish, custom accessory in no time. This guide breaks down how to make a leather clutch from start to finish.
Creating a leather clutch is more accessible than you might think. We found that having a clear step-by-step process makes all the difference. Whether you’re a seasoned crafter or new to working with leather, following these instructions will help you achieve a professional-looking result for your handmade bag.
- Gather your leather, zipper, and tools.
- Cut your leather pieces according to a pattern.
- Prepare the zipper for attachment.
- Stitch the main body and attach the zipper.
- Finish the edges for a clean look.
Ready to get started on your unique leather clutch? We’ll walk you through each step of the process, from picking out your perfect leather to adding that final, perfect stitch.
Crafting Your Own Leather Clutch Bag with Zipper
Making a leather clutch bag with a zipper is a fantastic DIY project. You can create a personalized accessory that’s both stylish and functional. This guide will walk you through each step. We’ll cover everything from selecting your materials to the final stitch. Get ready to craft a beautiful clutch you’ll love to show off.
Gathering Your Leather Clutch Bag Supplies
Before you start cutting and sewing, it’s essential to gather all the necessary materials. Having everything on hand makes the crafting process much smoother. Think of it like a chef preparing all their ingredients before cooking a gourmet meal.
Choosing the Right Leather
Your leather choice will significantly impact the final look and feel of your clutch. For a beginner-friendly project, consider a medium-weight vegetable-tanned leather. It holds its shape well and is easier to tool if you decide to add decorative elements later.
Full-grain leather is the highest quality. It’s durable and develops a beautiful patina over time. Top-grain leather is also a great option. It’s slightly thinner but still offers excellent durability. Avoid very thin or stretchy leathers for your first clutch. They can be tricky to work with and may not hold the zipper neatly (Leatherworker’s Journal).
Essential Tools and Notions
Beyond the leather, you’ll need a few key tools. A sharp craft knife or rotary cutter is crucial for clean cuts. A cutting mat will protect your work surface. You’ll also need a metal ruler for accurate measuring.
For marking and punching holes, a scratch awl and a hole punch or pricking irons are vital. Leather glue, like contact cement, helps hold pieces together before stitching. And of course, you’ll need a Leather glue, like contact cement, helps hold pieces together before stitching; our guide to the best leather glue for bags offers more options.leather sewing needle and waxed thread. A mallet is useful for setting stitches and rivets, if you choose to use them.
Don’t forget the zipper! For a standard clutch, a 7-9 inch metal or nylon zipper works well. Choose a color that complements your leather.
| Item | Description | Why You Need It |
|---|---|---|
| Leather | Medium-weight vegetable-tanned or top-grain (approx. 2-3 sq ft) | The main material for your bag. |
| Zipper | 7-9 inches, metal or nylon | To close your clutch securely. |
| Craft Knife/Rotary Cutter | Sharp blade | For precise leather cutting. |
| Cutting Mat | Self-healing | Protects your work surface. |
| Metal Ruler | At least 12 inches | For accurate measurements. |
| Scratch Awl & Pricking Irons | For marking stitch lines and punching holes. | Ensures even stitches. |
| Leather Glue | Contact cement | Temporary hold before stitching. |
| Waxed Thread & Needles | Durable thread and appropriate needles | For strong, lasting seams. |
Preparing Your Leather Clutch Pattern
A good pattern is the blueprint for your clutch. Many free patterns are available online. Search for “simple leather clutch pattern” or “beginner leather clutch template.”
Selecting and Printing a Pattern
Look for a pattern that includes a main body piece and potentially a lining piece. Simple envelope styles are great for beginners. Many patterns are downloadable as PDFs. Ensure you print the pattern at 100% scale. You can tape the pieces together on standard printer paper.
Transferring the Pattern to Leather
Once you have your printed pattern, carefully cut out the paper pieces. Place the paper pattern onto the flesh (rough) side of your leather. Use a tool like a scratch awl or a pen that won’t bleed through to trace the outline of the pattern pieces onto the leather. You can also use a temporary marker designed for leather.
Be precise when tracing. The accuracy here will affect how well your pieces fit together later. Double-check your measurements before cutting. Many crafters suggest adding seam allowance to your pattern if it doesn’t already include it. A typical seam allowance for leather is around 1/8 inch (0.3 cm).
Cutting and Preparing Your Leather Pieces
This is where your clutch really starts to take shape! Accurate cutting is key to a professional finish. Remember, you can always trim more, but you can’t add leather back once it’s cut.
Cutting with Precision
Place your leather on the cutting mat. Use your metal ruler as a guide. With a sharp craft knife or rotary cutter, make slow, steady cuts along your traced lines. For thicker leather, you might need to make multiple passes. Keep your blade perpendicular to the leather for straight edges.
If your pattern includes a separate lining, cut those pieces from your chosen lining fabric. Many crafters prefer to skip a lining for simplicity on their first project. If you do use a lining, prepare it by cutting and any necessary pre-stitching.
Preparing the Edges
For a cleaner look, you can bevel the edges of your leather pieces. A leather edge beveler tool removes a small sliver of leather from the edge at an angle. This creates a smooth, rounded surface. After beveling, you can burnish the edges. Burnishing involves rubbing the edge with a tool (like a canvas scrap or a wood burnisher) and sometimes water or a bit of gum tragacanth. This smooths and seals the edge, giving it a professional finish. This step is optional for your first clutch but makes a big difference!
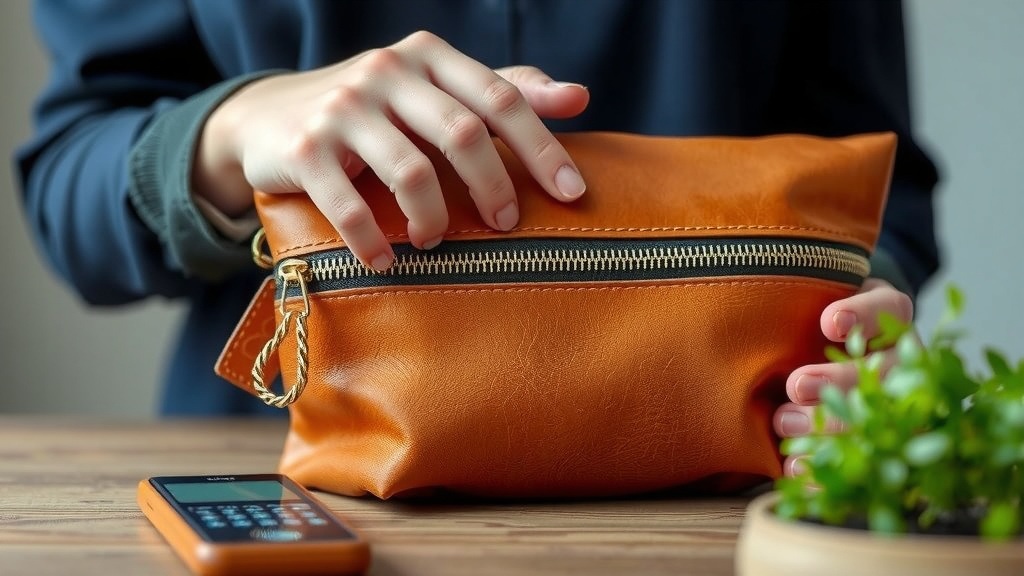
Attaching the Zipper to Your Leather Clutch
Attaching a zipper can seem daunting, but with careful steps, it’s quite manageable. This is where your clutch will transition from flat pieces to a functional bag.
Marking Zipper Placement
Lay your main leather pieces flat, right side up. Align the zipper face down along the top edge where it will be attached. Measure and mark the zipper’s starting and stopping points. Many patterns will indicate this. You want the zipper teeth to align with the edge of the leather where your stitching line will be.
Gluing and Stitching the Zipper
Apply a thin layer of leather glue to the edge of the leather where the zipper will sit. Carefully position the zipper, ensuring it’s straight and centered. Let the glue set according to the manufacturer’s instructions. Some crafters prefer to use binder clips or tape to hold the zipper in place while the glue dries.
Next, you’ll stitch the zipper to the leather. If you’re hand-stitching, use a saddle stitch for strength. If you’re machine stitching, use a zipper foot. Stitch close to the zipper teeth, creating a clean line. It’s important that your stitching catches both the leather and the zipper tape securely.
Pro Tip: Before you glue, you can use your pricking irons to create stitch marks along the edge where the zipper will go. This helps ensure your stitches are evenly spaced.
Assembling and Finishing Your Leather Clutch
With the zipper attached, you’re in the home stretch! Now it’s time to bring the rest of the bag together.
Stitching the Clutch Body
Apply leather glue along the side and bottom edges of your leather pieces, making sure not to get glue on the zipper tape itself. Carefully align the edges and press them together. Use binder clips or clamps to hold the pieces firmly in place while the glue dries.
Now, stitch the sides and bottom of your clutch. If you’re hand-stitching, use your awl and pricking irons to create consistent holes. Thread your waxed thread and use a saddle stitch. If you have a sewing machine with a walking foot and a leather needle, you can machine stitch. Stitch slowly and steadily, ensuring your stitches are neat and strong. Many sources suggest a double stitch on the corners for added durability.
Final Touches and Edge Finishing
Once the main stitching is complete, inspect your clutch. Trim any stray threads. You can further refine the edges by burnishing them if you didn’t do so earlier. A bit of wax applied to the edges can also give them a nice sheen and added protection.
Consider adding a small tab or pull to the zipper if it doesn’t have one. This makes it easier to open and close the bag. You can cut a small strip of leather, fold it over, and attach it to the zipper pull.
You’ve done it! You’ve successfully crafted a beautiful leather clutch bag with a zipper. Take a moment to admire your handiwork. You’ve turned raw materials into a stylish, functional accessory. This project is a wonderful introduction to leatherworking. Feel proud of what you’ve created!
Conclusion
You’ve now learned the essential steps to create your very own leather clutch bag with a zipper. From selecting the right leather and tools to precisely cutting, attaching the zipper, and final stitching, you’ve got the roadmap to a beautiful, handmade accessory. This project proves that with patience and a good guide, you can achieve professional-looking results. Your custom clutch is ready to be shown off!
Now that you’ve mastered the basics, consider trying a different leather type or adding decorative tooling to your next clutch. The possibilities are endless!
Frequently Asked Questions
What’s the best type of leather for a beginner clutch?
For your first clutch, a medium-weight vegetable-tanned leather is a great choice. It’s easy to work with, holds its shape well, and can be tooled if you want to add designs later. Top-grain leather is also a good option.
How do I ensure my stitches are straight on leather?
Using pricking irons or a stitching chisel before you stitch is key. These tools create evenly spaced holes that guide your needle. For hand-stitching, a consistent saddle stitch will give you strong, neat seams.
Can I use a regular sewing machine for leather?
You can, but you’ll need a few specific things. Use a leather needle designed for thick materials, and a walking foot can help feed the leather evenly. Always test on scrap leather first. Some thicker leathers are best stitched by hand.
What’s the easiest way to attach the zipper?
Carefully apply a thin layer of leather glue to the edge of the leather where the zipper will sit. Align the zipper face down and let the glue set. Then, stitch close to the zipper teeth, using a zipper foot if using a machine, or careful hand stitches.
How can I make my leather clutch edges look more professional?
After cutting, you can use a leather edge beveler to round the edges slightly. Then, burnish the edges by rubbing them with a smooth tool and water or gum tragacanth. This smooths and seals the edge for a clean, finished look.
![10 Best Leather Tote Bags For Teachers [2026]](https://mybestreviewss.com/wp-content/uploads/2026/08/10-best-leather-tote-bags-for-teachers-2026-featured-768x432.jpg)