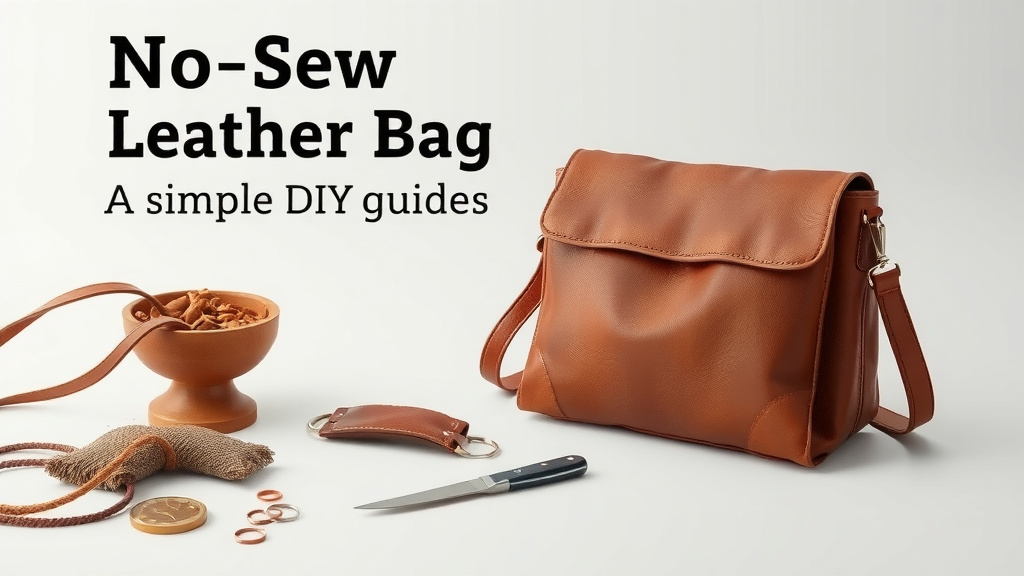
No-Sew Leather Bag: A Simple DIY Guide
Yes, you can absolutely make a stylish leather bag without any sewing! Many crafters have found that using specialized glues and hardware like rivets or snaps creates a professional-looking bag. This method saves time and avoids the need for sewing machines or complex stitching techniques, making leathercraft more accessible to everyone. It’s a fantastic way to DIY your own accessories.
Creating a leather bag without stitches opens up a world of possibilities for quick and durable projects. You can craft everything from simple pouches to more structured totes. The key is understanding the right materials, like flexible leather alternatives or pre-cut leather pieces, and the best non-sew techniques for a clean finish. You’ll be surprised at how professional your creations can look with these simple methods.
- You can create leather bags without sewing.
- Use strong adhesives and metal hardware.
- This makes leathercraft accessible to beginners.
- Achieve professional-looking results easily.
Let’s walk through exactly how you can make your own beautiful leather bag, no needles required!
Crafting Your Leather Bag Without a Stitch
You’re ready to make a gorgeous leather bag, but the thought of sewing makes you want to run for the hills? Don’t worry! We’ve found that creating beautiful, durable leather bags without a single stitch is totally achievable. It relies on a few clever techniques and the right supplies. You can absolutely get a professional-looking finish with a bit of know-how.
This method is perfect for anyone who loves DIY projects but finds sewing challenging or time-consuming. It opens up leathercraft to everyone. Let’s break down how you can make your own unique bag. You’ll be accessorizing in no time!
Choosing the Right Leather and Supplies
The first step to a no-sew leather bag is picking the perfect materials. What you choose will impact how your bag looks and feels.
Understanding Leather Types for No-Sew Projects
Not all leather is created equal when it comes to adhesives. You’ll want something that is flexible and relatively thin. Thicker leathers can be tough to bend and glue neatly. Many crafters prefer vegetable-tanned leather because it can be molded and glued quite effectively. Faux leathers, or vegan leathers, are also excellent options. They often have a smooth surface that adhesives grip well.
We’ve found that genuine leather scraps are great for smaller projects. You can often find these at craft stores or online. For larger bags, consider larger pre-cut panels. Always check the product description to ensure it’s suitable for gluing.
Essential Tools and Adhesives
Beyond the leather, you’ll need a few key items. A good quality leather glue is your best friend here. Look for glues specifically designed for leather. These are usually strong, flexible, and dry clear. Some popular choices are E6000, Barge Cement, or specialized leather glues.
You’ll also need a sharp craft knife or rotary cutter for precise cuts. A metal ruler is a must for straight lines. For holding pieces together while the glue dries, you might use binder clips, clamps, or masking tape. Don’t forget a bone folder; it’s handy for creasing and pressing seams.
Consider the hardware you’ll use. Rivets, snaps, or D-rings can add structure and style. You’ll need a way to install these. A rivet setter or snap fastener tool is usually required.
Designing and Cutting Your Leather Pieces
Now for the fun part: designing your bag! Think about what you want to carry and how you want it to look.
Sketching Your Bag Design
Start with a simple sketch. What shape will your bag be? A tote, a clutch, a simple pouch? For your first no-sew project, we recommend starting with a basic pouch or a simple tote bag. These designs have fewer complex angles.
Draw out all the individual pieces you’ll need. This includes the main body panels, any gussets for the sides, a base, and straps. Measure carefully. It’s much easier to adjust a sketch than a cut piece of leather. Many free patterns are available online if you need inspiration.
Measuring and Cutting with Precision
Transfer your sketch measurements onto the leather. Use a pencil or chalk that will easily wipe off. A metal ruler is your guide for straight cuts. Use your craft knife or rotary cutter with firm, steady pressure. Go over the line a few times if needed, rather than trying to cut through in one go.
A clean cut is essential for a good glue bond. Jagged edges won’t adhere properly. You might find it helpful to place a cutting mat underneath. This protects your work surface and helps keep your blade sharp. Many crafters find that cutting leather takes practice, so be patient with yourself.
Creating Patterns for Straps and Details
Straps can be cut from a long strip of leather. The width will depend on your bag’s size and your preference. For handles, you might want a wider strip. For a crossbody strap, a thinner strip might be better.
Consider any decorative elements. Do you want a flap? A pocket? Cut these pieces out separately. Remember to account for any overlap needed for gluing. A good rule of thumb is to add about 1/2 inch (1.5 cm) for glue tabs where pieces will join.
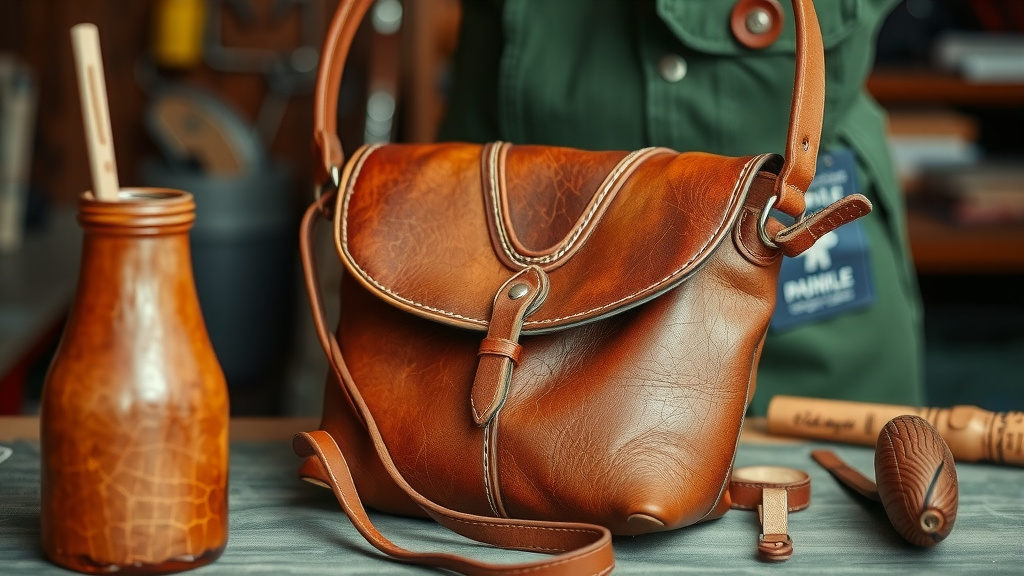
Assembling Your No-Sew Leather Bag
This is where your bag starts to come to life! Gluing requires a bit of patience and precision.
Preparing Your Edges for Adhesion
Before you apply any glue, make sure the edges that will be joined are clean and smooth. If you’re using a thicker leather, you might want to lightly skive the edges where they will overlap. Skiving means thinning the edge of the leather. This creates a smoother, less bulky seam when glued.
You can purchase a leather skiving tool, or for thinner leathers, sometimes a very sharp knife can achieve a similar effect with care. Some crafters also find that gently sanding the edges can help the glue adhere better. Always test this on a scrap piece first!
Applying Leather Glue for Strong Bonds
Apply a thin, even layer of leather glue to one of the surfaces you want to join. Don’t glob it on! Too much glue can seep out and create a messy appearance. Use a disposable brush or a small spatula for application.
Press the two pieces of leather together firmly. Now, this is the tricky part: you need to hold them in place while the glue sets. This is where your clamps, clips, or tape come in handy. For a strong bond, many experts recommend allowing the glue to become tacky before pressing the pieces together. Follow the specific glue manufacturer’s instructions for best results.
We found that working in sections can be easier. Glue one seam, secure it, let it dry partially, then move to the next. This prevents everything from sticking together before you’re ready.
Reinforcing Seams with Hardware
For added strength and a professional look, consider adding rivets or snaps. These aren’t just decorative; they help reinforce glued seams, especially in high-stress areas like strap attachments or bag corners. You’ll need to punch holes for these first.
A rotary punch or a hole punch designed for leather is ideal. Once the holes are made, insert your rivets or snaps and use the appropriate setting tool to secure them. Many hardware kits come with instructions, but researching how to set rivets specific to your chosen hardware is wise.
Attaching Straps and Finishing Touches
Attaching straps is often where hardware is most important. You’ll want to securely glue and rivet the strap anchors to the bag body. Ensure these are placed where they can bear weight without tearing the leather.
For handles, you might glue and rivet them directly to the bag opening. For a crossbody strap, attach D-rings to the sides of the bag and then clip the strap on.
Once all the main assembly is done and the glue is fully cured (this can take 24 hours or more for some glues), you can tidy up any stray glue marks. A leather conditioner can also add a nice finish and protect your new bag. Check all your glued seams one last time for integrity. A leather conditioner can add a nice finish and protect your new bag.
A Quick Checklist for Your No-Sew Bag Project:
- Choose flexible leather or faux leather.
- Select a strong, leather-specific adhesive.
- Measure and cut all pieces precisely.
- Apply glue evenly to prepared edges.
- Use clamps or tape to secure pieces while drying.
- Add hardware like rivets for extra strength.
Conclusion
You’ve learned that creating a beautiful leather bag without any sewing is entirely within your reach. By choosing the right flexible leather, using specialized adhesives, and incorporating hardware like rivets, you can achieve professional-looking results. Remember to cut your pieces precisely and apply glue patiently for strong bonds. This accessible craft allows your creativity to shine. Now it’s your turn to design and build that perfect no-sew leather bag you’ve been dreaming of!
Frequently Asked Questions
What kind of glue is best for making leather bags without sewing?
For no-sew leather projects, you’ll want a strong, flexible adhesive specifically designed for leather. We’ve found that glues like E6000, Barge Cement, or dedicated leather glues work very well. They provide durable bonds and often dry clear, maintaining a clean finish on your bag.
Can I use any type of leather for a no-sew bag?
It’s best to use flexible and relatively thin leather or high-quality faux leather for no-sew projects. Thicker leathers can be difficult to bend and glue neatly. Vegetable-tanned leather and smooth faux leathers often provide the best grip for adhesives.
How do I make sure glued seams are strong enough?
To ensure strong seams, prepare your edges by ensuring they are clean and smooth. Applying a thin, even layer of leather glue and allowing it to become tacky before pressing pieces together is key. Reinforcing glued areas with rivets or snaps, especially at stress points, will significantly increase durability.
What’s the easiest type of bag to make without sewing for a beginner?
For your first project, we recommend starting with a simple design like a pouch or a basic tote bag. These shapes typically involve fewer complex curves and angles, making them easier to cut accurately and glue precisely. Many beginner-friendly patterns are available online.
Do I need special tools to add rivets or snaps to my leather bag?
Yes, you will need some specific tools to install hardware like rivets and snaps. This usually includes a rotary punch or hole punch for making holes in the leather, and a rivet setter or snap fastener tool to securely attach the hardware. These tools make the process much easier and ensure a professional finish.