Sew a Leather Bag: A Step-by-Step Guide
Yes, you can absolutely make a stylish leather bag with a sewing machine! It’s easier than you might think with the right machine and a few key techniques. You just need to ensure your machine can handle heavy-duty materials like leather.
Making your own leather bag lets you customize every detail. From the size and shape to the type of leather and hardware, you have full control. Many crafters are discovering the satisfaction of creating durable, personalized accessories that rival store-bought options.
- Choose a sewing machine suitable for leather.
- Use the correct needles and thread.
- Practice stitching on scraps first.
- Understand how to prepare and cut your leather pieces.
- Learn about finishing techniques for a professional look.
Ready to get started? Below, we’ll walk you through everything you need to know to sew your very own beautiful leather bag.
Sewing Your Own Leather Bag with a Machine
You absolutely can sew your own leather bag with the right machine and techniques. It’s a rewarding project that lets you create a truly custom accessory. We’ll guide you through the essentials to get you stitching a beautiful leather bag.
Choosing the Right Sewing Machine for Leather
Not all sewing machines are created equal when it comes to leather. You need a machine that’s robust enough for thicker materials. A heavy-duty sewing machine is your best bet.
What Makes a Machine Leather-Ready?
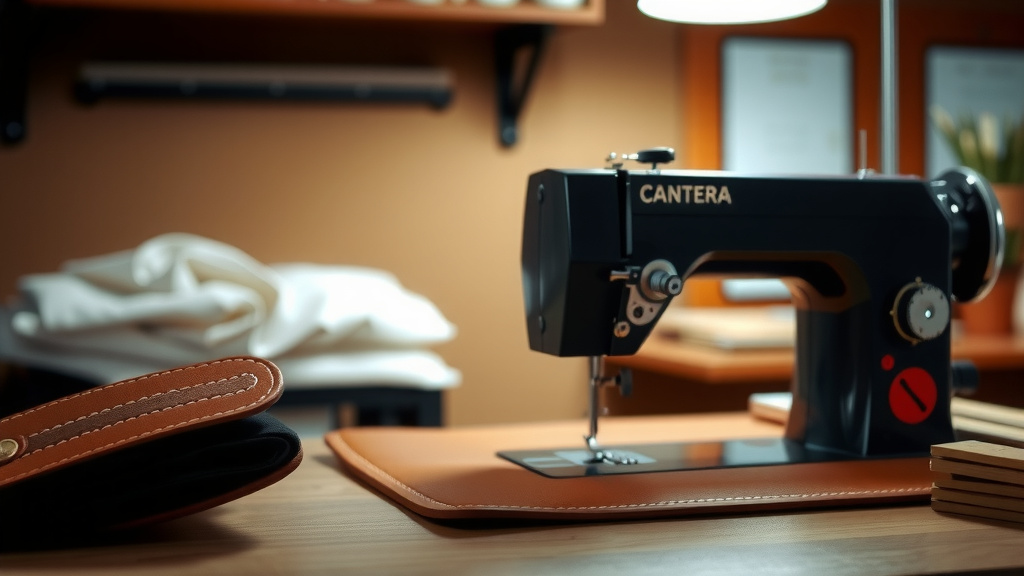
Look for machines with a strong motor. This provides the power needed to push a needle through tough leather. A machine with a metal frame, rather than plastic, often indicates better durability. Some machines are specifically advertised for sewing leather or upholstery. You might also consider an industrial sewing machine, but for home use, a powerful domestic model can work wonders.
Features to Consider
A variable speed control is highly recommended. This allows you to sew slowly and carefully, which is essential when working with leather. A machine that offers a higher stitch per minute (SPM) rate often correlates with a stronger motor. Also, ensure the machine has an adjustable presser foot pressure. This helps control how the leather feeds through the machine.
Essential Tools and Materials
Beyond your machine, you’ll need a few specific supplies. Getting these right ensures a smoother sewing experience and a better final product.
Needles and Thread: The Dynamic Duo
Regular sewing needles won’t cut it for leather. You need specialized needles designed to pierce and glide through this dense material.
- Leather Needles: These have a sharp, cutting point. This helps them slice through leather fibers cleanly. They come in different sizes; a size 16 or 18 is a good starting point for most bag projects.
- Heavy-Duty Thread: Polyester or nylon thread is recommended. It’s strong and durable, able to withstand the stress on your bag’s seams. Avoid cotton thread, as it can fray easily with leather. Look for upholstery thread or a dedicated leather sewing thread.
Cutting Tools for Precision
Sharp tools are key for clean cuts in leather. Ragged edges are hard to sew neatly.
- Rotary Cutter: This is often preferred by leatherworkers. Use it with a self-healing cutting mat and a metal ruler for straight lines.
- Sharp Craft Knife or Utility Knife: These can also work for smaller cuts or details. Always cut away from yourself.
- Leather Shears: If you prefer scissors, invest in a pair specifically for leather.
Other Helpful Supplies
You’ll also want to have:
- Leather Glue or Contact Cement: For temporarily holding pieces together before sewing. This is a lifesaver!
- Awl: Useful for poking starter holes or making adjustments.
- Clips or Binder Clips: These are better than pins for leather. Pins leave permanent holes.
- Leather Dye or Finish: For coloring and protecting your bag.
- Pattern: Whether you draw your own or buy one, a clear pattern is essential.
Preparing Your Leather for Sewing
Leather is a natural material, and its preparation is different from fabric. Think of it as getting your canvas ready before painting.
Understanding Leather Types
Different leathers behave differently. Thinner, softer leathers like lambskin are easier to sew. Thicker, stiffer leathers like full-grain cowhide require more power and potentially different techniques. For your first bag, consider a medium-weight leather, around 3-5 oz (1.2-2 mm) thickness.
Cutting Your Pattern Pieces
Accuracy here is paramount. Lay your pattern pieces onto the wrong side of the leather. Use a pen or chalk that will wipe off easily. Cut precisely along your lines using your chosen cutting tool. Remember, you can’t un-cut leather!
Marking Seam Lines and Notches
Transfer all pattern markings to your leather pieces. Use a silver pen or an awl to mark these points. These guide you during assembly and ensure your pieces align perfectly. For example, mark where pockets should attach or where the sides meet the base.
The Sewing Process: Stitch by Stitch
Now for the exciting part – bringing your bag to life with your sewing machine!
Testing Your Stitches
Before you sew your actual bag, always test your stitch settings. Use scraps of the same leather you’ll be using. Adjust your tension and stitch length until you get a beautiful, even stitch. A good stitch length for leather is typically around 2.5-3 mm.
Gluing Before You Sew
Most leather bag projects benefit greatly from a little glue. Apply a thin layer of leather glue or contact cement along the seam allowance. Let it become tacky, then carefully press the pieces together. This holds them in place, preventing shifting while you sew. Some crafters use double-sided tape specifically made for leather, too.
Sewing Straight Lines
Guide the leather gently. Let the machine do the work. Don’t force it. Keep your eyes on the seam line, not the needle. If you need to stop, do so with the needle *down* in the leather. This keeps your place securely.
Turning Corners and Curves
When you reach a corner, stop with the needle down. Lift the presser foot and pivot the leather. Lower the presser foot and continue sewing. For curves, sew slowly and make small adjustments as you go. Taking the time here makes a big difference in the final look.
Finishing Your Leather Bag
The final touches make your handmade bag look professional and polished.
Securing Your Seams
Backstitching is important at the beginning and end of each seam. However, for leather, it can sometimes create bulk. Many leatherworkers prefer to knot their threads at the beginning and end and then trim them closely. Some machines have a “lock stitch” function that trims threads without excess backstitching.
Edge Finishing Techniques
Exposed leather edges can be finished in several ways. You can use an edge paint for a smooth, sealed look. Alternatively, you can burnish the edges with a slicker and water or gum tragacanth until they become smooth and glossy. A specialized edge creaser can also add a decorative line along the edge.
Adding Hardware and Details
Attach any zippers, D-rings, or clasps according to your pattern instructions. Use the appropriate tools for setting rivets or snaps if your design includes them. A well-placed rivet can add both strength and style.
Quick Checklist for Your Leather Bag Project
Before you dive in, run through this quick checklist to ensure you’re prepped:
- Machine is suitable for leather and has been tested.
- Correct needles and heavy-duty thread are ready.
- Sharp cutting tools and a cutting mat are available.
- Pattern pieces are accurately cut from the leather.
- Leather glue or tape is on hand for assembly.
- You have a dedicated workspace with good lighting.
Conclusion
You’ve got this! Making your own leather bag with a sewing machine is a totally achievable project. Remember to choose a robust machine, use the right needles and thread, and always test your stitches on scraps first. Taking your time with cutting, preparing, and sewing will result in a durable, stylish bag you’ll be proud to carry. Don’t be afraid to practice those turns and curves; it all comes with experience. Ready to start cutting and stitching your dream bag?
Frequently Asked Questions
What’s the biggest mistake beginners make when sewing leather?
One common mistake is using the wrong needle and thread. Regular ones can break or snag the leather, creating messy stitches. Another frequent error is skipping the test stitch on scraps, which can lead to tension issues or incorrect stitch length on your actual project.
Can I use pins to hold leather pieces together?
It’s best to avoid pins when working with leather. Pins create permanent holes that can be very noticeable and weaken the material. Instead, use binder clips, craft clips, or specialized leather tape to hold your pieces securely before and during sewing.
How do I prevent my sewing machine from jamming with leather?
Ensure your machine has enough power for the leather thickness and that you’re using a leather-specific needle and heavy-duty thread. Gluing or taping seams before sewing helps prevent shifting, which can cause jams. Also, sew at a controlled, steady speed rather than rushing.
What kind of leather is easiest for a first-time bag maker?
For your first project, opt for a medium-weight, vegetable-tanned cowhide or a garment-weight leather like lambskin. These are generally more forgiving to cut and sew than very thick or very thin leathers. Avoid materials that are extremely stiff or very delicate until you gain more experience.
Do I really need to glue leather before sewing?
While not always strictly required for every single seam, gluing is highly recommended for most leather bag projects. It keeps your pieces perfectly aligned, preventing slippage as you guide the leather through the machine. This results in cleaner, more professional-looking seams.
![10 Best Leather Travel Bags For Women [2026]](https://mybestreviewss.com/wp-content/uploads/2026/08/10-best-leather-travel-bags-for-women-2026-featured-768x432.jpg)