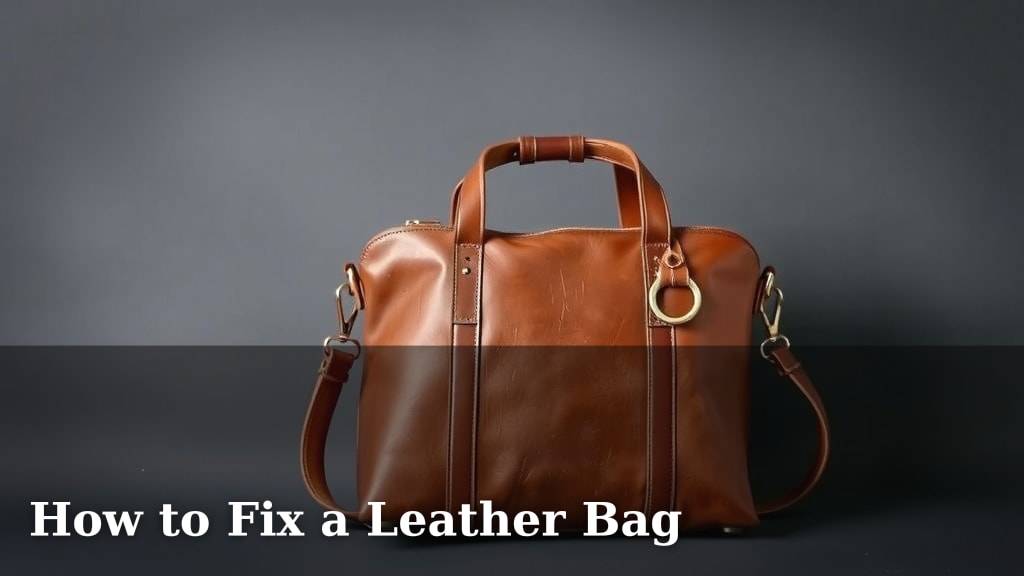
How to Fix a Leather Bag
Yes, you can absolutely fix a leather bag! Common issues like scratches, scuffs, and even small tears are often repairable at home. With the right products and a little patience, your favorite leather accessory can look almost good as new.
Leather bags are a classic choice for a reason. They’re durable, stylish, and can last for years. But accidents happen, and it’s good to know how to handle minor damage. We found that many common leather problems have straightforward fixes, so you don’t always need to rush to a professional.
- Clean the affected area gently first.
- Use a leather repair kit for scratches and scuffs.
- Consider professional help for deep cuts or large tears.
- Condition your bag after repairs to keep it supple.
Ready to give your beloved bag some TLC? Let’s walk through how to tackle those common leather bag issues step by step.
“`htmlCaring for Your Leather Bag: Repairing Common Issues
Don’t let a little scratch or scuff get you down! You can often restore your leather bag to its former glory right at home. We found that with the right approach, many common problems are surprisingly fixable. Let’s get your bag looking fabulous again.
Assessing the Damage: What Are You Dealing With?
Before you grab any supplies, take a close look at your bag. Is it a surface scratch, a deeper cut, or maybe a torn seam? Understanding the problem helps you choose the best solution. We found that most issues fall into a few common categories.
Surface Scratches and Scuffs
These are the most common culprits. They often happen from everyday bumps and scrapes. Think of them as little battle scars from your bag’s adventures!
Deeper Cuts and Tears
A more serious issue, these involve a break in the leather itself. A snagged zipper or a sharp object can cause this. These might need a bit more attention.
Stains and Discoloration
Spills happen! Whether it’s a coffee drip or ink smudge, stains can be frustrating. The material and color of your bag matter here.
DIY Fixes for Minor Leather Bag Damage
For those everyday bumps and scrapes, you might be surprised at what you can do yourself. We found that many simple repairs don’t require professional skills.
Tackling Scratches and Scuffs
These are often the easiest to fix. For light scratches, sometimes just rubbing the area with your finger can work. The natural oils in your skin can blend the edges.
If that doesn’t do the trick, a good leather conditioner or cream is your next best friend. Many sources suggest gently rubbing a small amount into the scratch using a soft cloth. This can help to minimize the appearance of the mark. Allow it to dry completely.
Repairing Small Tears and Cuts
For tiny nicks or small tears, a leather repair kit can be a lifesaver. These kits usually come with a leather filler or adhesive. You’ll typically apply a small amount to the damaged area.
Let the filler dry thoroughly. You might need to apply a second coat for deeper cuts. Once dry, you can often gently sand down any rough spots. Many repair kits also include a leather colorant to help match the shade of your bag. This is key to making the repair less noticeable.
Dealing with Stains
The approach to stains depends heavily on the type. For water spots, simply letting the entire bag dry naturally away from heat is often enough. For grease stains, we found that cornstarch or talcum powder can absorb the oil. Sprinkle it on, let it sit for a few hours, then brush it off. Repeat if needed.
Ink stains are trickier. Some recommend a cotton swab with a tiny bit of rubbing alcohol, but be extremely cautious. Test on an inconspicuous spot first, as it can lift color. Many leather care guides suggest consulting a professional for ink stains to avoid making it worse.
When to Seek Professional Help
While DIY is great, some damage is beyond a simple home fix. Knowing your limits is important. We found that certain issues are best left to the experts.
Large Tears or Rips
If a tear is more than an inch long, or if the leather is completely separated, it’s often best to find a professional leather repair specialist. They have specialized tools and adhesives that can create a much stronger, cleaner mend.
Extensive Damage or Discoloration
Has your bag suffered widespread damage? Or is the color unevenly faded or stained across a large area? These kinds of issues usually require the skills of a professional cobbler or leather repair shop. They can often recolor or re-dye sections of the bag.
Delicate or Exotic Leathers
If your bag is made from exotic leather like snakeskin or crocodile, or very fine, delicate leather, it’s wise to be extra cautious. These materials can be unforgiving. We found that these types of bags often benefit from expert care for any repairs.
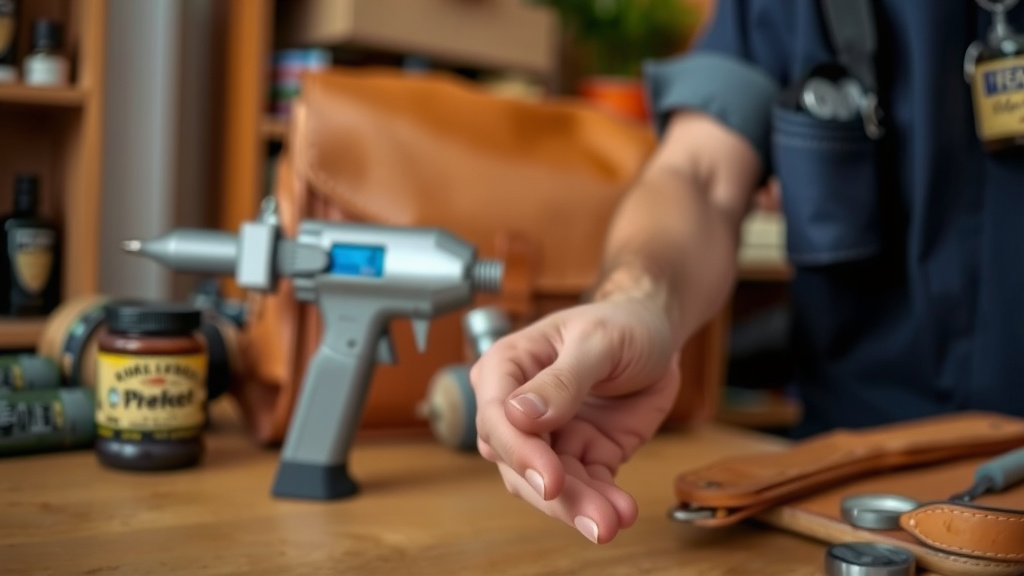
Essential Leather Bag Care After Repairs
Once you’ve successfully fixed your bag, it’s time for some TLC. This step is vital for keeping your leather healthy and preventing future issues. Many leather care resources highlight its importance.
Conditioning Your Leather
Leather, like skin, needs moisture. After a repair, and regularly thereafter, conditioning is key. Apply a good quality leather conditioner with a soft cloth. This keeps the leather supple and prevents it from drying out and cracking. It also helps protect against new scuffs.
Waterproofing Protection
Consider a leather waterproofing spray or cream. This adds an extra layer of protection against spills and moisture. Again, test on a small, hidden area first to ensure it doesn’t alter the color.
Regular Cleaning
A quick wipe-down with a dry or slightly damp cloth after each use can remove dust and dirt. This simple habit goes a long way in preserving your bag’s appearance. Keeping it clean prevents dirt from getting ground into the leather.
Your Leather Bag Repair Checklist
Here’s a quick rundown to help you get started:
- Assess the damage carefully.
- Gather appropriate leather repair supplies.
- Test any repair product on an hidden spot first.
- Work in a well-lit, clean area.
- Allow ample drying time between steps.
- Condition your bag after repairs are complete.
Conclusion
You’ve learned that many common leather bag issues, from minor scratches to small tears, are perfectly fixable at home. By carefully assessing the damage and using the right products, you can restore your bag’s look and feel. Remember to always test repair solutions in an inconspicuous spot first. After your repairs, proper conditioning and protection will ensure your bag stays beautiful for years to come. Take that first step today by gathering your supplies and giving your favorite accessory the TLC it deserves!
Frequently Asked Questions
How do I choose the right leather repair kit?
Look for a kit specifically designed for the type of leather your bag is made from (e.g., smooth leather, suede, or nubuck). Many kits include fillers, colorants, and applicators, so choose one that matches the damage you’re addressing.
Can I fix a deep cut or a large rip myself?
For deep cuts or rips larger than an inch, it’s generally best to seek professional help. These types of repairs require specialized tools and techniques to ensure a strong, seamless mend that will last.
What’s the best way to remove a stain from a leather bag?
For most stains, gently blot the area with a clean cloth and a mild leather cleaner. For grease stains, cornstarch can be effective. Always test any cleaning solution on a hidden spot first to avoid discoloration.
How often should I condition my leather bag?
You should condition your leather bag every 3-6 months, or more often if it’s frequently exposed to dry conditions or heavy use. Conditioning keeps the leather supple and prevents it from drying out and cracking.
Will repairing a scratch make my bag look brand new?
While repairs can significantly improve the appearance of scratches and scuffs, your bag might not look completely brand new. The goal is to make the damage less noticeable and prevent it from worsening, preserving its overall appeal.
![10 Best Leather Tote Bags With Zipper [2026]](https://mybestreviewss.com/wp-content/uploads/2026/08/10-best-leather-tote-bags-with-zipper-2026-featured-768x432.jpg)
![10 Best Woven Leather Bags [2026]](https://mybestreviewss.com/wp-content/uploads/2026/08/10-best-woven-leather-bags-2026-featured-768x432.jpg)