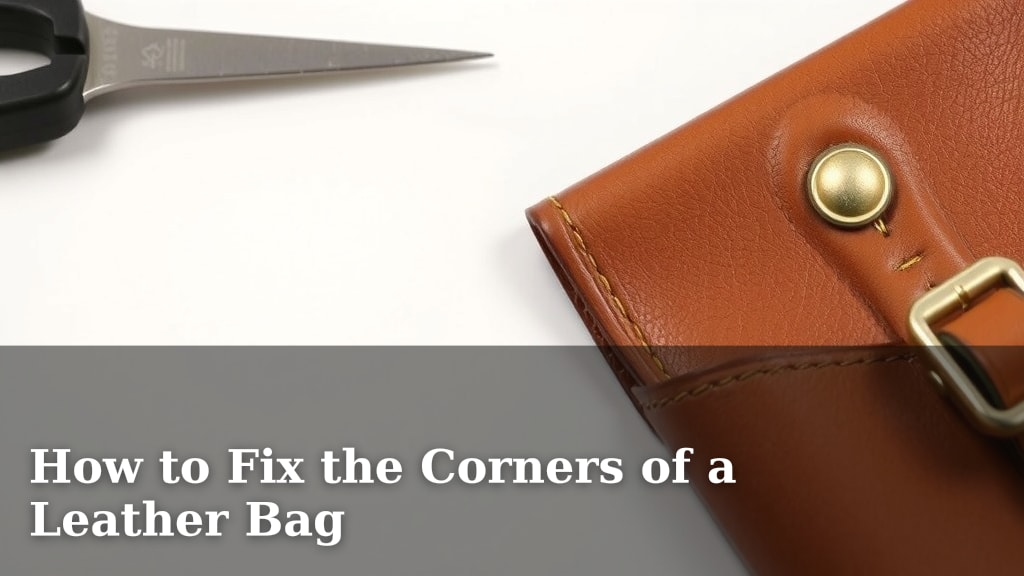
How to Fix the Corners of a Leather Bag
You can absolutely fix the corners of a leather bag. Common issues like **fraying**, **wear**, and **scuffs** are often fixable with simple tools. Many experts agree that **regular maintenance** is key to keeping your leather bag looking its best.
Don’t let worn corners get you down. With a little care and the right approach, you can **restore your bag’s appearance**. We’ve researched the best methods to help you tackle these common problems effectively.
- Identify the type of damage to the corners.
- Gather the necessary leather repair supplies.
- Clean the affected corner area thoroughly.
- Apply the chosen repair method carefully.
- Condition the leather after repairs.
Let’s walk through exactly how to get your leather bag’s corners looking like new again.
Restoring Your Leather Bag’s Worn Corners
Your favorite leather bag has seen better days, especially around the corners. Don’t fret! Most corner wear on leather bags isn’t permanent. We’ve researched various methods to help you bring those tired corners back to life. You can often fix scuffs, scratches, and even some fraying with a few simple steps and the right supplies.
Assessing the Damage to Your Leather Bag’s Corners
Before you grab any products, take a close look at what’s really going on. The right repair depends on the type of damage. Is it a surface scuff? Is the leather cracked? Or is the stitching coming undone?
Understanding Common Corner Issues
Most leather bag corners suffer from a few typical problems:
- Surface Scuffs and Scratches: These are usually lighter marks on the top layer of the leather. They happen from rubbing against things.
- Deep Scratches or Gouges: These go deeper into the leather. They might expose the underlying fibers.
- Cracking or Peeling: This happens when the leather dries out too much. The top finish starts to break apart.
- Fraying Edges or Stitching: The edges of the leather itself might be worn down. Sometimes, the threads holding the bag together start to unravel.
- Color Wear: The dye on the leather can rub off over time, leaving lighter spots.
Identifying Your Leather Type
Different types of leather need different care. Most bags are made from finished or protected leather. This type has a coating that makes it more durable. It’s also easier to clean and repair. Some luxury bags might use unfinished leather like suede or nubuck. These require specialized products and techniques, so be sure you know what you’re working with.
Gathering Your Leather Corner Repair Toolkit
Having the right tools makes all the difference. You don’t need a professional workshop for most repairs. We found that a few key items are usually sufficient.
Essential Supplies for Most Repairs
Here’s what you’ll likely need:
- Leather Cleaner: A mild cleaner specifically designed for leather.
- Soft Cloths: Microfiber cloths are great for cleaning and buffing.
- Leather Conditioner: This keeps the leather supple and prevents future cracking.
- Leather Filler or Repair Compound: For deeper scratches and gouges.
- Leather Dye or Colorant: To match your bag’s original color.
- Fine-Grit Sandpaper (Optional): For smoothing rough edges.
- Leather Cement or Adhesive (Optional): For loose seams or peeling leather.
- Edge Kote or Edge Paint (Optional): To restore painted edges.
Always test any product on an inconspicuous area of the bag first. This ensures it won’t discolor or damage the leather.
Step-by-Step Guide to Fixing Worn Leather Bag Corners
Let’s get down to business! We’ll walk you through the process, starting with the most common issues.
Step 1: Thoroughly Clean the Area
You can’t repair dirty leather. Gently wipe down the corners with a soft, damp cloth to remove surface dirt. Then, apply a small amount of leather cleaner to another cloth. Gently rub the affected area in a circular motion. This removes oils and grime that could interfere with the repair. Let the corner air dry completely. Avoid using heat, as this can damage the leather.
Step 2: Addressing Scuffs and Light Scratches
For minor scuffs, your leather cleaner might be enough. If a scratch remains, try applying a small amount of leather conditioner directly to the scratch with a soft cloth. Gently rub it in. The conditioner can help blend the scratch and restore moisture. For slightly deeper scratches, you can try buffing the area gently with a clean, dry cloth after conditioning. This can sometimes make light scratches disappear.
Step 3: Repairing Deeper Scratches and Gouges
This is where leather filler or repair compound comes in handy. After cleaning and drying, apply a small amount of the filler to the scratch using a small spatula or your fingertip. Smooth it out so it’s level with the surrounding leather. Let it dry completely according to the product instructions. You might need a second application for deeper damage. Once dry, gently sand the filled area with very fine-grit sandpaper. Be careful not to sand the surrounding leather.
Color Matching and Application
If the repair left a noticeable mark, you’ll need to use leather dye or colorant. Choose a shade that matches your bag perfectly. Many repair kits come with color matching tools. Apply the colorant in thin layers with a small brush or sponge. Let each layer dry before applying the next. Build up the color slowly until it blends seamlessly. Again, test on a hidden spot first!
Step 4: Fixing Cracked or Peeling Leather
Cracking usually means the leather is dry. Start by cleaning the area gently. If the peeling is minor, you might be able to use a bit of leather cement. Apply a thin layer of adhesive under the peeling piece. Press it down firmly with a clean cloth. You might need to weight it down while it dries. For more severe cracking, you may need to use a leather filler after cleaning. Once the filler is dry and sanded, you’ll likely need to re-color the area to match.
Step 5: Repairing Frayed Edges and Stitching
If the actual leather edge is fraying, you can try applying a small amount of Edge Kote or edge paint. This product seals and colors the edge. Apply it with the applicator brush, building up thin layers. For loose or broken stitching, this is a bit trickier. You might be able to carefully re-stitch it yourself if you have basic sewing skills and a leather needle and thread. If the stitching is extensive or critical to the bag’s structure, we recommend taking it to a professional leather repair specialist.
Post-Repair Care: Conditioning and Protection
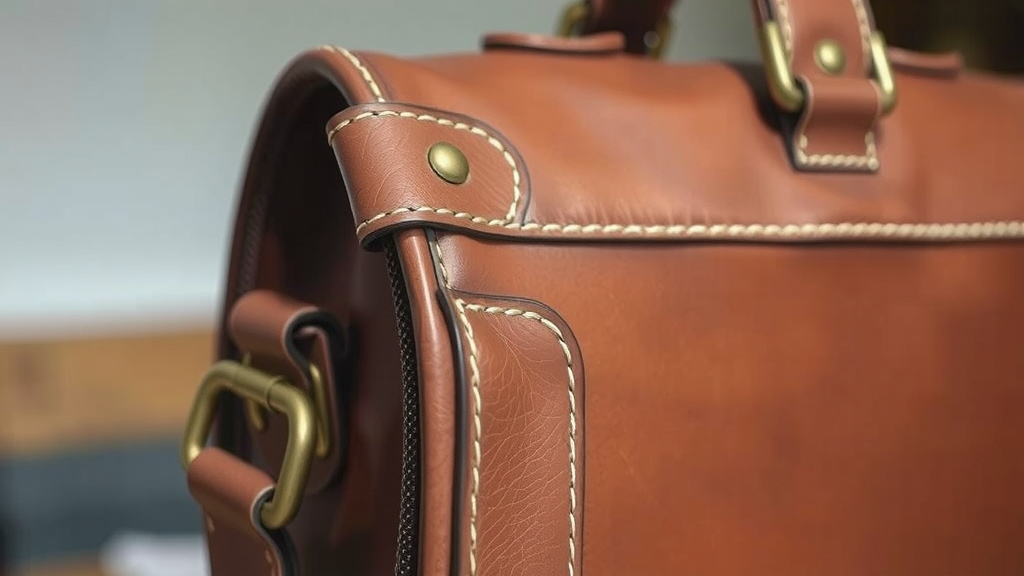
After your repairs are dry and set, it’s time for the final, crucial step: conditioning. Leather needs moisture to stay flexible and prevent future damage. Apply a good quality leather conditioner to the entire bag, paying special attention to the repaired corners. This helps blend the repaired areas and keeps the leather healthy. Buff gently with a clean cloth. For added protection, consider using a leather protectant spray, especially for the corners, as they experience the most wear. This creates a barrier against moisture and scuffs.
When to Seek Professional Leather Repair
While many corner issues are DIY-friendly, some situations are best left to the experts. If your bag has significant tears, extensive cracking, or structural damage to the stitching, a professional can often achieve better results. They have specialized tools and a deeper understanding of leather types and repair techniques. Think of it like a doctor’s visit – for minor scrapes, you can handle it, but for serious injuries, you see a specialist.
A Quick Checklist for Your Leather Corner Repairs
Here’s a handy checklist to keep you on track:
- Assess the damage type and severity.
- Gather all necessary cleaning and repair supplies.
- Clean the corners thoroughly with leather cleaner.
- Apply the appropriate repair material (filler, dye, etc.).
- Allow ample drying time between steps.
- Condition the entire bag for lasting protection.
Conclusion
You’ve learned how to tackle those worn leather bag corners. Remember, identifying the damage and using the right supplies are your first steps. From simple scuffs to deeper scratches, most issues can be resolved with care and patience. We found that consistent conditioning is your best defense against future wear.
Don’t let minor damage hold you back. You have the tools and knowledge to restore your bag. Give these methods a try, and enjoy your refreshed leather companion!
Frequently Asked Questions
How often should I condition my leather bag corners?
We recommend conditioning your leather bag corners every 3-6 months, depending on how often you use the bag and the climate you live in. If you notice the leather feeling dry or see new scuffs, it’s time for conditioning.
Can I use regular glue to fix peeling leather corners?
It’s best to avoid regular craft glue. We found that a specialized leather cement or adhesive is much safer. Regular glue can dry stiffly, crack, or even damage the leather finish over time.
What’s the difference between leather filler and leather dye?
Leather filler is used to smooth out deep scratches or gouges by filling the damaged area. Leather dye or colorant is used to restore the color to the repaired area or where the original color has worn off, helping it blend in.
My bag’s stitching is coming undone at the corner. Can I fix this myself?
For minor fraying or a single loose stitch, you might be able to carefully re-stitch it yourself with a leather needle and strong thread. However, if the stitching is extensive or affects the bag’s structure, we researched that it’s best to consult a professional leather repair specialist.
Will repairing the corners affect the bag’s original look?
When done carefully with matching products, repairs should blend in well. Testing products on an inconspicuous area first helps ensure a good match. Consistent conditioning after repair also helps the treated area look natural.
![10 Best Leather Cross Body Bag [2026]](https://mybestreviewss.com/wp-content/uploads/2026/09/10-best-leather-cross-body-bag-2026-featured-768x432.jpg)
![10 Best Affordable Leather Messenger Bags [2026]](https://mybestreviewss.com/wp-content/uploads/2026/09/10-best-affordable-leather-messenger-bags-2026-featured-768x432.jpg)