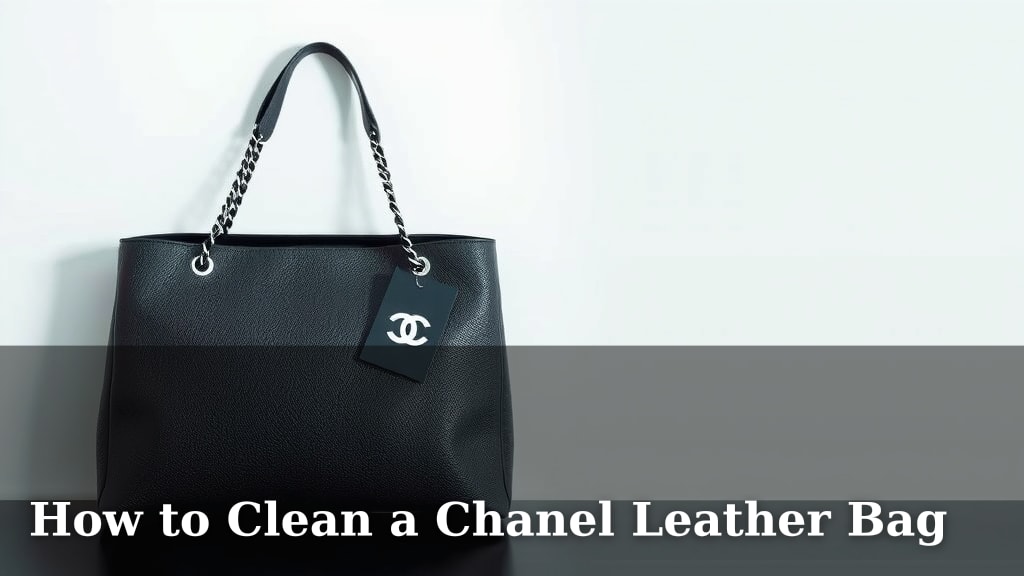
How to Clean a Chanel Leather Bag
The best way to clean your Chanel leather bag involves a gentle approach. You’ll want to use a soft cloth and a specialized leather cleaner. Always test any product on an inconspicuous area first. This prevents accidental damage to your beautiful bag. Keeping your Chanel pristine is definitely doable with the right care. Your bag deserves the best treatment to maintain its luxury look.
Caring for designer leather requires specific attention. Different types of leather may need slightly different methods. Understanding your bag’s material is key to avoiding stains and damage. Many experts recommend regular conditioning to keep the leather supple. Protecting your investment means knowing these essential steps. You can keep your bag looking gorgeous for years to come.
- Gentle cleaning is best for Chanel leather.
- Use a soft cloth and a leather cleaner.
- Test cleaners in a hidden spot first.
- Condition your bag regularly.
- Protect your luxury item with proper care.
Let’s walk through exactly how to clean your Chanel bag step by step so it looks as stunning as the day you bought it.
Your Chanel bag is more than just an accessory; it’s a piece of art. Keeping it clean ensures its beauty lasts. We know you want to protect your investment. Let’s get into the best ways to care for your leather Chanel.
Caring for Your Beloved Chanel Leather Bag
Properly cleaning your Chanel leather bag protects its appearance. It also helps maintain its value over time. We’ll guide you through the essential steps for a gentle yet effective clean.
Identifying Your Chanel Bag’s Leather Type
Before you grab any cleaner, take a moment to identify the leather type. Chanel uses various leathers, like lambskin, caviar (shagreen), and sometimes exotic skins. Lambskin is incredibly soft and luxurious. It’s also more prone to scratches and stains. Caviar leather is more durable and textured. It resists wear and tear better. Knowing your leather type is the first step to preventing damage. This helps you choose the right cleaning products.
Gathering Your Cleaning Supplies
Having the right tools makes a big difference. You’ll need a few key items. Think of it like a mini spa day for your bag.
- Soft, lint-free cloths: Microfiber cloths are excellent. Have at least two on hand.
- Specialized leather cleaner: Choose one specifically designed for delicate leathers. Avoid harsh chemicals.
- Leather conditioner: This keeps the leather supple and prevents drying.
- Mild soap and water (optional): For minor spot cleaning. Use sparingly.
- Cotton swabs: For precise application on small areas.
- A soft brush: For gentle dusting.
The Importance of a Patch Test
This step is non-negotiable. Always perform a patch test. Find an inconspicuous area. This is usually the bottom or an inside corner. Apply a tiny amount of your chosen cleaner. Let it sit for a minute. Then, gently wipe it away. Check for any discoloration or damage. If all looks good, you can proceed. If not, try a different cleaner. We found this prevents many potential disasters.
Step-by-Step Cleaning Process
Let’s walk through the actual cleaning. Treat your bag with the respect it deserves.
Step 1: Dusting and Surface Cleaning
Start by gently dusting your bag. Use a dry, soft cloth. This removes surface dirt and debris. You can also use a soft brush. This prepares the leather for deeper cleaning. It’s like wiping the slate clean.
Step 2: Applying the Leather Cleaner
Lightly dampen a clean, soft cloth with your leather cleaner. Do not saturate the cloth. Gently wipe the exterior of your bag. Work in small sections. Use a circular motion. Avoid excessive rubbing. For stubborn marks, you might need a bit more focus. Be patient. We found that too much product can sometimes do more harm than good.
Dealing with Specific Stains
Different stains require different approaches. Always act fast when a spill occurs.
- Ink stains: These are tricky. You might need a professional. Some specialized ink removers exist. Test them with extreme caution.
- Grease stains: Try applying a small amount of cornstarch or talcum powder. Let it sit for a few hours to absorb the oil. Gently brush it off.
- Water spots: Lightly dampen the entire panel with a clean, damp cloth. This helps to even out the color as it dries.
Step 3: Conditioning Your Leather Bag
After cleaning, your leather needs nourishment. Apply a small amount of leather conditioner. Use a clean, soft cloth. Gently massage it into the leather. This helps restore moisture. It keeps the leather soft and supple. It also provides a protective barrier. Follow the product’s instructions. Allow it to absorb fully before storing.
Step 4: Cleaning the Interior
Don’t forget the inside! Turn the bag inside out if possible. For fabric linings, use a damp cloth. You can add a tiny bit of mild soap. Gently wipe away any spills or marks. For leather linings, use a product safe for that material. Always let the interior air dry completely.
Step 5: Polishing and Finishing
Once everything is dry, you can give your bag a final polish. Use a clean, dry cloth. Buff the leather gently. This brings out its natural shine. Your bag should look radiant. This final touch makes all the difference.
Quick Checklist for a Sparkling Chanel Bag
Here’s a quick rundown to keep your Chanel looking its best:
- Dust your bag regularly.
- Always do a patch test first.
- Use a specialized leather cleaner.
- Condition your leather periodically.
- Clean the interior gently.
- Allow everything to air dry.
When to Seek Professional Help
For deep-set stains, significant damage, or if you’re unsure, professional cleaning is your best bet. Many reputable cobblers and bag repair specialists can handle luxury items. They have the expertise and tools to restore your bag without causing harm. It’s an investment in preserving your cherished piece.
Conclusion
You’ve learned how to give your cherished Chanel leather bag the spa treatment it deserves. By identifying your bag’s specific leather type and gathering the right supplies, you’re already ahead. Remember the gentle approach, the essential patch test, and the step-by-step cleaning and conditioning process. Treating your bag with care ensures its timeless elegance and value endure for years. Now, take that knowledge and give your beautiful bag the loving attention it needs to shine!
Frequently Asked Questions
How often should I clean my Chanel leather bag?
We recommend a light dusting and surface clean every few uses. A more thorough cleaning and conditioning session is best done about every 3-6 months, depending on how often you use your bag and environmental factors. Your goal is to keep the leather supple and protected.
Can I use baby wipes to clean my Chanel bag?
No, we strongly advise against using baby wipes. They often contain chemicals, alcohol, or fragrances that can strip the leather’s natural oils. This can lead to drying, cracking, or discoloration. Stick to products specifically formulated for fine leather care.
What should I do if my Chanel bag gets rained on?
If your bag gets wet, gently pat it dry immediately with a soft, lint-free cloth. Do not rub. Then, let it air dry completely away from direct heat or sunlight. Once dry, you may need to apply a leather conditioner to restore moisture, especially if it’s lambskin.
Is it safe to use a leather cleaner bought from a general store?
It’s best to use a cleaner specifically designed for high-quality or delicate leathers, like those used by Chanel. General store cleaners can sometimes be too harsh. Always perform a patch test in an inconspicuous area first, regardless of the product you choose.
My Chanel bag has a small scratch. Can I fix it myself?
Minor surface scratches on certain leathers might be buffed out gently with a clean, soft cloth or a specialized leather repair balm. However, for deeper scratches or if you’re unsure, we recommend consulting a professional leather repair specialist. They have the expertise to fix it without causing further damage.