
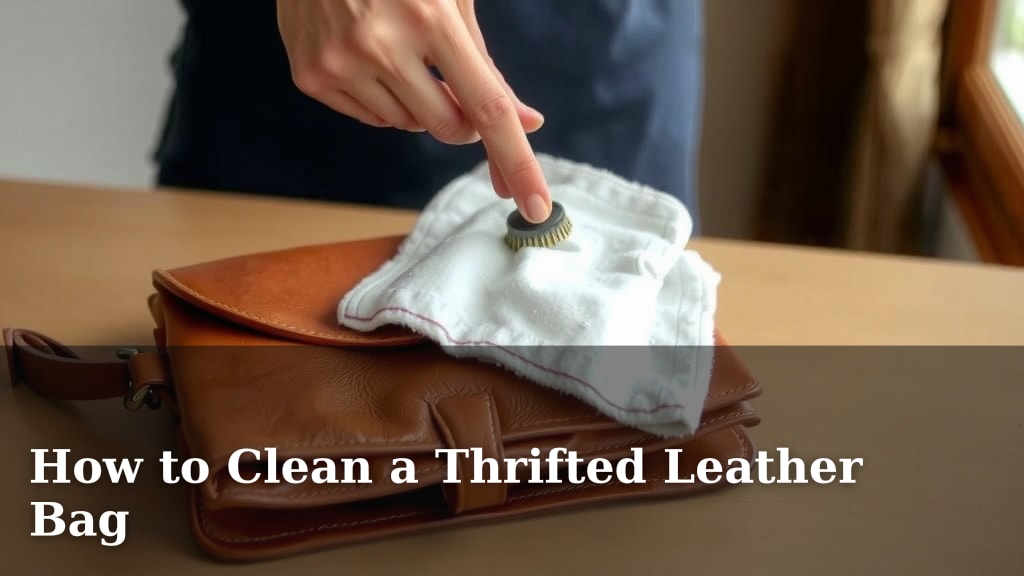
How to Clean a Thrifted Leather Bag
The easiest way to clean a thrifted leather bag is to start with a gentle wipe-down using a damp cloth and mild soap. For tougher spots, a dedicated leather cleaner works wonders. It’s important to condition the leather afterward to keep it supple. Cleaning your second-hand find ensures it looks great and lasts longer.
Thrifted leather bags can carry more than just your essentials; they can carry history and sometimes, a bit of grime. You might be wondering if it’s safe to clean real leather or if you’ll damage the material. We found that with the right approach, you can safely restore and refresh your pre-loved bag, making it feel brand new.
- Start with a gentle cleaning.
- Use mild soap and water or a leather cleaner.
- Always test products on an inconspicuous spot first.
- Condition the leather after cleaning.
- Protect your bag from future stains.
Ready to give your stylish thrift store gem the spa treatment it deserves? Let’s walk through the simple steps to get your leather bag looking its best.
Giving Your Thrifted Leather Bag a Fresh Start
So, you’ve snagged a fantastic leather bag from a thrift store. It’s got that unique charm, but maybe it also has a little history in the form of scuffs or a less-than-fresh scent. Don’t worry, giving your pre-loved leather bag a thorough cleaning is totally doable. We found that with the right approach, you can bring back its shine and make it feel like new. It’s all about being gentle and using the right products. Let’s get to it!
Assessing Your Leather Bag’s Needs
Before you grab any cleaning supplies, take a good look at your bag. What kind of leather is it? Is it smooth, pebbled, suede, or nubuck? This is super important because different leathers need different care. Suede and nubuck, for instance, are more delicate and might require special brushes and cleaners. Most common bags are made of finished leather, which is more forgiving.
Also, check for any obvious damage. Are there deep scratches, tears, or areas where the color has faded significantly? Knowing what you’re dealing with helps you choose the best cleaning and restoration methods. We found that a quick inspection can save you a lot of trouble down the line.
Understanding Leather Types for Cleaning
Finished leather is the most common type you’ll find in bags. It has a protective coating, making it more resistant to stains and easier to clean. You can usually tell finished leather because it has a consistent color and sheen. If water beads up on the surface, it’s likely finished leather.
Unfinished leather, like suede and nubuck, doesn’t have that protective coating. These leathers are softer and have a velvety texture. They are much more susceptible to water spots and stains. For these types, you’ll need to be extra careful and likely use specialized tools like suede brushes and erasers. If you’re unsure, err on the side of caution and treat it as a more delicate material.
The Gentle Cleaning Process: Step-by-Step
Ready to roll up your sleeves? The first step is always the gentlest. This is where you remove surface dirt and dust. You’d be surprised how much a simple wipe-down can do!
Step 1: Dust and Surface Dirt Removal
Grab a soft, dry cloth, like a microfiber cloth. Gently wipe down the entire exterior of the bag. This removes loose dirt and dust that can scratch the leather if rubbed too hard later. Pay attention to crevices and seams where dust loves to hide. We found that doing this first makes the rest of the cleaning much more effective.
Step 2: Mild Soap and Water Solution
For most finished leather bags, a very mild cleaning solution is your best friend. Mix a tiny amount of gentle, non-detergent soap (like baby soap or a mild dish soap) with lukewarm water. You want just a few drops of soap in a bowl of water. Too much soap can strip the leather of its natural oils.
Dip a clean, soft cloth into the soapy water. Wring it out thoroughly so the cloth is just damp, not wet. You don’t want to saturate the leather. Gently wipe the surface of the bag in small, circular motions. Work in sections, and avoid scrubbing.
Testing Your Cleaning Solution
This is a critical step! Before you clean the whole bag, test your mild soap solution on an inconspicuous area. The bottom corner or inside a flap is usually a good spot. Let it dry completely. Check for any discoloration, drying, or damage to the leather. If it looks good, you’re good to go! We found this small step prevents major headaches.
Step 3: Wiping Away Soap Residue
Once you’ve cleaned a section with the soapy cloth, immediately follow up with another clean cloth dampened with plain water. Again, wring it out well. This second wipe removes any soap residue. Letting soap sit on the leather can cause it to dry out or become dull over time. Make sure you get all the soap off!
Step 4: Drying the Leather Properly
After wiping down the bag, gently pat it dry with a clean, dry towel. Never use a hairdryer or place the bag in direct sunlight or near a heat source to speed up drying. Excessive heat can cause the leather to crack, warp, or become brittle. Allow your bag to air dry completely at room temperature. This might take several hours, or even overnight, depending on how damp it got.
Tackling Stubborn Stains and Scuffs
Sometimes, a mild soap solution isn’t enough. If you’re dealing with tougher spots, you might need to bring in some reinforcements. But remember, always test first!
Using a Dedicated Leather Cleaner
If the mild soap didn’t do the trick, consider using a commercial leather cleaner. These products are specifically formulated for leather and are generally safe. Choose one that’s appropriate for the type of leather your bag is made from.
Apply a small amount of the cleaner to a clean cloth, not directly to the bag. Gently rub the stained area. Again, work in small sections and avoid harsh scrubbing. After cleaning, you might need to wipe the area with a damp cloth, just as you did with the soap solution, to remove residue. Always follow the product’s instructions carefully. Many experts recommend using these cleaners sparingly and only on problem areas.
Dealing with Specific Stain Types
Ink stains can be tricky. For fresh ink, some people have success with rubbing alcohol applied very lightly to a cotton swab, dabbing only the ink line. However, this can lift color, so test it in a hidden spot first! For older ink stains, a professional leather cleaner or restorer might be your best bet.
Grease or oil stains can sometimes be lifted using cornstarch or talcum powder. Sprinkle a generous amount over the stain and let it sit for several hours or overnight. The powder can absorb the oil. Gently brush it off. You might need to repeat this process. We found that patience is key with tough stains.
Addressing Scuffs and Minor Scratches
For light scuffs on finished leather, sometimes simply buffing the area with a soft cloth can make them disappear. For deeper scratches, a leather conditioner (which we’ll talk about next!) can often help them blend in. Some people also use a tiny bit of petroleum jelly on a cotton swab to gently rub into a scratch, which can sometimes minimize its appearance.
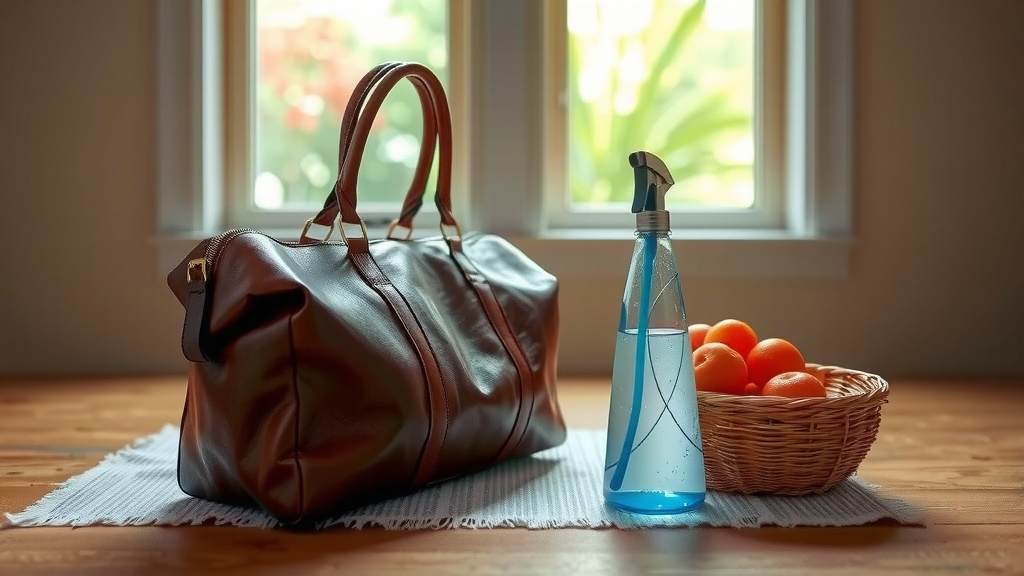
The Essential Step: Conditioning Your Leather Bag
Cleaning can strip away some of the natural oils in the leather, leaving it dry. Conditioning replenishes these oils, keeping the leather soft, supple, and protected. This step is non-negotiable for the longevity of your bag!
Why Conditioning Matters So Much
Think of conditioning like moisturizing your skin. Leather needs moisture to stay flexible. Without it, leather can become stiff, prone to cracking, and lose its beautiful sheen. Regular conditioning helps prevent wear and tear, keeping your bag looking great for years to come. Many leather care specialists agree this is the most important part of maintaining leather.
How to Apply Leather Conditioner
Choose a good quality leather conditioner. There are many types available, from creams to oils. Pick one that’s suitable for your bag’s leather type. Apply a small amount of conditioner to a clean, soft cloth.
Gently rub the conditioner into the leather using circular motions. Work in small sections, ensuring you cover the entire bag evenly. Don’t over-apply; a little goes a long way. Wipe off any excess conditioner with a clean, dry cloth. Allow the bag to dry and absorb the conditioner for at least a few hours, or preferably overnight.
Quick Checklist for a Refreshed Bag
Here’s a quick recap of what you need to do to get your thrifted leather bag looking its best:
- Dust and wipe down the bag with a dry cloth.
- Test a mild soap and water solution or leather cleaner on a hidden spot.
- Gently clean the bag with the tested solution, wringing out your cloth well.
- Wipe away residue with a plain damp cloth.
- Let the bag air dry completely at room temperature.
- Apply a quality leather conditioner to keep the leather supple.
Conclusion
You’ve now got the knowledge to give your thrifted leather bag a much-deserved refresh. Remember, the key is gentleness and the right products. By following these steps, you’ve learned to safely remove dirt, tackle tough spots, and most importantly, condition the leather to keep it looking and feeling great. Taking care of your pre-loved find ensures it remains a stylish companion for years to come. Now, go ahead and enjoy your beautifully restored bag – you’ve earned it!
Frequently Asked Questions
Can I use baby wipes to clean my thrifted leather bag?
It’s best to avoid baby wipes on leather. They often contain chemicals and alcohol that can dry out and damage the leather’s finish. Stick to a mild soap and water solution or a dedicated leather cleaner for safe and effective cleaning.
How often should I condition my leather bag?
You should aim to condition your leather bag every 3-6 months, depending on how often you use it and the climate you live in. Conditioning helps replenish the leather’s natural oils, preventing dryness and cracking, especially after cleaning.
What’s the best way to remove a musty smell from a thrifted leather bag?
To combat musty odors, try placing an open box of baking soda or a sachet of activated charcoal inside the bag for a few days. Ensure the bag is completely dry before doing this, and avoid using sprays that just mask the smell.
Will a leather cleaner remove the bag’s original patina?
A good quality leather cleaner, used correctly and sparingly, should not remove the bag’s patina. Patina is developed over time through use and exposure. Harsh chemicals or excessive scrubbing, however, could potentially affect it.
Can I use colored shoe polish on scuffs?
While colored shoe polish might seem like a quick fix for scuffs, it’s generally not recommended for handbags. Shoe polish can transfer color onto clothing, and the waxes and pigments might not be ideal for the leather type used in bags, potentially causing long-term issues.


![10 Best Quality Leather Bags For Men [2026]](https://mybestreviewss.com/wp-content/uploads/2026/08/10-best-quality-leather-bags-for-men-2026-featured-768x432.jpg)