
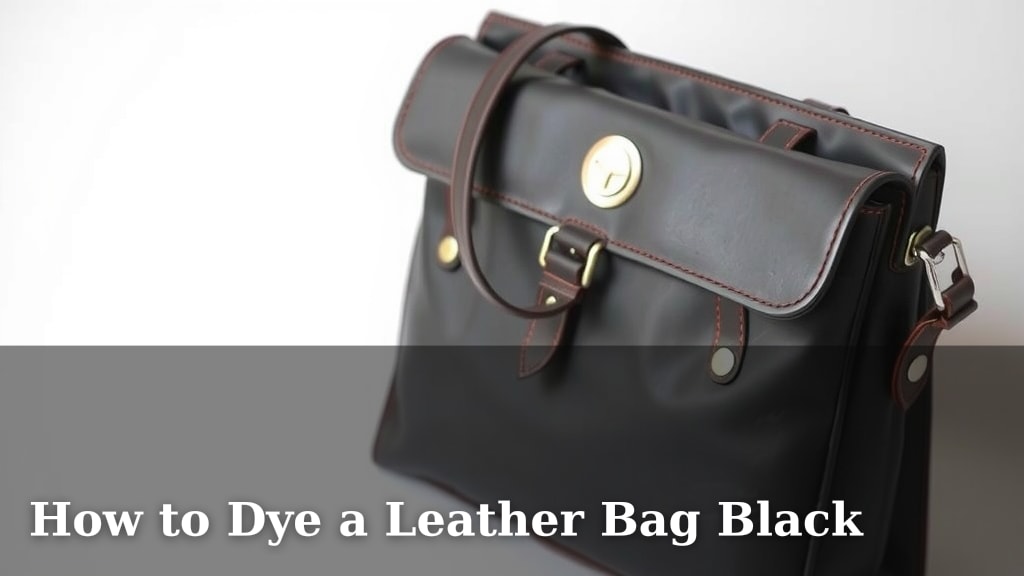
How to Dye a Leather Bag Black
Yes, you can absolutely dye a leather bag black, and it’s a fantastic way to give an old or unwanted bag a whole new look. The trick is using the right type of dye, like an alcohol-based dye, and preparing your bag properly. This process can transform your leather accessory with some patience and care, making it look brand new.
Dyeing a leather bag black is more than just a color change; it’s a restoration project. Many people worry about uneven color or damage, but with the correct approach, you can achieve a professional finish at home. We found that proper surface preparation is key to getting a deep, even black that really lasts.
- Choose an alcohol-based leather dye for best results.
- Thoroughly clean and prep the leather surface before dyeing.
- Apply dye in thin, even coats for a uniform color.
- Allow ample drying time between coats.
- Condition the leather after dyeing to protect it.
Ready to turn that bag into a chic black accessory? Let’s walk through how to dye your leather bag black step by step.
Giving Your Leather Bag a Bold Black Makeover
You’re probably wondering if it’s really possible to dye a leather bag black. The short answer is a resounding yes! It’s a wonderful way to revive an older bag or change the color of one you’re not thrilled with. The secret lies in picking the right dye and preparing your bag properly. With a little patience, you can make your leather accessory look practically brand new.
Dyeing a leather bag black is more than just a color change; it’s a restoration project. Many people worry about uneven color or damaging the leather. But if you follow the correct steps, you can achieve a professional finish right at home. We found that thorough surface preparation is truly the key to getting a deep, even black that lasts.
Choosing the Right Leather Dye
Not all dyes are created equal when it comes to leather. For a deep, lasting black, you’ll want to use an alcohol-based leather dye. These types of dyes are formulated to penetrate the leather effectively. They offer a more vibrant and permanent color compared to water-based dyes, which can sometimes look more like a surface stain.
Many leather crafters and restoration experts recommend alcohol-based dyes for their penetrating power. We found that these dyes work best on vegetable-tanned leather, which is more porous. If your bag is made of chrome-tanned leather, it might be a bit trickier, but it’s still doable with the right preparation.
Types of Leather Dyes to Consider
When you’re looking for a dye, you’ll see a few main types:
- Alcohol-Based Dyes: These are generally the best choice for achieving a deep, uniform black. They dry quickly and penetrate the leather well.
- Oil-Based Dyes: These are also good for penetration but can take longer to dry. They often provide a rich, deep color.
- Water-Based Dyes: While easier to clean up, these dyes tend to sit more on the surface of the leather. They might not provide the same depth of color as alcohol or oil-based options, especially for a rich black.
For a true, rich black color that won’t easily fade, we strongly recommend sticking with an alcohol-based dye. It’s worth the extra care during application to get that beautiful finish.
Prepping Your Leather Bag for Dyeing
This is arguably the most important step. You wouldn’t paint a dirty wall, right? The same applies to your leather bag. Any dirt, oil, or old finishes can prevent the dye from absorbing evenly.
Cleaning the Leather
First, you need to give your bag a thorough cleaning. Use a leather cleaner specifically designed for this purpose. You can also use a mild soap and water solution, but make sure to use distilled water. Apply the cleaner with a soft cloth. Gently wipe down the entire surface of the bag. You want to remove any surface grime, oils, or old conditioners.
After cleaning, let the bag air dry completely. This could take several hours. Don’t try to speed up the drying process with heat, as this can damage the leather. You want the leather to be completely dry and clean.
Stripping Old Finishes
Sometimes, a bag has a protective finish or a previous dye that needs to be removed. A leather stripper or deglazer will help with this. These products are usually alcohol-based. They will open up the pores of the leather, making it ready to accept the new dye.
Apply the stripper with a clean cloth, working in small sections. You’ll notice the leather might change color slightly as the old finish is lifted. Be sure to wear gloves and work in a well-ventilated area. After using a stripper, wipe the bag down again with a clean, slightly damp cloth to remove any residue. Then, let it dry thoroughly once more.
A Note on Leather Type
Be aware of the type of leather your bag is made from. Some finished leathers, like patent leather or faux leather, cannot be dyed effectively. They have a plastic coating that prevents dye absorption. Most genuine leather bags, especially those made of cowhide, are suitable for dyeing.
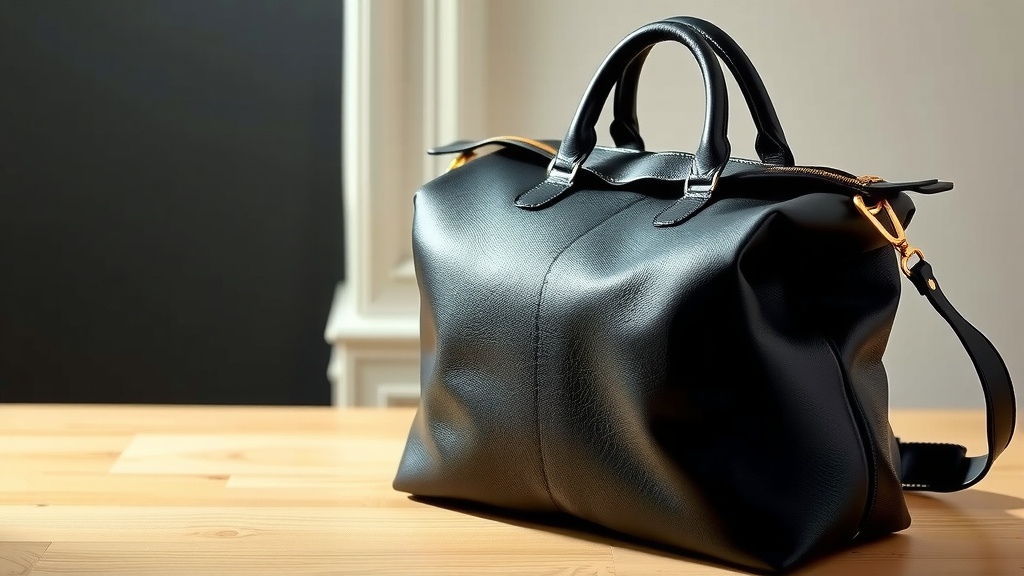
Applying the Black Leather Dye
Now for the exciting part! Applying the dye requires a steady hand and patience. The goal is to get an even coat of color.
Gather Your Supplies
Before you start, make sure you have everything you need:
- Your chosen black leather dye
- Applicators (wool daubers, foam brushes, or lint-free cloths)
- Gloves (nitrile or latex)
- Paper towels or old rags
- A well-ventilated workspace
- Optional: Leather finish or sealant
The Dyeing Process
Dip your applicator into the dye. If using a wool dauber, don’t saturate it. You want a controlled amount of dye.
Start applying the dye to the leather in smooth, even strokes. Work in small sections. Always apply in the same direction to avoid streaky lines. It’s better to apply multiple thin coats than one thick one. A thick coat can lead to blotchiness and uneven color.
As you dye, you’ll see the color begin to change. Don’t be alarmed if it looks a little uneven after the first coat. That’s normal! The second coat usually helps to even things out.
Drying Between Coats
This is where patience really pays off. After each coat of dye, you need to let the bag dry completely. This can take anywhere from 30 minutes to a couple of hours, depending on humidity and how much dye you applied. Don’t rush this step!
Check that the surface feels dry to the touch and there’s no dye rubbing off on your fingers. Then, apply your next coat. You might need two to four coats to achieve a deep, opaque black, especially if you’re dyeing a lighter color to black.
Sealing and Conditioning Your Dyed Bag
Once you’ve achieved the desired black color and the final coat is dry, it’s time to protect your work. You need to seal the dye and rehydrate the leather.
Applying a Leather Finish
A leather finish or sealant will lock in the dye and give your bag a nice sheen. There are various types, including spray-on sealants and wipe-on finishes. Choose one that’s appropriate for your dyed leather.
Apply the sealant in thin, even coats, just like you did with the dye. Allow each coat to dry according to the product’s instructions. This step is vital for making the dye permanent and water-resistant.
Conditioning the Leather
Dyeing can sometimes dry out the leather. Conditioning is essential to restore its suppleness and prevent cracking. Use a good quality leather conditioner.
Apply a small amount of conditioner to a clean cloth. Gently rub it into the leather using circular motions. You want to nourish the leather, not saturate it. Let the conditioner soak in for a few hours, then buff off any excess with a clean, dry cloth. Your bag should now feel soft, look rich, and be beautifully black!
Think of conditioning like moisturizing your skin after a shower. It keeps the leather healthy and looking its best for years to come.
Quick Checklist for Dyeing Your Bag Black
Here’s a quick rundown to keep you on track:
- Gather all your supplies before you begin.
- Clean the leather thoroughly to remove dirt and oils.
- Use a stripper if needed to remove old finishes.
- Apply dye in thin, even coats, allowing each to dry.
- Seal the dye to protect the color.
- Condition the leather to restore moisture and suppleness.
Conclusion
You’ve learned that dyeing your leather bag black is a rewarding project you can tackle at home. By focusing on using the right alcohol-based dye and dedicating time to thorough preparation and patient application, you can achieve stunning results. Remember, cleaning and stripping are key, and allowing ample drying time between thin coats makes all the difference. Once dyed, sealing and conditioning will protect your hard work and keep the leather supple. Now you’re ready to transform your bag into a stylish black accessory you’ll love to carry.
Frequently Asked Questions
Can I dye a leather bag that’s already black?
Yes, you can dye a black leather bag, but it’s mostly for refreshing the color or covering up minor scuffs. If your current black dye is faded or uneven, applying a new black dye over it can even out the tone. It won’t dramatically change the color, but it can restore its vibrancy.
How long does it take to dye a leather bag?
The entire process, including cleaning, stripping (if needed), dyeing, sealing, and conditioning, can take anywhere from 24 to 72 hours. This includes significant drying time between each step. Rushing the process will likely lead to uneven results or damage to the leather.
Will dyeing my bag make the leather stiff?
Dyeing can sometimes dry out the leather, which might make it feel a bit stiff. That’s why conditioning afterward is so important. Using a good quality leather conditioner will restore the leather’s natural oils and suppleness, preventing stiffness and cracking.
What if I make a mistake while dyeing?
If you notice an uneven patch or a mistake, don’t panic! You can often correct it by applying another thin coat of dye to blend the area. For more significant issues, a leather stripper can help remove the problematic dye, allowing you to start that section over. Patience is key here.
Is it safe to dye a leather bag indoors?
You should always dye your leather bag in a well-ventilated area, ideally outdoors or near an open window. Leather dyes, especially alcohol-based ones, can have strong fumes. Ensure you wear gloves and protect your workspace from any drips or spills to keep both yourself and your home safe.
![10 Best Buy Leather Laptop Bags [2026]](https://mybestreviewss.com/wp-content/uploads/2026/09/10-best-buy-leather-laptop-bags-2026-featured-768x432.jpg)
![10 Best Value Leather Bags [2026]](https://mybestreviewss.com/wp-content/uploads/2026/08/10-best-value-leather-bags-2026-featured-768x432.jpg)
![10 Best Leather Messenger Bag Under $200 [2026]](https://mybestreviewss.com/wp-content/uploads/2026/08/10-best-leather-messenger-bag-under-200-2026-featured-768x432.jpg)