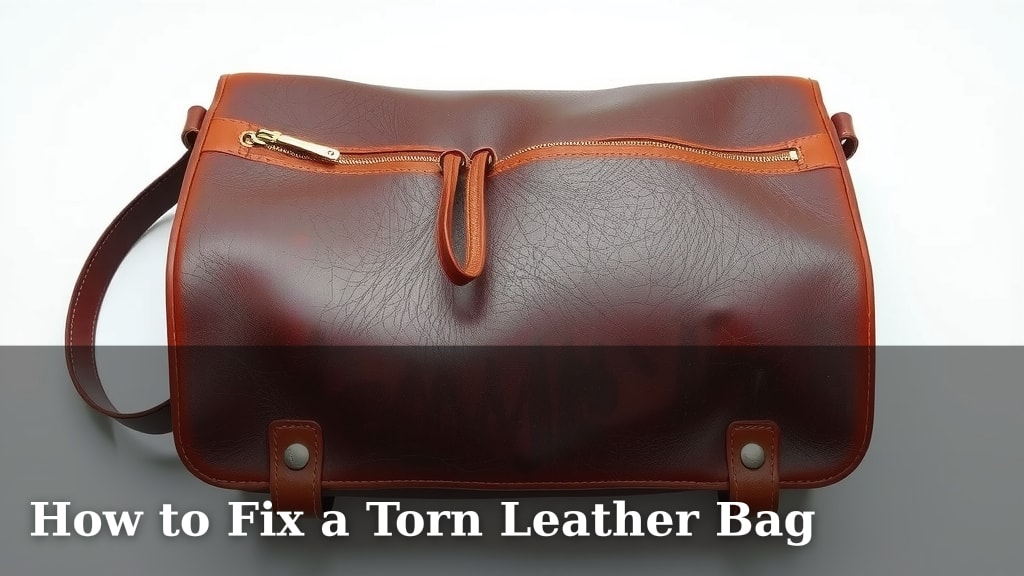
How to Fix a Torn Leather Bag
Yes, you can absolutely fix a torn leather bag yourself with a few simple supplies. With the right leather repair kit, you can often mend small tears and rips, saving your favorite accessory. Don’t let a little damage ruin your bag; a successful repair is within your reach.
Many factors can cause leather to tear, from everyday wear and tear to accidental snags. Understanding the type of leather and the nature of the tear is key. We found that being prepared with the right techniques can make a big difference in restoring your bag’s appearance and durability.
- Assess the tear type.
- Gather your leather repair supplies.
- Prepare the torn edges carefully.
- Apply the leather adhesive or filler.
- Blend the color for a seamless look.
Ready to give your beloved leather bag a new lease on life? Let’s walk through exactly how to tackle that tear step by step.
Restoring Your Leather Bag’s Torn Seams
Don’t fret if your favorite leather bag has a tear. You can mend most rips and splits yourself. It just takes a little patience and the right approach. We’ve found that many common tears are surprisingly easy to fix. Let’s get your bag looking its best again.
Assessing the Damage: What Kind of Tear Are You Dealing With?
Before you grab any tools, take a good look at the damage. The repair method depends on the tear’s size and location. Is it a clean split along a seam? Or is it a jagged rip across the leather surface? Understanding this helps you choose the right supplies and techniques.
Seam Tears vs. Surface Rips
Tears along a seam are often easier to fix. The stitching might have come undone, or the leather itself might have pulled away. Surface rips are a bit trickier. These can happen from snags or impacts. They often require more cosmetic work to look good.
The Leather Type Matters Too
Different types of leather respond differently to repairs. Full-grain leather is tough and usually repairs well. Suede or nubuck needs special care because of its napped surface. Most bags are made from finished or smooth leather. This type is generally forgiving for repairs.
Gathering Your Leather Repair Arsenal
Having the right supplies on hand makes the repair process much smoother. Think of it like preparing for a DIY project; you wouldn’t start without your tools, right? We’ve put together a list of essentials for most leather tear repairs.
Essential Leather Repair Kit Components
- Leather Adhesive: A strong, flexible glue specifically made for leather is key.
- Leather Filler/Compound: This is for filling in gaps or deeper tears.
- Applicators: Small spatulas, brushes, or toothpicks help apply glue and filler precisely.
- Rubbing Alcohol: For cleaning the area around the tear.
- Fine-Grit Sandpaper: To smooth edges before and after repair.
- Leather Dye or Colorant: To match the bag’s original color.
- Cloth or Sponge: For cleaning and blending.
- Optional: Leather Patch: For very large or weakened tears.
Choosing the Right Leather Glue
Not all glues are created equal for leather. You need something that remains flexible after drying. A stiff glue will crack when the bag is used. Look for adhesives labeled as “flexible leather glue” or “fabric and leather adhesive.” Many craft stores carry these.
Preparing the Torn Area for Repair
Cleanliness is next to godliness, especially when repairing leather. A dirty surface will prevent the adhesive from bonding properly. This preparation step is often overlooked but is critical for a lasting fix.
Cleaning the Leather
First, gently clean the area around the tear. Use a soft cloth dampened with a little rubbing alcohol. This removes any dirt, oils, or old polish. Let the area dry completely. You want a clean canvas for your repair work.
Trimming Loose Threads and Edges
If there are any frayed threads or ragged edges, carefully trim them away with small, sharp scissors or a craft knife. You want the edges of the tear to be as neat as possible. This helps them lie flat for a better bond.
Gently Sanding for Adhesion
For surface rips, you might need to lightly sand the edges. Use very fine-grit sandpaper (around 220 grit). This creates a slightly rougher surface. A better grip means a stronger bond for your adhesive. Be gentle; you’re not trying to remove leather.
Executing the Leather Tear Repair
Now for the main event! This is where you’ll bring your bag back together. Take your time with each step. Rushing can lead to a messy repair or a weak bond.
Applying Leather Adhesive for Seam Tears
For tears along a seam, carefully insert a thin bead of leather adhesive into the gap. Use a toothpick or a small applicator. Gently press the torn edges of the leather together. Wipe away any excess glue immediately with a damp cloth. Some experts recommend using painter’s tape to hold the seam closed while it dries. This ensures a tight, even mend.
Using Leather Filler for Surface Rips
If the tear has created a gap or is on the surface, you’ll likely need leather filler. Apply a thin layer of filler into the tear using a small spatula. Smooth it out so it’s level with the surrounding leather. Let the first layer dry completely. You may need to apply multiple thin layers to build it up. Each layer should be smoother than the last. The goal is to fill the void without creating a lump.
Allowing Adequate Drying Time
Leather adhesive and filler need time to cure properly. Check the product instructions for drying times. It’s often longer than you might think. Give it at least 24 hours, or even longer, before stressing the repaired area. Patience here prevents future problems.
Finishing Touches: Blending and Coloring
The repair might look a bit obvious at this stage. Don’t worry, the final steps are all about making it blend in. Matching the color is key to a near-invisible fix.
Sanding the Dried Filler
Once the filler is completely dry, you might need to gently sand it. Use your fine-grit sandpaper again. The goal is to make the repaired area perfectly smooth and flush with the rest of the leather. Wipe away any dust with a clean cloth.
Color Matching and Application
This is where your leather dye or colorant comes in. You need to match the color of your bag as closely as possible. Test the colorant on an inconspicuous area first, like the bottom or inside seam. Apply the colorant in thin layers using a small brush or sponge. Let each layer dry before applying the next. Blend the edges carefully into the surrounding leather. Several thin coats are better than one thick one. Many repair kits come with a range of colors you can mix.
Sealing the Repair (Optional but Recommended)
Once the color is dry and you’re happy with the match, you can apply a leather sealant or conditioner. This protects the repair and the surrounding leather. It also helps to give the repaired area a similar sheen to the rest of the bag. Apply it evenly according to the product’s directions.
A Quick Checklist for Your Leather Bag Repair
Here’s a handy checklist to keep you on track:
- Assess the tear thoroughly.
- Gather all necessary supplies before starting.
- Clean the repair area meticulously.
- Apply adhesive or filler in thin, even layers.
- Allow ample drying time between steps.
- Color match carefully for a seamless look.
Conclusion
You’ve learned how to tackle a torn leather bag with confidence. Remember, a little patience and the right approach can make a big difference. We’ve seen how assessing the tear, gathering your supplies, and carefully executing each step leads to a successful repair. Don’t let a rip keep you from enjoying your favorite accessory. Now, take a deep breath and get started on restoring your bag – you can do this!
Frequently Asked Questions
How long does a leather bag repair typically take?
The time needed can vary greatly depending on the tear’s severity and the product’s drying times. For simple tears, you might be done in a few hours of active work spread over a day. However, you must allow for adequate drying, sometimes up to 24-48 hours, before full use.
Can I fix a tear on a very old or delicate leather bag?
For very old or delicate leather, proceed with extra caution. Always test your repair products on an inconspicuous spot first. If the leather is brittle or heavily damaged, a professional repair might be a safer bet to avoid further damage.
What’s the difference between leather adhesive and leather filler?
Leather adhesive is like a strong glue used to bond torn edges together, especially along seams. Leather filler is more like a putty that fills in gaps or holes on the surface of the leather. You often use them for different types of damage.
Do I need to color match perfectly, or will a slight difference be okay?
For the best results, aim for a near-perfect color match. A significant color difference will make the repair very noticeable. Take your time testing and mixing dyes on a hidden area of the bag before applying to the visible tear.
Will the repaired area be as strong as the original leather?
With a good repair, the area can be quite strong and durable, especially for seam tears. Surface rips filled with compound may not have the exact same flexibility or strength as the original leather. Proper technique greatly improves the longevity of your fix.
![10 Best Vegan Leather Diaper Bag [2026]](https://mybestreviewss.com/wp-content/uploads/2026/08/10-best-vegan-leather-diaper-bag-2026-featured-768x432.jpg)