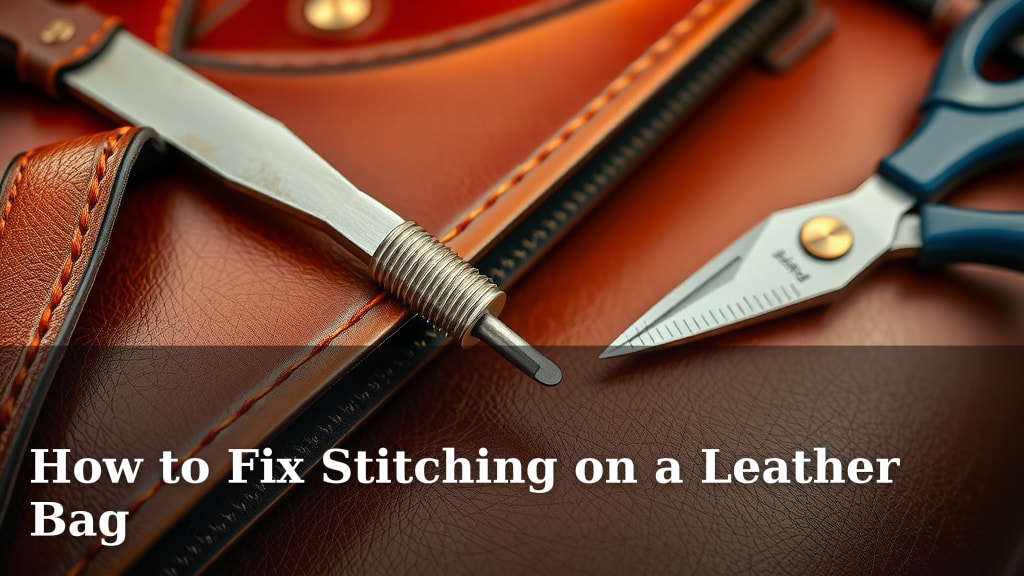
How to Fix Stitching on a Leather Bag
Fixing loose or broken stitching on your favorite leather bag is totally doable. You can often repair small stitching issues yourself with a leather repair kit and a little patience, saving a beloved accessory from the trash heap. Don’t toss that bag just yet; a little DIY can make a big difference.
The seams on leather goods are critical for their durability and overall look. When stitching starts to fray or unravel, it not only looks bad but can also weaken the bag’s structure. Understanding how to mend these areas can extend the life of your leather items significantly, preventing further damage and keeping them looking their best.
- Assess the damage to your stitching.
- Gather the right tools and materials for leather repair.
- Learn simple sewing techniques for leather.
- Consider professional help for extensive damage.
Ready to give your leather bag some TLC? Let’s walk through exactly how to fix that stitching and get your bag looking and feeling great again.
Repairing Your Leather Bag’s Stitching
Is your favorite leather bag starting to show signs of wear and tear? Specifically, are you noticing loose or broken stitches? Don’t worry, fixing these common issues is often within your reach. You can restore your bag’s integrity and appearance with a few basic tools and techniques. This guide will walk you through the process step-by-step, helping you save a beloved accessory.
Leather stitching is more than just decorative; it’s the backbone of your bag’s construction. When these threads break, the strain can quickly worsen, leading to larger tears and a compromised bag. Learning to repair this damage yourself can be incredibly rewarding and cost-effective. We’ll cover everything from assessing the damage to performing the actual repair.
Assessing the Stitching Damage
Before you grab any tools, take a close look at the problem areas. Understanding the extent of the damage is the first critical step. Is it just a few loose threads, or are entire sections of stitching gone? This assessment will determine the tools and methods you’ll need.
Types of Stitching Issues
You might encounter a few common problems:
- Frayed Threads: The ends of the stitching threads look fuzzy or worn down.
- Loose Stitches: Individual stitches have come undone, leaving gaps in the seam.
- Broken Stitches: A thread has snapped completely, creating a noticeable break in the seam.
- Worn Holes: The needle has stretched or enlarged the holes where the stitches were.
Where to Look for Damage
Pay close attention to high-stress areas. These are typically where seams are most likely to fail. Common spots include:
- Strap attachments
- The bottom corners of the bag
- Around zippers and closures
- Anywhere the leather folds or bends frequently
Examining these spots will give you a clear picture of the work ahead. Sometimes, a little fraying is just cosmetic. Other times, you’ll see a thread completely missing.
Gathering Your Leather Stitching Repair Supplies
Having the right tools is essential for a successful repair. You don’t need a professional workshop, but a few key items will make a big difference. Many of these can be found in a specialized leather repair kit.
Essential Tools and Materials
Here’s what you’ll likely need:
- Leather Needles: These are sturdy and sharp, designed to pierce leather without tearing it excessively. Look for a curved needle if you’re working in tight spots.
- Strong Thread: Use waxed polyester or nylon thread made for leather. This thread is durable and resists fraying. It often comes in colors that match common leather shades.
- Thick Wax (Optional but Recommended): Beeswax or a specialized leather stitching wax helps waterproof your stitches and makes them easier to work with.
- Pliers or Tweezers: Useful for pulling stubborn threads through or guiding needles.
- Leather Awl (Optional): This pointed tool can help re-open old stitch holes or create new ones if needed.
- Leather Cement or Adhesive: A strong glue designed for leather can help secure threads or patch small tears before stitching.
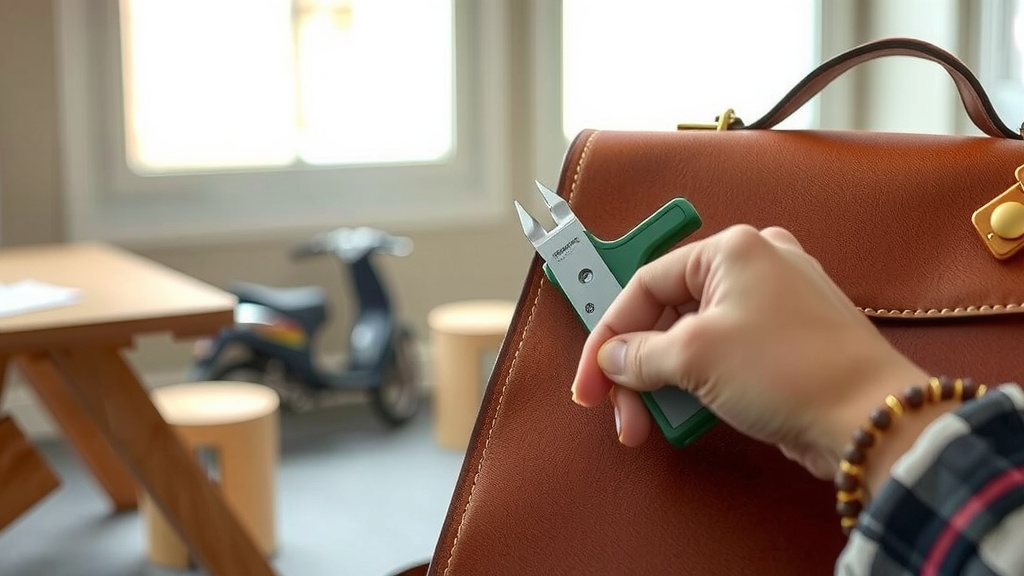
- Scissors or Craft Knife: For trimming excess threads.
- A Clean Cloth: For wiping away any excess adhesive or dust.
We found that using a kit can be a great starting point, as it usually contains most of these items. However, you might need to supplement it with specific colors of thread or a particular type of needle depending on your bag and the damage.
The Stitching Repair Process
Now for the hands-on part! The technique you use will depend on whether you’re re-stitching a broken seam or reinforcing a loose one. The goal is to create strong, durable stitches that blend in.
Re-stitching a Broken Seam
If a thread has completely snapped, you’ll need to essentially sew that section again. This often involves the saddle stitch, which is a very strong hand-sewing technique.
- Prepare the Thread: Cut a length of thread that’s about three to four times the length of the seam you need to repair. Thread one end through your needle.
- Wax the Thread: If your thread isn’t pre-waxed, run it through a block of beeswax several times. This coats the thread, making it smoother and stronger.
- Start Stitching: If there are still existing holes, try to follow them. If not, use an awl to create new holes about 1/8 inch apart.
- The Saddle Stitch: This is where it gets a bit tricky but is incredibly strong. You’ll use two needles, one on each end of your thread. You pass one needle through a hole, then the second needle through the same hole from the other side. Keep passing needles back and forth through each subsequent hole, ensuring the stitches are snug.
- Finish the Stitch: When you reach the end of the damaged section, tie off the thread securely with a few knots. Trim any excess thread close to the seam.
This method creates a double-stitched seam, offering excellent durability. Many leatherworkers swear by the saddle stitch for its strength and longevity.
Securing Loose Stitches
If you have loose stitches but the thread is still intact, you might be able to tighten them up. Sometimes, a stitch just needs to be pulled taut and secured.
- Gently Pull: Try to carefully pull the loose stitch tight with your fingers or tweezers.
- Re-stitch if Necessary: If pulling doesn’t work, you may need to carefully remove a few stitches and re-sew them using the saddle stitch method described above. This will ensure they are properly anchored.
- Secure the End: If you’ve just tightened a loop, you might be able to add a tiny knot on the underside of the seam to hold it in place.
Repairing Worn Stitching Holes
Sometimes, the holes themselves become enlarged and the stitching starts to look messy. In such cases, you might need to reinforce the area.
- Apply Leather Adhesive: Put a tiny amount of leather adhesive into the worn holes.
- Re-stitch: Carefully re-stitch through the glued holes. The adhesive helps to firm up the leather and provide a better anchor for your new stitches.
- Consider a Patch: For significant wear, you might need to place a small leather patch on the inside of the bag and stitch through both layers.
We found that patience is key here. Rushing can lead to more damage. Take your time, especially when working with the needles and thread. It’s better to do it slowly and correctly.
Dealing with More Extensive Damage
Not all stitching problems can be fixed with a needle and thread at home. If your bag has suffered significant damage, it might be time to seek professional help.
When to Consider a Professional Leather Repair Service
Here are some signs that your bag might be beyond a DIY repair:
- Large Areas of Disintegration: If multiple feet of stitching are missing.
- Torn Leather Panels: Stitching failures that have led to actual rips in the leather.
- Structural Issues: If the bag’s shape or integrity is compromised due to lost stitching.
- High-Value Bags: For designer or very expensive bags, it’s often wise to consult an expert to avoid making a costly mistake.
Professional leather repair services have specialized tools and expertise. They can often perform repairs that are virtually invisible. They can also match thread colors and leather types perfectly. Many services offer mail-in repairs, making it accessible even if you don’t have a local shop.
Checklist for Your Leather Stitching Repair
Here’s a quick rundown to make sure you’re prepared:
- Assess the stitch damage thoroughly.
- Gather all necessary tools (needles, thread, etc.).
- Choose a strong, waxed thread suitable for leather.
- Practice the saddle stitch if you’re new to it.
- Consider professional help for very extensive damage.
Conclusion
You’ve learned that fixing loose or broken stitching on your leather bag is absolutely within your reach. With a little guidance, the right tools, and a touch of patience, you can restore your bag’s beauty and functionality. Remember to always assess the damage first, gather your supplies, and tackle the repair with care, especially if you’re trying the strong saddle stitch. For those larger issues, don’t hesitate to seek expert help to ensure your beloved accessory gets the best possible care. Ready to give your bag a new lease on life? Start by gathering your repair kit and preparing to mend those seams!
Frequently Asked Questions
What kind of thread should I use for leather bag repairs?
For your leather bag repairs, you’ll want to use a strong, durable thread. Look for waxed polyester or nylon thread specifically made for leatherwork. These materials resist fraying and are tough enough to handle the strain of leather seams, ensuring a lasting repair.
How do I make sure my new stitches match the old ones?
Matching the new stitches to the old ones involves a few things. Try to use a thread color that’s as close as possible to the original. Also, pay attention to the stitch length and the spacing between stitches; consistency here will make your repair look much more natural.
Can I fix stitching that has completely fallen apart?
Yes, you can often fix stitching that has completely fallen apart. This usually involves re-sewing the seam, often using the saddle stitch technique. You might need an awl to create new stitch holes if the old ones are no longer visible or usable.
Is it better to use a curved or straight needle for leather repairs?
Both types of needles can be useful. A straight leather needle is good for general sewing. A curved leather needle is particularly helpful for reaching tight spots or working around curves and edges where a straight needle might be awkward to maneuver.
When should I give up on a DIY repair and go to a professional?
You should consider a professional if the damage is extensive, like large sections of missing stitching or if the leather itself is torn. Also, for very expensive or designer bags, a professional repair service can ensure the best possible outcome and prevent costly mistakes.

![10 Best Leather Cross Body Bag [2026]](https://mybestreviewss.com/wp-content/uploads/2026/09/10-best-leather-cross-body-bag-2026-featured-768x432.jpg)
![10 Best Leather Mens Bags [2026]](https://mybestreviewss.com/wp-content/uploads/2026/08/10-best-leather-mens-bags-2026-featured-768x432.jpg)