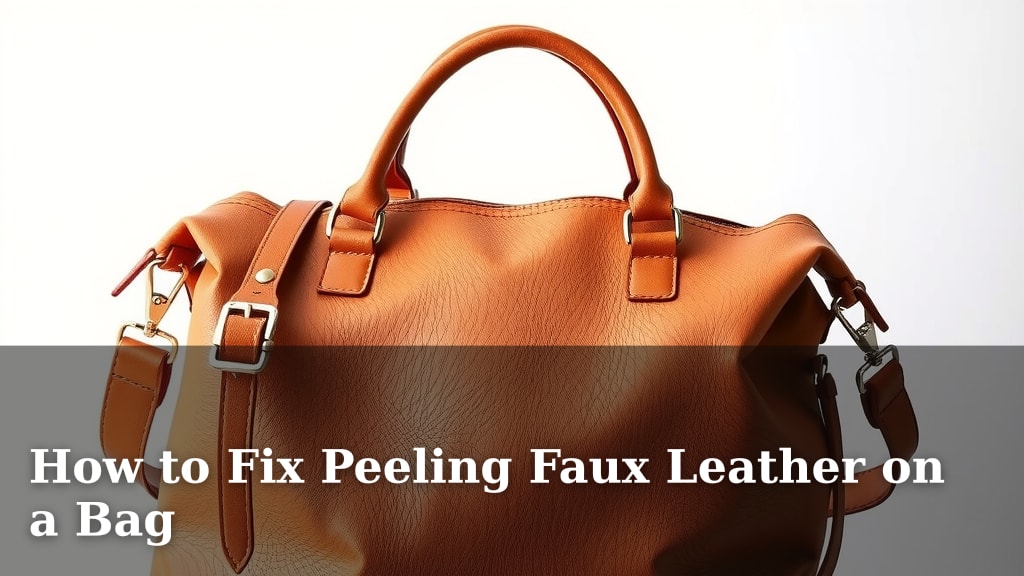
How to Fix Peeling Faux Leather on a Bag
You can absolutely fix peeling faux leather on your favorite bag! The best method often involves using a flexible adhesive and carefully smoothing down the peeling sections. With a little patience, you can restore your bag and keep it looking stylish. We found that simple household items can work wonders.
Peeling faux leather can be a bummer, but it’s a common issue with these materials. Factors like age, exposure to heat, and friction can cause the top layer to lift. Thankfully, addressing it promptly can prevent further damage and extend the life of your bag. Many repair methods are surprisingly easy to do yourself.
TL;DR:
- Use flexible glue for repairs.
- Clean the area gently first.
- Press down peeling sections firmly.
- Consider a leather repair kit for bigger issues.
- Protect your bag from heat and moisture.
Ready to give your bag a makeover? Let’s walk through exactly how to tackle that peeling faux leather step by step.
Reviving Your Faux Leather Bag: Fixing Peeling Spots
Peeling faux leather on your favorite bag doesn’t have to be the end of the road! With a few simple steps and the right materials, you can often repair these common issues. We’ve found that most fixes are quite straightforward. You can save your bag from looking worn out.
Understanding Faux Leather and Why It Peels
Faux leather, often called vegan leather or PU leather, is essentially a fabric base coated with a plastic polymer. This coating gives it that leather-like appearance. Over time, this coating can degrade. Exposure to heat, moisture, and even regular friction can cause it to crack and peel.
We found that the sun’s UV rays are a major culprit. Leaving your bag on a car dashboard can accelerate this breakdown. Also, the oils from your hands can break down the material over many uses. Think of it like a sunburn for your bag’s surface!
Gathering Your Repair Supplies
Before you start, let’s make sure you have everything you need. Having your tools ready will make the repair process much smoother. It prevents interruptions and keeps you focused.
Essential Items for a Simple Fix
- Flexible Adhesive: This is key! Regular craft glue might crack. Look for a flexible fabric glue or a specific faux leather repair adhesive. We found that brands known for their fabric glues work well.
- Rubbing Alcohol: For cleaning the area.
- Cotton Swabs or Cloth: To apply the alcohol and wipe away excess.
- Spatula or Old Credit Card: To gently lift edges and apply adhesive.
- Paper Towels: For general cleanup.
- A Heavy Object: Like a book, to help press the material down while it dries.
Step-by-Step Repair for Minor Peeling
This method is best for small, lifting areas of faux leather. It’s a bit like giving your bag a mini-facelift.
1. Clean the Damaged Area Thoroughly
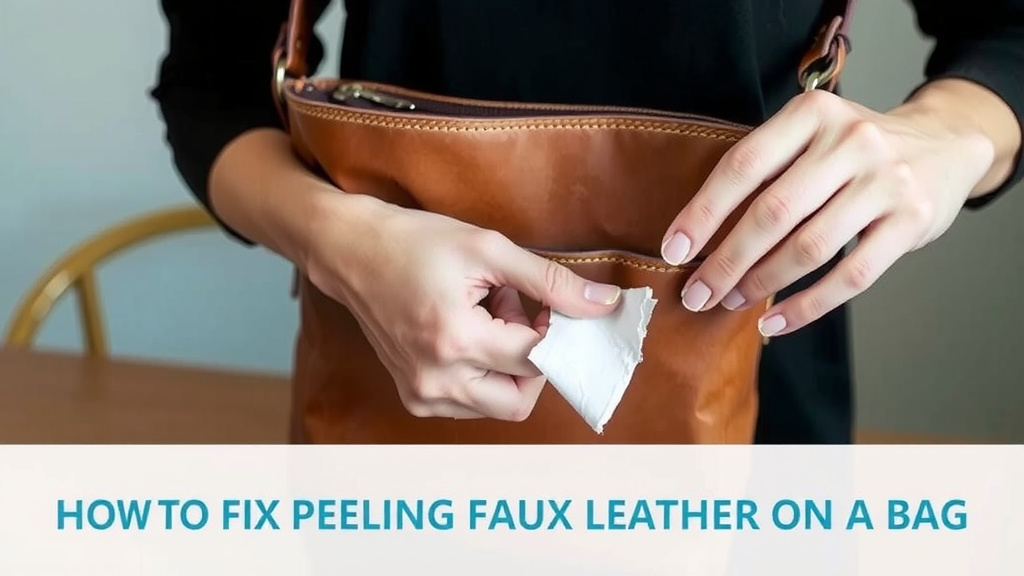
First, gently clean the peeling section and the surrounding area. Use a cotton swab lightly dampened with rubbing alcohol. This removes dirt and oils that could prevent the adhesive from sticking. Let it air dry completely. You want a clean canvas.
2. Carefully Lift the Peeling Layer
Using a thin, blunt tool like a spatula or an old credit card, gently lift the peeling edge of the faux leather. Go slowly and carefully. You don’t want to tear the material further. Just get enough space to work the adhesive underneath.
3. Apply the Flexible Adhesive
Now, apply a thin, even layer of your flexible adhesive under the lifted edge. A little goes a long way. You can use the tip of your spatula or a small applicator. Make sure to get it all the way to the edge of the peel.
4. Smooth and Press into Place
Gently press the faux leather flap back down onto the surface. Use your fingers to smooth it out, ensuring there are no air bubbles. You want a seamless finish. Wipe away any excess glue that might squeeze out with a damp cloth immediately.
5. Apply Gentle Pressure to Dry
This is a critical step. Place a piece of paper towel over the repaired area. Then, put a heavy, flat object, like a book, on top. This keeps the area pressed down firmly as the adhesive dries. Leave it for the time recommended by your adhesive’s instructions, usually several hours or overnight.
When to Consider a Faux Leather Repair Kit
For larger peeling areas or if the material is cracked, a simple adhesive might not be enough. In these cases, a dedicated faux leather repair kit can be a better solution. These kits often come with fillers, colorants, and specialized adhesives designed for these types of repairs.
What’s in a Repair Kit?
Most kits include a variety of colors you can mix to match your bag. They also often have a grain paper to help recreate the leather texture. Follow the kit’s specific instructions carefully, as they can vary.
Larger Damage: A Different Approach
If your bag has extensive peeling or cracking, the repair might be more involved. These kits are designed to fill in missing pieces or mend larger tears. It requires a bit more patience and precision. We found that taking your time is the most important factor here.
Preventing Future Faux Leather Peeling
Once you’ve made your repairs, you’ll want to protect your bag from further damage. A little preventative care goes a long way.
Protecting Your Bag from the Elements
- Avoid Extreme Heat: Never leave your bag in direct sunlight or a hot car. Heat is a major enemy of faux leather.
- Keep it Dry: Moisture can also degrade the material. Wipe away rain or spills immediately.
- Store Properly: When not in use, store your bag in a cool, dry place. Stuff it with paper to help it keep its shape.
- Gentle Cleaning: Use mild soap and water for cleaning. Avoid harsh chemicals or abrasive scrubbers.
Quick Checklist for Faux Leather Bag Repair
Here’s a quick reminder of the key steps to get your bag looking its best again:
- Clean the peeling area with rubbing alcohol.
- Gently lift the peeling edge.
- Apply a flexible adhesive underneath.
- Smooth the flap down firmly.
- Apply pressure while the adhesive dries.
- Consider a repair kit for extensive damage.
Conclusion
You now have the knowledge to tackle that peeling faux leather on your bag! We’ve walked through simple fixes for minor spots using household items and explained when a dedicated repair kit might be your best bet. Remember, gentle cleaning, the right flexible adhesive, and a bit of pressure while drying are your go-to steps. Don’t forget that protecting your bag from heat and moisture is key to preventing future issues.
Your next step is to gather your supplies and give that bag a refresh. You’ve got this!
Frequently Asked Questions
What is the best type of glue to use for faux leather?
For faux leather, you need a flexible adhesive. Regular craft glues can become stiff and crack. We found that fabric glues or adhesives specifically designed for faux leather or vinyl work best for repairs.
Can I repair a large peeled area on my faux leather bag?
Yes, you often can! For larger peeling areas or cracks, a comprehensive faux leather repair kit is usually a better choice. These kits often include fillers and colorants to help you rebuild the surface.
How long should I leave weight on the repaired area?
You should leave the weight on until the adhesive is completely dry. This typically means several hours, or often overnight. Check the instructions for your specific adhesive for the most accurate drying time.
Will the repair be visible on my bag?
With careful application of a thin layer of adhesive, minor repairs can be quite unnoticeable. If using a repair kit with colorants, you can achieve a good color match. A small patch of a slightly different texture is sometimes unavoidable.
How can I stop my faux leather bag from peeling in the future?
Preventative care is essential. Avoid exposing your bag to direct sunlight and extreme heat, and wipe away moisture immediately. Store it in a cool, dry place when not in use.
![10 Best Lining For Leather Bags [2026]](https://mybestreviewss.com/wp-content/uploads/2026/08/10-best-lining-for-leather-bags-2026-featured-768x432.jpg)