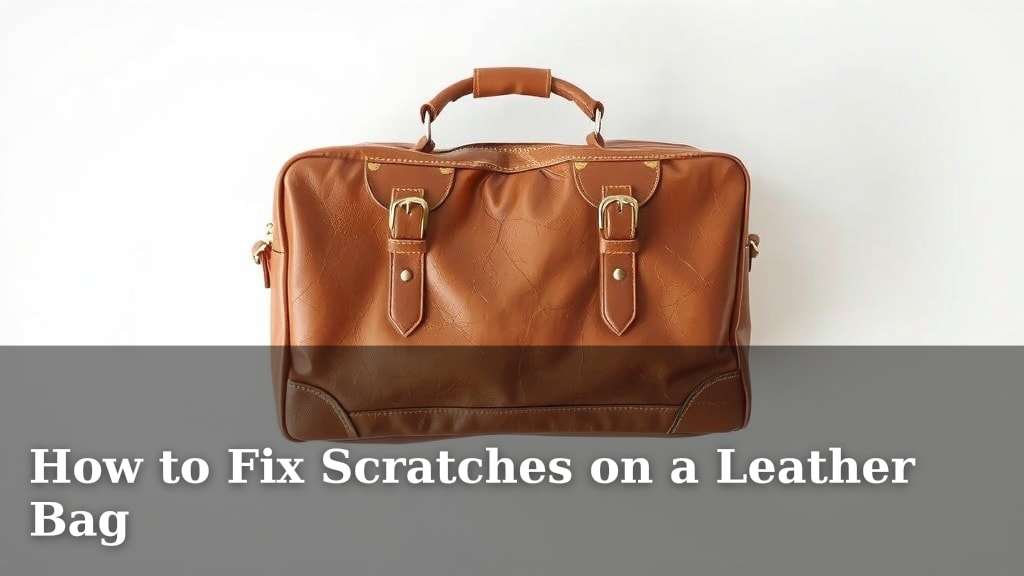
How to Fix Scratches on a Leather Bag
Yes, you can fix most scratches on your leather bag with simple household items. For minor surface scuffs, often a bit of gentle conditioning or a dab of the right polish can make them virtually disappear. Don’t let those little nicks make you want to hide your favorite bag away!
Leather is a durable material, but it’s also prone to wear and tear, especially on a bag you use regularly. Understanding how to treat different types of scratches – from light surface marks to deeper gouges – is key to preserving your bag’s beauty. We’ve researched various methods, and many are surprisingly easy to do at home with common products.
- Minor scratches often need just a good leather conditioner.
- For deeper marks, you might need a leather repair kit or a matching dye.
- Always test any product on an inconspicuous area first.
- Patience is your best friend when fixing leather.
Let’s walk through exactly how to tackle those scratches and get your leather bag looking its best again.
Restoring Your Leather Bag’s Charm: Tackling Scratches and Scuffs
It’s easy to feel a pang of disappointment when you notice a new scratch on your beloved leather bag. You likely love your bag for its style and durability, and a scratch can feel like a blemish on its perfection. But don’t despair! Many common scratches and scuffs on leather are surprisingly fixable right in your own home. We’ve researched the best approaches, and you might be amazed at what you can achieve with a little patience and the right products.
Assessing the Damage: What Kind of Scratch Are You Dealing With?
Before you grab any old cleaner, it’s smart to take a close look at the scratch. The depth and type of mark will determine the best way to fix it. Think of it like diagnosing a small cut – you wouldn’t treat a paper cut the same way you’d treat a deeper wound, right? Leather is similar.
Surface Scratches: The Minor Nicks
These are the most common culprits. They often look like lighter-colored lines on the leather’s surface. You can usually feel them, but they haven’t gone deep enough to cut through the leather’s top layer. These are often the easiest to repair. Many a seasoned bag owner has found these marks fade with simple care.
Deeper Scratches: The More Noticeable Gouges
These scratches are more obvious. They might appear as distinct lines, possibly with the leather looking a bit frayed or even cut. They go deeper into the material. These require a bit more attention but are still often repairable without professional help.
Color Damage: When the Dye is Affected
Sometimes, a scratch doesn’t just mark the leather; it also removes or lightens the color. This is common with lighter-colored leathers. You’ll see a distinct color difference where the scratch occurred. This means you’ll need to address both the physical damage and the color loss.
Your Leather Bag Scratch Repair Toolkit
Gathering the right supplies is your first step to success. Having these items on hand will prepare you for most common scratch situations. You don’t need a whole workshop, just a few key items.
- Leather Conditioner: This is your workhorse for minor issues.
- Soft, Lint-Free Cloths: For applying and buffing. Microfiber cloths work well.
- Leather Cleaner: Gentle cleaning before repair is often wise.
- Leather Repair Kit: For deeper scratches, these often contain fillers and dyes.
- Rubbing Alcohol (Isopropyl Alcohol): Use sparingly and diluted for specific tasks.
- Cotton Swabs: For precise application.
- Hair Dryer (optional): For certain techniques.
Step-by-Step Guide to Fixing Leather Bag Scratches
For Light Surface Scratches: The Gentle Approach
You can often make these disappear with just a good leather conditioner. It works by restoring moisture and oils to the leather. This can help blend the scratch into the surrounding area.
The Conditioning Method
First, ensure your bag is clean. Use a soft brush or cloth to remove any dust or debris. Apply a small amount of leather conditioner to a clean, soft cloth. Gently rub the conditioner into the scratched area in a circular motion. Work slightly beyond the scratch itself to help blend it in. You might need to apply a second light coat. Let it absorb for a few minutes, then buff the area gently with another clean cloth. Often, you’ll see the scratch fade significantly or disappear.
The Heat Method (for some leathers)
For certain types of leather, a little heat can help redistribute the oils and blend the scratch. After applying conditioner (as described above), hold a hair dryer on a low heat setting about 6 inches away from the scratched area. Move the dryer constantly to avoid overheating the leather. Gently buff the area with a soft cloth. We found this technique works best on full-grain or top-grain leathers that have natural oils. Always test this on an inconspicuous spot first!
For Deeper Scratches: When More is Needed
Deeper scratches mean the leather fibers themselves might be damaged. You’ll likely need more than just conditioner. Many experts recommend leather repair kits for these types of issues.
Using a Leather Repair Kit
These kits are designed for more substantial damage. They typically come with a filler compound and colorants or dyes. First, clean the area thoroughly. Apply the filler compound into the scratch using a small spatula or your finger. Smooth it down so it’s flush with the leather surface. Let it dry completely according to the kit’s instructions. This might take several hours. Once dry, you may need to lightly sand it with very fine-grit sandpaper (provided in some kits). Then, carefully apply the matching colorant or dye using a sponge applicator or a fine brush. Build up the color in thin layers, allowing each to dry. Blend the edges carefully to match the surrounding leather. Buffing can help integrate the new color.
When Color Needs a Boost
If the scratch has removed color, a matching leather dye is essential. You can often find these at shoe repair shops or online. Before applying, clean the area well. Test the color on an inconspicuous spot first to ensure it matches. Apply the dye in thin, even coats with a fine brush or sponge. Allow each coat to dry completely before adding another. Patience here is key for a natural look. After the dye dries, a leather sealer or conditioner can help protect the color and the leather.
Important Considerations for Leather Repair
A little caution goes a long way when working with leather. These points can help you avoid common pitfalls.
Always Test First
This is the golden rule of leather care. Before applying any product – conditioner, cleaner, dye, or filler – to the main area of your bag, test it on a hidden spot. The underside of a strap, an inside pocket flap, or a small corner of the base are good places. Let it sit for a while and then check for any discoloration, damage, or adverse reactions. This small step can save you a lot of trouble.
Know Your Leather Type
Different types of leather react differently to treatments. Aniline and semi-aniline leathers are more natural and might show repairs more obviously. Protected or pigmented leathers are more forgiving. If you’re unsure, err on the side of caution with the gentlest methods first.
Patience is Key
Leather repair isn’t usually a quick fix. Rushing the process, especially drying times for fillers and dyes, can lead to less-than-ideal results. Give the products time to work and the leather time to absorb them. You want a natural blend, not a patch that stands out.
Don’t Overdo It
Too much product can sometimes make the problem worse. Use small amounts of conditioner, cleaner, or dye. It’s easier to add more than it is to take away excess. Gentle, repeated applications are often more effective than one heavy-handed attempt.
When to Seek Professional Help
While many scratches are DIY-friendly, some damage might be beyond home repair. If you have a very expensive bag, a deep tear, or a complex repair, consider consulting a professional leather repair specialist. They have specialized tools and expertise that can often save bags with significant damage.
Dealing with scratches on your leather bag doesn’t have to be a source of stress. With the right approach and a bit of care, you can restore its beautiful appearance and keep it looking its best for years to come. Here’s a quick recap of what to keep in mind:
- Assess the scratch: Surface vs. deep, color damage or not?
- Clean the area: Always start with a clean surface.
- Test products: Always test on a hidden spot first.
- Use the right method: Conditioner for light, kits for deeper.
- Be patient: Allow ample drying and blending time.
Conclusion
You’ve learned that many scratches on your favorite leather bag aren’t permanent problems. With simple supplies and a bit of patience, you can restore its beauty. Remember to always assess the scratch, start with a clean surface, and test any product first on an hidden area. Whether it’s a light scuff needing conditioner or a deeper mark requiring a repair kit, you have the tools to tackle it. Keep these tips in mind, and you can confidently keep your leather bag looking its best for years to come. Your next step is to gather your supplies and give your bag the care it deserves!
Frequently Asked Questions
Can I really fix deep scratches on my leather bag at home?
Yes, for many deeper scratches, a leather repair kit can work wonders. These kits usually contain fillers and dyes to mend the physical damage and restore color. Just be sure to follow the kit’s instructions carefully and test the color match first.
Will conditioning a scratch make it completely disappear?
For light surface scratches, conditioning can often make them virtually disappear by restoring moisture and blending the mark. Deeper scratches might only fade or become less noticeable with conditioning, rather than vanishing entirely.
How do I know if I have the right color dye for my bag?
It’s crucial to test the dye on an inconspicuous spot first. Look for a color match in natural light before applying it to the scratch. You can often find dyes at shoe repair shops or online that are specifically formulated for leather goods.
What if the scratch removed color from my leather bag?
If a scratch has taken away color, you’ll need to use a matching leather dye. Apply it in thin layers with a fine brush or sponge, allowing each layer to dry completely. Follow up with a leather conditioner or sealer to protect the repair.
When should I give up on a scratch and take my bag to a professional?
If a scratch is a deep tear, a significant gouge, or if your bag is very valuable and you’re hesitant, it’s wise to seek professional help. Leather repair specialists have advanced tools and expertise for complex damage.

![10 Best Leather Nappy Bags [2026]](https://mybestreviewss.com/wp-content/uploads/2026/09/10-best-leather-nappy-bags-2026-featured-768x432.jpg)
![10 Best Men'S Leather Sling Bag [2026]](https://mybestreviewss.com/wp-content/uploads/2026/08/10-best-men-s-leather-sling-bag-2026-featured-768x432.jpg)