How to Fix Peeling Patent Leather on a Bag
Peeling patent leather on your favorite bag can be frustrating, but you can often fix it yourself. The quickest way to repair peeling patent leather is to gently trim away loose flakes and then apply a leather conditioner or a specialized patent leather repair product. This helps to smooth the area and prevent further peeling. You’ll want to work carefully to avoid damaging the rest of the bag.
Patent leather, with its signature glossy finish, can sometimes start to crack and peel over time. This wear and tear often happens due to age, exposure to heat, or improper storage. Catching peeling early is key to preventing more extensive damage. We found that consistent, gentle care can make a big difference in preserving your bag’s look and feel. Understanding why patent leather peels is the first step to effective repair.
- Trim loose flakes carefully.
- Use a leather conditioner or repair product.
- Clean the area before applying product.
- Test products on an inconspicuous spot first.
- Be patient; repairs take time.
Let’s walk through exactly how to bring that shine back to your cherished bag.
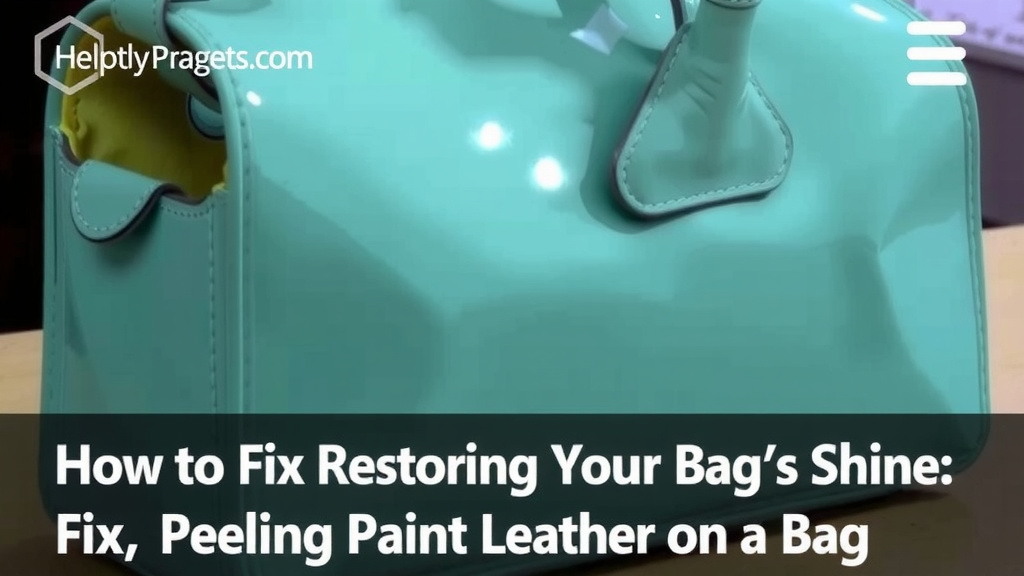
Restoring Your Bag’s Shine: Fixing Peeling Patent Leather
Seeing your favorite patent leather bag start to peel can feel like a mini fashion crisis. But don’t worry, you’ve got this! Most of the time, a little tender loving care can bring it back to its former glory. We’ve found that tackling peeling patent leather early is the best way to keep it looking its best.
Understanding Why Patent Leather Peels
Patent leather is essentially leather that’s been coated with a plastic-like finish to give it that high-shine, smooth look. Over time, this finish can become brittle. Many experts point to a few common culprits. Heat is a big one; leaving your bag in a hot car or direct sunlight can cause the finish to crack and lift. Age itself is another factor – the finish just wears out. We’ve also found that certain chemicals, like those in some hand sanitizers or perfumes, can be harsh. Even improper storage can play a role, especially if the bag is folded or crammed into a tight space.
Your Step-by-Step Guide to Repair
The process of fixing peeling patent leather is more about gentle restoration than major surgery. Think of it like giving your bag a spa treatment. We’ll break it down into simple, manageable steps so you can get your bag looking fantastic again.
Step 1: Clean the Area Gently
Before you do anything else, you need a clean slate. Gently wipe down the affected area with a soft, damp cloth. Avoid harsh chemicals or scrubbing, as this can worsen the peeling. We found that a simple solution of mild soap and water works well for most bags. Make sure to dry the area completely with another clean, soft cloth.
Step 2: Trim Loose Flakes
This is a critical step. Carefully use a small, sharp pair of scissors or a craft blade to trim away any loose, flaking pieces of the patent finish. The goal here is to remove anything that’s lifting or curling away from the base leather. We recommend working in good lighting so you can see exactly what you’re cutting. It’s better to trim too little than too much. You want to create a smooth edge where the peeling stops. Think of it like tidying up a stray thread – you’re just cleaning up the edges.
Step 3: Assess the Damage
Once you’ve trimmed the loose bits, take a good look at the area. Is it just a small patch, or is it widespread? The type of repair product you use might depend on the extent of the damage. For minor chips and cracks, a good quality leather conditioner might be enough. For more significant peeling, you might need a specialized patent leather repair kit or a flexible filler.
Choosing the Right Repair Product
There are several options available to help seal and smooth the repaired area. We’ve looked into a few:
- Leather Conditioner: This is great for very minor peeling or as a preventative measure. It moisturizes the leather and can help to smooth down small lifted edges.
- Patent Leather Repair Kits: These often come with a flexible sealant or filler designed specifically for patent finishes. They can help fill in small gaps and provide a new layer of protective coating.
- Flexible Leather Filler: For larger areas where the finish has chipped away more significantly, a flexible filler can be molded to the shape of the missing finish. You’ll often need to color-match this to your bag.
- Clear Nail Polish (Use with Caution): Some people use a clear, glossy nail polish for very small nicks. We found this can work in a pinch, but it’s not ideal for larger areas and can sometimes yellow over time. It’s best to test this on an inconspicuous spot first.
Step 4: Apply Your Chosen Product
This is where the magic happens. Whichever product you choose, always test it on an inconspicuous area first. This could be the bottom of the bag or inside a pocket. You want to make sure it doesn’t discolor or damage the material further. Once you’re confident, apply your product according to the manufacturer’s instructions. Often, this involves applying a thin layer and allowing it to dry completely. You might need multiple thin layers for a smooth finish.
Technique for Application
For conditioners, apply a small amount to a clean cloth and gently rub it into the repaired area. For fillers or repair kits, you’ll likely use a small brush or applicator. Work from the edges of the peeled area inward. The goal is to blend the repair seamlessly with the surrounding patent leather. Patience is key here; rushing can lead to an uneven finish. Many products recommend applying multiple thin coats rather than one thick one. We found that this approach yields much better, smoother results.
Step 5: Buff and Shine
Once the repair product is completely dry, you can gently buff the area with a soft, clean cloth. This helps to restore the shine and blend the repaired section. If you used a filler and it needs coloring, now would be the time to carefully apply a matching leather dye or paint, following the product’s instructions. After the color dries, you might need to apply a clear, flexible topcoat to protect it and restore that signature patent gleam.
Preventing Future Peeling
Once you’ve fixed your bag, you’ll want to keep it looking its best. Prevention is definitely easier than repair! We found that a few simple habits can make a big difference in the longevity of your patent leather items.
Proper Storage is Key
Always store your patent leather bags upright, not folded or crammed. Use a dust bag to protect the finish from scratches and dust. Avoid storing them in plastic bags, as this can trap moisture. Many experts recommend storing them in a cool, dry place away from direct sunlight and extreme temperatures. This helps keep the patent finish from becoming brittle.
Avoid Harsh Environments
Try to keep your patent leather bag away from excessive heat, like leaving it in a hot car. Be mindful of exposure to rain or other moisture; while patent leather is generally more water-resistant than other leathers, prolonged exposure can still cause damage. Also, be cautious with hand sanitizers, perfumes, and colognes, as their alcohol content can sometimes break down the patent finish over time. If you think you might have gotten some on your bag, wipe it off immediately.
Regular Gentle Cleaning
Just like any material, patent leather benefits from regular cleaning. A quick wipe-down with a soft, damp cloth after use can remove surface dirt and oils. You can follow this up with a gentle leather conditioner specifically designed for patent leather to keep the finish supple and prevent it from drying out and cracking. We found that a simple, regular maintenance routine can significantly extend the life and beauty of your bag.
Your Patent Leather Repair Checklist:
- Clean the peeling area gently.
- Carefully trim any loose flakes.
- Choose the right repair product (conditioner, kit, or filler).
- Test the product on an inconspicuous spot first.
- Apply the product in thin, even layers.
- Allow ample drying time between coats.
- Buff gently to restore shine.
Conclusion
You’ve learned that peeling patent leather on your favorite bag doesn’t have to be a deal-breaker! By carefully trimming loose flakes and applying the right repair product, you can restore its shine and prevent further damage. We found that gentle cleaning, proper storage, and avoiding harsh conditions are your best defenses against future peeling. With a little patience and the right approach, your cherished bag can look fantastic again. So, take a deep breath, grab your repair kit, and give your bag the TLC it deserves!
Frequently Asked Questions
How often should I condition my patent leather bag?
We recommend conditioning your patent leather bag every 3-6 months. If you live in a dry climate or use your bag frequently, you might want to do it more often. This helps keep the material supple and less prone to cracking.
Can I use regular shoe polish on patent leather?
It’s best to avoid regular shoe polish on patent leather. These polishes are often too harsh and can damage the delicate finish. Stick to products specifically designed for patent leather care or repair.
What’s the best way to store a patent leather bag?
Always store your patent leather bag upright in a dust bag to prevent scratches. Keep it in a cool, dry place away from direct sunlight and extreme temperatures. Never fold or cram it into a tight space.
My patent leather bag is sticky. How can I fix that?
A sticky patent leather surface often means the finish is starting to break down. You can try gently cleaning it with a damp cloth and a tiny bit of mild soap. For persistent stickiness, we’ve found a specialized patent leather cleaner can help revive the surface.
Is it safe to use hairspray on peeling patent leather?
We advise against using hairspray on peeling patent leather. While it might temporarily hold down a flake, the alcohol and chemicals in hairspray can actually damage the finish further over time. It’s better to use a dedicated leather repair product.
![10 Best Woven Leather Bags [2026]](https://mybestreviewss.com/wp-content/uploads/2026/08/10-best-woven-leather-bags-2026-featured-768x432.jpg)