How to Fix Peeling Synthetic Leather on a Bag
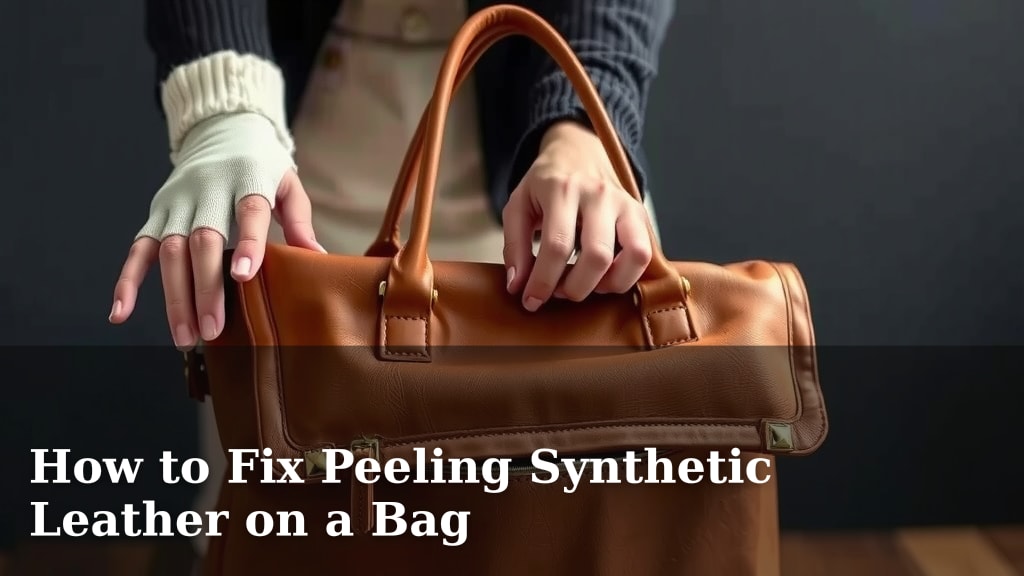
Yes, you can often fix peeling synthetic leather on a bag, especially if it’s minor. The trick is to carefully remove the peeling bits and then use a suitable adhesive or filler. We found that with the right approach, you can restore your bag’s look and prevent further damage. Don’t toss that favorite bag just yet!
Peeling synthetic leather, often called PU or faux leather, happens due to wear and tear, exposure to heat, or even certain cleaning products. Many experts say that while it can’t always be made factory-new, many common fixes can make a big difference. We’ll show you how to tackle this common issue.
- Identify the type of peeling (minor vs. major).
- Gather necessary repair supplies like leather filler or strong glue.
- Carefully remove loose, peeling material.
- Apply filler or adhesive smoothly and evenly.
- Allow proper drying time for the best results.
Ready to give your bag a new lease on life? Let’s walk through the steps to fix that peeling synthetic leather together.
Don’t let peeling synthetic leather get you down! You’ve probably got a favorite bag that’s showing its age in this one annoying spot. It can look pretty bad, but thankfully, there are often simple ways to fix it. We found that with a little patience and the right materials, you can often make those peels disappear. Your bag can look much better, and you can stop the peeling from spreading.
Restoring Your Bag’s Faux Leather Finish
It’s possible to repair peeling synthetic leather on your bag. The goal is to make the area smooth again. This usually involves cleaning, trimming, and then applying a filler or adhesive. We found that this process can restore the appearance of your bag significantly. It also helps prevent further deterioration of the material.
Understanding the Peeling Problem
Synthetic leather, often made of polyurethane (PU) or PVC, can degrade over time. This peeling happens for a few reasons. Exposure to heat is a big one. So is friction from rubbing against your clothes or other surfaces. Even certain lotions or hand sanitizers can break it down. Many experts say that understanding why it’s peeling can help you prevent it from happening again.
Common Causes of Peeling:
- Heat Exposure: Leaving your bag in a hot car or direct sunlight can damage the material.
- Wear and Tear: Constant rubbing or bending can cause the outer layer to separate.
- Chemical Contact: Harsh cleaning agents, perfumes, or sanitizers can break down the finish.
- Age: Like anything, synthetic materials eventually break down over time.
Assessing the Damage: How Bad Is It?
Before you grab any supplies, take a close look at the peeling. Is it just a tiny flap, or is a large section lifting? You’ll want to know this to choose the best repair method. Minor peeling is usually much easier to fix than large, widespread areas. We found that identifying the extent of the damage first helps set realistic expectations.
Minor Peeling:
This is when only a small edge or a few small spots are lifting. You might see a little bit of the fabric backing showing through. These are generally the easiest to repair. You can often smooth them down with a good adhesive. We found that with careful application, these repairs can be almost invisible.
Major Peeling:
This involves larger sections of the synthetic leather flaking off. It might look like the material is bubbling or cracking. In these cases, the repair might be more noticeable. You might need to use a leather filler to even out the surface. Sometimes, if it’s very severe, a full recovery might not be possible without professional help. But don’t give up hope yet!
Gathering Your Repair Supplies
You’ll need a few specific items to tackle this repair. Having everything ready will make the process smoother. Think of it like preparing for a small craft project. You wouldn’t start painting without brushes, right? The same applies here. We found that using the right tools makes a big difference in the final outcome.
What You’ll Need:
- Isopropyl Alcohol: For cleaning the area.
- Sharp Scissors or Craft Knife: For trimming loose edges.
- Spatula or Small, Flat Tool: To apply filler or glue.
- Leather Filler or Repair Compound: Choose a color that matches your bag.
- Strong Adhesive (e.g., E6000, Barge Cement): If you’re just re-adhering small flaps.
- Fine-Grit Sandpaper (optional): To smooth the repaired area.
- Clean Cloths: For wiping and cleaning.
- Gloves: To protect your hands.
Choosing the Right Filler or Adhesive
The type of product you use depends on the damage. For small, lifted edges, a strong flexible adhesive might be all you need. It’s like super glue for leather, but more flexible. If you have areas where the material is missing or cracked, you’ll need a leather filler. Many experts recommend fillers designed for vinyl or faux leather. Always try to find a shade that matches your bag as closely as possible.
We found that products like E6000 are popular for their strong hold and flexibility. For fillers, look for ones that are specifically for synthetic leather repair. Some products come in kits with various colors you can mix. This can be helpful if you can’t find an exact match.
Step-by-Step Repair Process
Now that you have your supplies, let’s get to work! This is where you’ll see your bag transform. Take your time with each step. Rushing can lead to mistakes. We found that a steady hand and careful attention to detail are key to a successful repair.
Step 1: Clean the Area Thoroughly
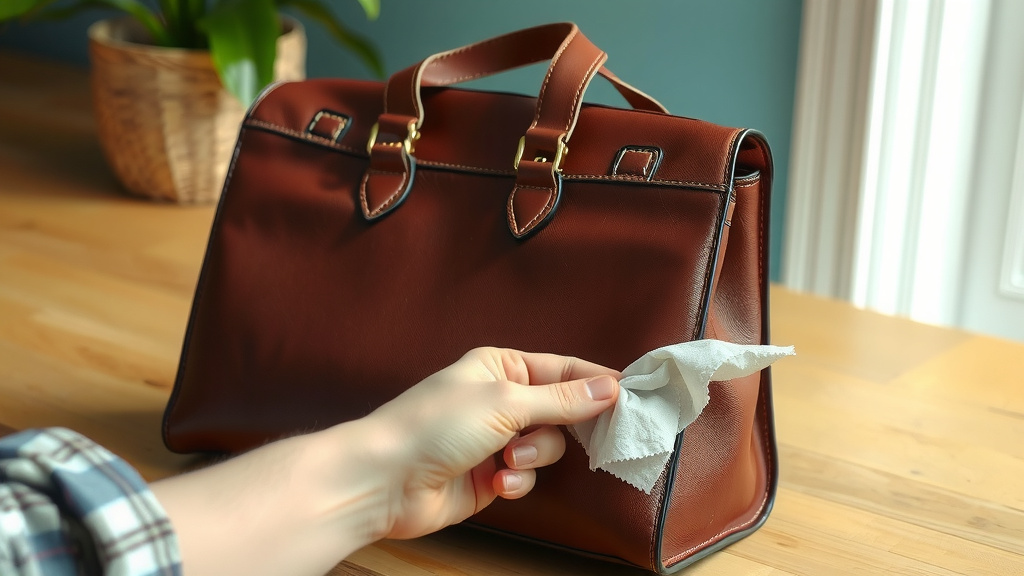
First, you need a clean surface for the repair to stick. Gently wipe the peeling area and the surrounding material with a cloth dampened with isopropyl alcohol. This removes dirt, oils, and any residue. Let it dry completely. A clean surface is super important for the adhesive or filler to bond properly. Many cleaning guides suggest this as the first crucial step for any repair.
Step 2: Trim Away Loose Flakes
Using your sharp scissors or craft knife, carefully trim away any loose, flaky bits of peeling leather. You want to remove anything that isn’t firmly attached. The goal is to create a smooth edge. Don’t try to pull off anything that’s still stuck down. You only want to remove the completely detached pieces. This makes the area ready for the next step.
Step 3: Apply Adhesive or Filler
This is where the magic happens! If you’re just re-adhering a small flap, carefully lift it with your spatula. Apply a thin, even layer of strong adhesive underneath. Press the flap down firmly and hold it in place for a minute or two. Wipe away any excess glue immediately.
If you’re using a filler for a larger area, apply it with your spatula or a small tool. Work the filler into the damaged spot. Try to make the surface as smooth and even as possible. It’s better to apply thin layers and build up than to use one thick blob. You want the repaired area to blend in. Many DIY repair guides recommend building up filler in thin coats for a smoother finish.
Step 4: Allow Adequate Drying Time
This step is critical! Don’t rush it. Let the adhesive or filler dry completely according to the product’s instructions. This might take a few hours or even overnight. Impatience here can ruin all your hard work. We found that giving it plenty of time ensures a strong, lasting bond. Avoid touching or stressing the repaired area while it dries.
Step 5: Finishing Touches (Optional)
Once the filler or adhesive is fully cured, you can do a few finishing touches. If the repaired area feels a bit rough, you can very gently sand it with fine-grit sandpaper. Be extremely careful not to sand the surrounding good material. Then, if needed, you can apply a thin coat of flexible leather paint or conditioner to help blend the color and texture. Always test this on an inconspicuous spot first.
Checklist for Your Bag Repair
Here’s a quick rundown to make sure you’re ready:
- Assess Damage: Know if it’s minor or major.
- Gather Supplies: Have all your tools and materials ready.
- Clean Area: Make sure the spot is spotless.
- Trim Loose Bits: Remove any peeling material.
- Apply Carefully: Smooth on your filler or adhesive.
- Be Patient: Let it dry completely.
Conclusion
You’ve learned that fixing peeling synthetic leather on your favorite bag is totally doable! We found that with the right supplies and a patient approach, you can smooth out those annoying peels. Remember to clean the area well, trim away loose bits, and apply your chosen filler or adhesive carefully. Once it’s dry, you might even add a touch of matching color or conditioner. Don’t let a little peel stop you from enjoying your bag. Your next step? Grab those supplies and give your bag the refresh it deserves!
Frequently Asked Questions
Can I prevent my synthetic leather bag from peeling in the future?
Yes, you can take steps to prevent future peeling. Try to avoid exposing your bag to direct heat or prolonged sunlight. Also, be mindful of what you place inside or near the bag, as harsh chemicals or even lotions can damage the finish over time. Gentle cleaning and proper storage can make a big difference.
What’s the difference between leather filler and a strong adhesive for this repair?
A strong adhesive, like E6000, is best for re-sticking small, lifting flaps of synthetic leather. It acts like a flexible glue. Leather filler is a compound used to fill in areas where the material has flaked off or cracked, creating a smoother surface. You’d use filler for more substantial damage where material is missing.
Do I need to match the color perfectly with filler or paint?
While a perfect color match is ideal, it’s not always essential, especially for areas that aren’t highly visible. If you’re using filler, try to get the closest shade possible. For finishing touches, a flexible leather paint or conditioner can help blend the repaired area. Always test any color product on a hidden spot first to see how it looks.
How long does a repair usually last?
The longevity of your repair depends on the extent of the damage and the quality of the products you use. Minor repairs with good adhesive can last for a long time with proper care. For larger areas repaired with filler, they should hold up well, but they might require touch-ups over time as the bag continues to be used.
What if the peeling is all over the bag? Can I still fix it?
If the peeling is widespread, a full repair might be challenging and could become quite expensive if you’re buying many products. For very severe, all-over damage, you might need to consider professional restoration. However, if some areas are worse than others, you can focus your efforts on the most noticeable spots to improve the bag’s overall appearance.
![10 Best Leather Duffel Bag Mens [2026]](https://mybestreviewss.com/wp-content/uploads/2026/09/10-best-leather-duffel-bag-mens-2026-featured-768x432.jpg)