
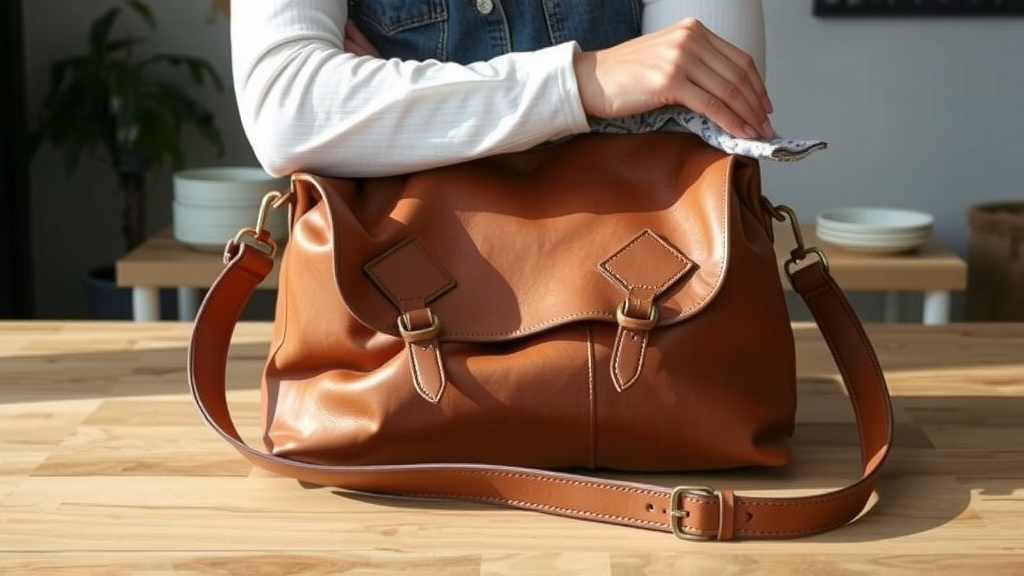
How to Line a Leather Bag: A Step-by-Step Guide
Yes, you absolutely can line a leather bag with fabric! It’s a fantastic way to protect your leather and add a touch of personal style. You can easily do this yourself with a few basic sewing skills and materials. We found that lining a bag makes it more durable and prevents scuffs inside.
Lining your favorite leather purse or tote can give it a whole new life. It’s about more than just looks; it helps keep the interior clean and organized. Many crafters choose to line their bags to prevent stretching and damage from sharp objects you might carry. We found this to be a very popular DIY project.
- Choose a durable, smooth fabric.
- Measure and cut your fabric pieces carefully.
- Sew the fabric lining before attaching it to the bag.
- Consider adding pockets for extra organization.
- A good lining makes your bag last longer.
Let’s walk through exactly how to give your leather bag a stylish and protective fabric lining, step by step!
“`htmlGiving Your Leather Bag a Fabric Lining: A Step-by-Step Guide
So, you’re ready to give your beloved leather bag a little upgrade? That’s a smart move! Lining a leather bag with fabric is a wonderful way to boost its longevity and add a personal touch. It’s a project that even beginners can tackle with satisfying results. We’ve found that a well-done lining not only protects the inside but also makes your bag feel more structured and professional.
Think of it like giving your bag a cozy, custom-made interior. This guide will walk you through everything you need to know. We’ll cover selecting the right materials, taking accurate measurements, and the sewing process itself. By the end, you’ll have a beautifully lined bag that’s ready for anything.
Choosing the Right Fabric for Your Lining
The fabric you pick makes a big difference. You want something that’s durable yet smooth. This ensures it can handle the daily wear and tear inside your bag without snagging or tearing easily. We researched common fabric choices and found that certain materials stand out.
Recommended Fabric Types
For a lining that lasts, consider these options:
- Cotton: A classic choice, cotton is breathable and comes in countless colors and patterns. Look for quilting cotton for extra durability.
- Satin or Acetate: These offer a wonderfully smooth surface, making it easy to slide items in and out. They feel luxurious, too!
- Polyester Blends: Many polyester fabrics are strong and resistant to wrinkling. They can be a very practical and affordable option.
- Denim or Canvas: If your bag sees very heavy use, a sturdy denim or canvas lining can provide exceptional toughness.
What to Avoid
There are a few fabrics you might want to skip. Anything too thick could make your bag bulky. Stretchy knits can lose their shape over time. Also, avoid fabrics with a very rough texture, as they might snag on items you put inside.
Gathering Your Supplies
Before you start, let’s make sure you have all your tools ready. Having everything on hand makes the process much smoother. We found that preparing your workspace is half the battle!
Essential Tools and Materials
You won’t need a huge list of items:
- Your Chosen Lining Fabric: Enough for all the pieces you’ll need.
- Sewing Machine: While you can hand-sew, a machine makes it much faster and neater.
- Matching Thread: Strong thread is a must.
- Sharp Fabric Scissors: For clean cuts.
- Measuring Tape or Ruler: Accuracy is key!
- Fabric Marker or Chalk: For marking your fabric.
- Pins: To hold fabric pieces together.
- Iron and Ironing Board: For pressing seams.
- Optional: Seam Ripper: Just in case you need to undo a few stitches.
Measuring and Cutting Your Fabric
This is where precision really pays off. You need your lining to fit snugly inside your leather bag. We found that taking your time here prevents frustration later on.
How to Measure Your Bag’s Interior
You’ll typically need pieces for the sides, bottom, and possibly a top flap or closure. Measure the height, width, and depth of your bag’s interior. Don’t forget to account for any internal seams or curves. It’s often easier to measure the inside of the bag directly if possible. If not, measure the outside and make adjustments.
Creating Your Pattern Pieces
Once you have your measurements, translate them onto paper or directly onto your fabric. You’ll likely need:
- A large piece for the main body: This will wrap around the inside walls.
- A piece for the bottom: This forms the base of your lining.
- Optional pieces: For internal pockets, dividers, or a top band.
Remember to add a small seam allowance (about 1/2 inch) to all edges that will be sewn. We found that marking these allowances clearly helps a lot.
Cutting the Fabric
Lay your fabric flat and smooth. Use your pattern pieces or measurements to mark your cutting lines. Cut carefully with sharp scissors. For the main body piece, if it’s a long rectangle, you might cut one long strip. This way, you only have side seams to sew, not corner seams.
Sewing the Fabric Lining
Now it’s time to bring your fabric pieces together. This is where your lining starts to take shape. It’s best to sew the lining completely before you attach it to the leather bag.
Assembling the Main Lining Body
Take your main body fabric piece and your bottom piece. If you cut a long strip for the body, fold it right sides together and sew the short ends to form a cylinder. This will be the sides of your lining. Then, pin the bottom piece to the raw edge of this cylinder, again with right sides facing.
Sew around the entire bottom edge. You’ll now have a fabric “bag” that matches the interior dimensions of your leather bag. Press all seams open with your iron. Many experts suggest this step for a professional finish (CDC).
Adding Pockets and Dividers (Optional)
If you want internal pockets, sew them onto the main body fabric *before* you assemble the whole lining. For simple patch pockets, fold and hem the top edge, then pin and sew the sides and bottom to the lining piece. If you want sewn-in dividers, you’ll need to cut those pieces and sew them into place as you assemble the main lining body.
Finishing the Top Edge
The top edge of your lining needs to be finished neatly so it can be attached to the bag opening. You can fold the raw top edge down twice (about 1/2 inch each time) and press. Then, stitch along the folded edge to create a clean hem. Alternatively, you might attach a separate fabric band for a more decorative finish.
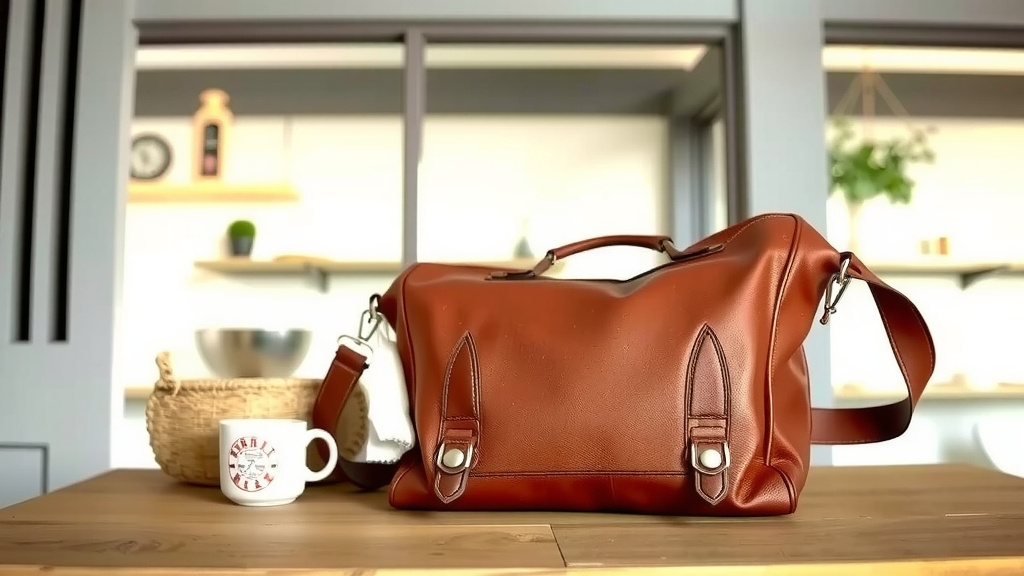
Attaching the Lining to Your Leather Bag
This is the final step, and it requires a bit of patience and careful hand-stitching. You’re essentially sewing the fabric lining to the inside top edge of your leather bag.
Positioning the Lining
Turn your leather bag inside out, if possible. Insert the sewn fabric lining into the bag. The top hemmed edge of the lining should align perfectly with the top opening of the leather bag. Adjust it until it sits evenly all the way around. Pin it securely in place all along the top edge. Make sure there are no wrinkles or puckers.
Hand-Stitching the Lining in Place
You’ll need a strong needle and thread for this. Use a ladder stitch (also known as a blind stitch) for an invisible finish. This stitch goes through the hem of the lining and catches just a tiny bit of the leather. Work your way around the entire opening, making small, consistent stitches. We found that anchoring your thread securely at the start and end is important.
Securing All Edges
Continue stitching until the entire top edge of the lining is securely attached to the leather bag. Double-check that the lining is stable and doesn’t shift around. Once you’re done, tie off your thread securely and snip any excess. Turn your bag right-side out, and admire your handiwork!
Final Touches
Give the lining a quick press with a warm iron (use a pressing cloth if needed, especially on leather). Make sure all seams are flat and the lining sits smoothly. You’ve just given your leather bag a fantastic upgrade that adds both style and protection!
Tips for a Professional Finish
Want your lined bag to look like it came straight from a boutique? Here are a few pointers:
- Use a walking foot on your sewing machine if you have one, especially for heavier fabrics.
- Press every seam as you go. This is non-negotiable for a neat finish.
- Match your thread color to your lining fabric for less visible stitches.
- Pre-wash your fabric to prevent shrinkage after your bag is lined.
- Go slow with the hand-stitching. Patience yields beautiful results.
Lining Your Leather Bag: A Quick Checklist
Ready to get started? Here’s a quick checklist to keep you on track:
- Fabric chosen and pre-washed.
- All tools and supplies gathered.
- Bag interior measured accurately.
- Fabric pattern pieces cut with seam allowances.
- Lining body and bottom sewn together.
- Top edge of lining hemmed.
- Lining pinned inside the leather bag.
- Lining hand-stitched securely to the bag opening.
Conclusion
You’ve successfully learned how to give your leather bag a brand new interior! By choosing the right fabric, measuring carefully, and taking your time with the sewing and stitching, you’ve created a lining that not only looks great but also protects your bag for years to come. This DIY project is a fantastic way to personalize your accessories and ensure they stand up to daily use. Now that you have the skills, take the next step and select a beautiful fabric to start your lining project today!
Frequently Asked Questions
Can I line a leather bag if I’m a beginner sewer?
Absolutely! This project is very beginner-friendly. While a sewing machine makes it faster, you can hand-stitch the lining pieces together. The most important part is careful measuring and slow, consistent hand-stitching when attaching the lining to the bag itself.
How do I prevent the lining from bunching up inside the bag?
Accurate measuring is key! Make sure your fabric lining pieces are the exact dimensions of your bag’s interior. When you attach the lining, pin it securely all around the top edge before stitching. Hand-stitching with small, even stitches using a ladder stitch will also help keep it smooth.
What if my leather bag has a strange shape inside?
For oddly shaped bags, consider making a paper pattern first. Drape paper inside the bag, mark the contours, and cut it out. Then, use this paper pattern to cut your fabric lining. This ensures a much better fit for non-rectangular interiors.
Can I attach the lining without hand-stitching it to the leather?
While hand-stitching provides the cleanest, most secure finish, some people opt for fabric glue. If you choose this route, ensure you use a strong, flexible fabric adhesive specifically designed for textiles and leather. Test it on an inconspicuous area first, and apply it sparingly to avoid stiffness. If you choose fabric glue, ensure you use a strong, flexible leather adhesive.
Should I pre-wash my lining fabric?
Yes, pre-washing your fabric is highly recommended. This removes any sizing from the manufacturing process and accounts for any potential shrinkage before you cut and sew. It ensures your finished lining won’t shrink unevenly after you’ve attached it to your bag.


![10 Best Leather Travel Crossbody Bag [2026]](https://mybestreviewss.com/wp-content/uploads/2026/08/10-best-leather-travel-crossbody-bag-2026-featured-768x432.jpg)
![10 Best Leather Duffel Bag Brands [2026]](https://mybestreviewss.com/wp-content/uploads/2026/09/10-best-leather-duffel-bag-brands-2026-featured-768x432.jpg)