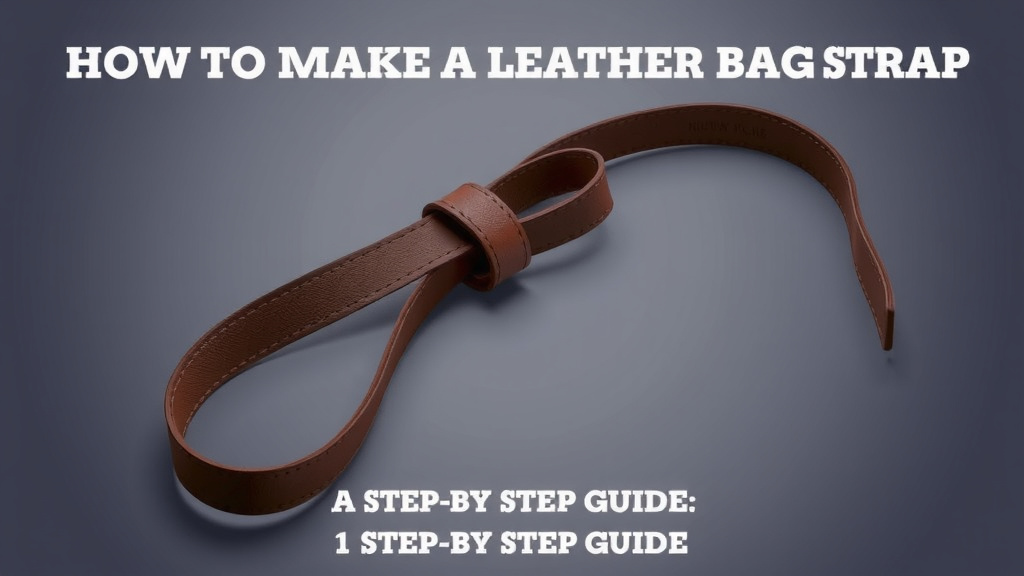
How to Make a Leather Bag Strap: A Step-by-Step Guide
Making your own leather bag strap is a rewarding DIY project. You can create a custom strap that perfectly fits your bag and your style. We’ll show you the essential steps and the tools you’ll need to get started.
A well-made leather strap can transform an ordinary bag. It adds durability and a touch of personal flair. Many crafters find that handcrafting a strap offers a sense of accomplishment. Plus, you get to choose the exact type of leather and hardware.
- Cut your leather to the desired length and width.
- Add edge treatment for a finished look.
- Attach your chosen hardware, like buckles or clips.
- Use strong stitching to secure all components.
- Consider adding decorative elements if you wish.
Ready to get your hands on some leather? Let’s walk through exactly how to make a leather bag strap step by step.
“`htmlCrafting Your Own Leather Bag Strap
Making a custom leather bag strap is a fantastic project. You get to control the size, look, and durability. It’s more satisfying than you might think. Let’s get your strap ready for action!
Choosing the Right Leather and Tools
Before you start cutting, let’s gather your supplies. Picking the right materials makes a big difference.
Leather Selection: What Works Best?
For a bag strap, you need something that is both strong and flexible. Many crafters prefer vegetable-tanned leather. This type is known for its durability and can be tooled or dyed. We found that tooling leather, often 5-7 oz weight, works very well for straps. It holds its shape but isn’t too stiff. You can also use chrome-tanned leather if you prefer a softer feel. Just ensure it’s a good weight for your bag.
Essential Tools for Strap Making
You won’t need a huge workshop. Here are the basics we recommend:
- Utility knife or rotary cutter: For clean, straight cuts.
- Metal ruler: To guide your cuts and measure accurately.
- Cutting mat: Protects your work surface and your tools.
- Edge beveler: To round off the sharp edges of the leather.
- Burnisher or slicker: For smoothing and sealing the leather edges.
- Hole punch or awl: To create holes for stitching or hardware.
- Needles and thread: Strong, waxed thread is best for leather.
- Hardware: Buckles, D-rings, swivel clips, and rivets.
Cutting Your Leather Strap
This is where your strap starts to take shape. Precision here makes the final product look professional.
Measuring for the Perfect Fit
First, decide how long you want your strap to be. Measure your old strap or hold your bag and estimate. Think about where you’ll wear it. Will it be a shoulder strap or a crossbody? For a crossbody, you’ll need more length. Your width choice also matters. A 1-inch strap is common for most bags. Wider straps can offer more comfort for heavy bags.
Making the Cut
Lay your leather flat on the cutting mat. Place your metal ruler along the desired cut line. Hold the ruler firmly. Use your utility knife or rotary cutter to make a slow, steady cut. You might need to go over the line a few times. This ensures a clean edge. We found that cutting in one smooth motion is best if you can manage it. Don’t rush this step. A straight cut makes everything else easier.
Finishing the Edges for a Professional Look
Raw leather edges can fray and look unfinished. Treating them adds durability and a polished aesthetic.
Beveling and Smoothing
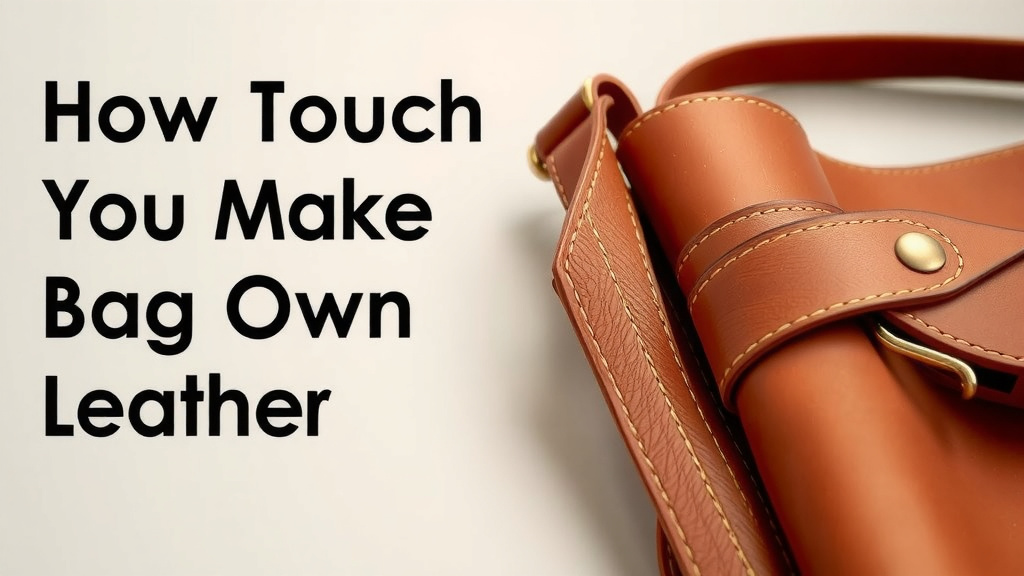
Take your edge beveler and run it along both long edges of the strap. This removes the sharp corner, creating a rounded edge. It’s a small step but makes a big difference in feel and look. After beveling, use a burnisher or slicker. Rub it back and forth along the beveled edge. You can use a little water or gum tragacanth to help the leather smooth down. Many crafters find this step really elevates the strap’s quality (Leathercrafters Journal).
Optional: Dyeing and Sealing
If you want a colored strap, now is a good time to dye it. Apply the dye evenly with a wool dauber. Let it dry completely. Then, you can seal it with a finish like Resolene or a leather conditioner. This protects the dye and the leather from moisture and wear.
Attaching Hardware and Stitching
This is where you add the functional parts of your strap.
Preparing for Hardware Attachment
Decide where your hardware will go. Usually, this is at both ends of the strap. You’ll need to fold the end of the strap over to create a loop. This loop will hold your buckle or clip. You’ll want to mark where to punch holes for stitching or rivets.
Securing Hardware with Stitching
Fold the end of the strap over the hardware. You might want to use a small amount of contact cement to hold it in place temporarily. Use an awl or hole punch to create stitching holes through both layers of leather. For a strong stitch, many recommend a saddle stitch. This involves using two needles and a strong, waxed thread. If you don’t want to stitch by hand, you can use rivets. Punch holes large enough for your rivets and then use a setting tool to secure them.
Stitching the Entire Strap (Optional but Recommended)
For extra durability, you can stitch along both edges of the entire strap. This reinforces the leather and gives it a beautiful, handcrafted look. Space your stitching evenly. A stitching groover can help you create a channel for your thread, keeping it from sitting on the surface.
Adding Personal Touches
Make your strap truly unique!
Stamping and Decoration
If you used vegetable-tanned leather, you can add decorative stamps. These can be initials, patterns, or symbols. Experiment on scrap leather first to get the hang of it. You can also add decorative stitching or even small, attached pouches.
Checklist for Your Leather Strap Project:
- Chosen your leather weight and type.
- Gathered all necessary tools.
- Measured and cut your strap to the correct size.
- Beveled and smoothed all leather edges.
- Attached your chosen hardware securely.
- Stitched all seams with strong thread.
Conclusion
You’ve learned how to craft your own durable and stylish leather bag strap. By carefully selecting your materials and following these steps, you can create a custom piece that perfectly suits your needs. From cutting the leather to finishing the edges and attaching hardware, each step contributes to a professional-looking result. Now, go ahead and make that strap!
Frequently Asked Questions
What’s the best type of leather for a beginner making a bag strap?
For beginners, vegetable-tanned leather in a 5-7 oz weight is often recommended. It’s durable enough for a strap and easier to work with for beginners compared to very soft leathers. You’ll find it holds its shape well and can be finished nicely.
How do I make sure my strap is long enough?
Measure your desired length before cutting. You can measure an existing strap or hold your bag and estimate the drop length you want. Remember to add extra length if you plan on making a crossbody strap, as these are typically longer.
Can I use a regular sewing machine to stitch a leather strap?
While some heavy-duty sewing machines can handle thin leather, it’s generally not recommended for bag straps. Leather is tough on machine needles and can cause skipped stitches or damage. Hand-stitching with waxed thread using a saddle stitch is the most reliable method for strength and appearance.
What if my edges aren’t perfectly straight after cutting?
Don’t worry if your first cuts aren’t perfect! After you’ve beveled and smoothed the edges, minor imperfections become less noticeable. A good burnishing technique can help hide slight unevenness and give your strap a professional finish.
How can I make my leather strap last longer?
Regularly condition your leather strap with a leather conditioner to keep it supple and prevent cracking. Avoid prolonged exposure to direct sunlight or excessive moisture. If the stitching starts to fray, consider reinforcing it with a few extra stitches.
![10 Best Leather Crossbody Bag For Everyday Use [2026]](https://mybestreviewss.com/wp-content/uploads/2026/09/10-best-leather-crossbody-bag-for-everyday-use-2026-featured-768x432.jpg)