
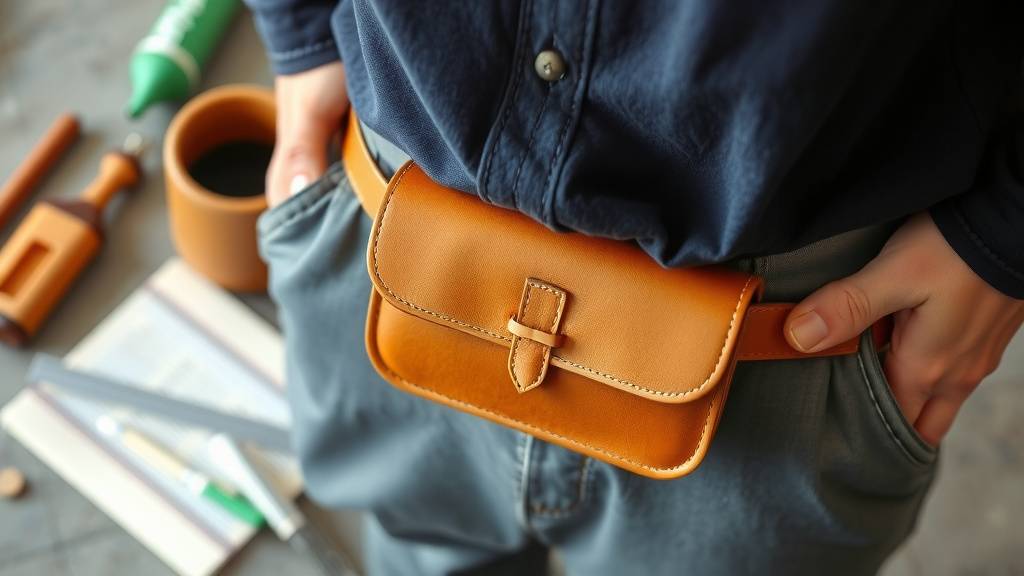
DIY Leather Belt Bag Tutorial: Step-by-Step Guide
Making your own leather belt bag is totally doable! You can create a stylish and practical accessory with just a few basic leatherworking skills and materials. It’s a fantastic way to get a custom bag without a huge price tag.
This project lets you control the size, color, and even the hardware. You’ll be surprised at how quickly you can craft something that looks professionally made. Plus, you get the satisfaction of knowing you made it yourself!
TL;DR:
- Choose your leather and hardware.
- Cut out your pattern pieces.
- Punch stitch holes carefully.
- Stitch the bag sections together.
- Attach the belt loops and closure.
Ready to get started? Let’s walk through exactly how to make your very own leather belt bag, step by step.
Crafting Your Own Leather Belt Bag: A Step-by-Step Guide
Making a leather belt bag can seem daunting, but with a bit of patience, you’ll find it’s a very achievable project. This guide breaks down the process into manageable steps. We’ll cover everything from choosing your materials to the final stitch. Get ready to create a functional and stylish accessory you’ll be proud to wear.
Choosing Your Leather and Hardware
The first big decision is your material. The type of leather you pick will affect the look, feel, and durability of your belt bag. For beginners, medium-weight vegetable-tanned leather is often recommended. It’s sturdy and holds its shape well, making it easier to work with for projects like this.
Many crafters prefer genuine leather for its classic look and feel. Cowhide is a popular choice, offering a good balance of strength and flexibility. You can also find different finishes, like smooth, pebbled, or distressed. Consider what aesthetic you’re going for. A smooth finish looks clean and modern, while a distressed look adds a vintage vibe.
Don’t forget your hardware! This includes your buckle, snap, or zipper for closure, and any D-rings or rivets you might want to use. These small details can really make your bag pop. Think about the color and style that will best complement your leather choice. For example, brass hardware often looks great with a natural tan leather.
Pattern Making and Cutting Your Pieces
Before you cut anything, you need a pattern. You can find many free patterns online, or you can design your own. A simple belt bag pattern usually consists of a few main pieces: the front, the back, and possibly a gusset to give the bag depth. Keep the size in mind; you want it big enough to hold your essentials but not so bulky that it’s uncomfortable to wear.
Once you have your pattern, it’s time to transfer it onto your leather. Use a scratch awl or a leather pencil to trace the shapes. Precision here is key for a well-fitting bag. Double-check your measurements. A ruler and a good understanding of your pattern are essential.
Now, grab your cutting tools. A sharp utility knife or a rotary cutter is best for clean cuts. Always use a cutting mat underneath to protect your surface and your blade. Cut slowly and deliberately. You want straight, clean edges. Remember, leather doesn’t have the give of fabric, so each cut counts.
Cutting the Main Bag Sections
You’ll typically need a front piece, a back piece, and often a bottom or side piece to give your bag structure. If your design includes a gusset, cut that out separately as well. Think about the dimensions of your phone, wallet, and keys when deciding on the size of these pieces.
Cutting the Belt Loops
Don’t forget the belt loops! These are usually simple strips of leather. The width of the loop should match the width of your belt. Measure and cut these carefully. They need to be sturdy enough to hold the bag securely on your belt.
Punching Stitching Holes
This is where you prepare your pieces for assembly. You’ll need a stitching chisel or pricking irons to mark and punch your stitch lines. These tools create evenly spaced holes that make hand-stitching much easier and neater. Start about 1/8 inch in from the edge of your leather pieces.
Align your pricking iron carefully along the edge. Use a mallet to strike the iron through the leather. Work your way around the entire edge of each piece that needs to be stitched. Consistency is the goal here. Uneven holes can make your stitching look amateurish.
Many leatherworkers find using a stitching pony or clamp helpful. This holds your work steady while you punch the holes. It frees up your hands for better control. Take your time; good hole placement is foundational for strong seams.
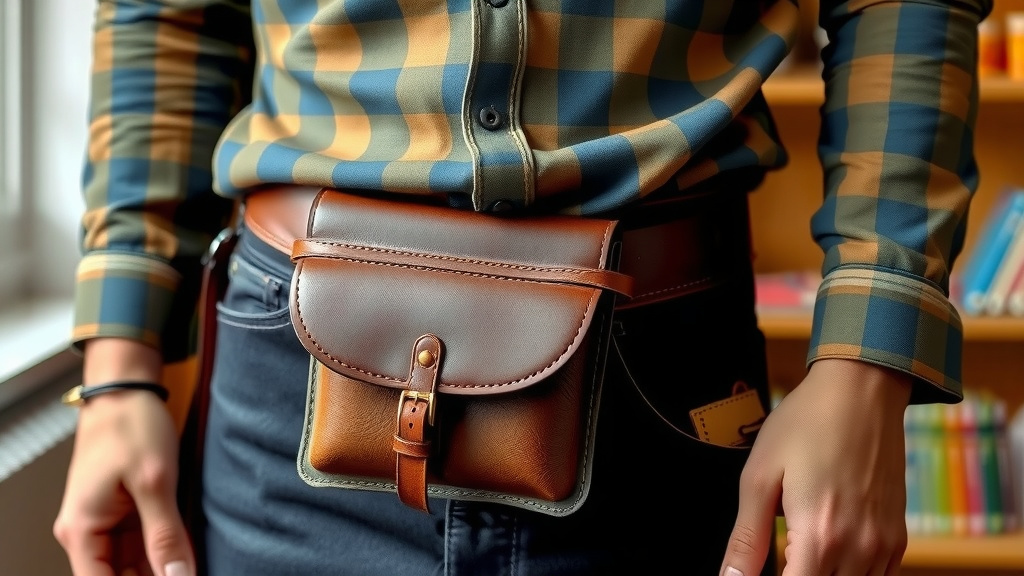
Stitching Your Leather Belt Bag Together
Hand-stitching is the traditional method for leather goods, and it creates a beautiful, durable seam. You’ll need a strong thread, like waxed linen or polyester thread, and two needles. The saddle stitch is a popular choice for its strength and appearance. It involves passing two needles through each hole in opposite directions, creating a strong, interlocking stitch.
Start by threading your needles. Leave a generous length of thread, at least three times the length of the seam you’re stitching. Begin by passing one needle through the first hole. Then, pass the second needle through the same hole from the opposite direction. Pull both needles snug.
Work your way down the seam, passing one needle through each hole, followed by the second needle. Keep the tension even. For the end of a seam, backstitch a few holes to secure your work. This prevents the stitching from unraveling.
Attaching the Front and Back Panels
This is usually the first main assembly step. You’ll align the edges of your front and back pieces and stitch them together. If you have a separate bottom or side piece, you’ll stitch that in place as well. Ensure the pieces are flush before you start stitching.
Adding Depth with a Gusset (If Applicable)
If your design includes a gusset for more interior space, you’ll stitch this between the front and back panels. This can be a bit trickier, as you’re working with multiple layers. Take it slow and ensure everything aligns properly. A well-stitched gusset gives your bag structure and volume.
Attaching the Belt Loops and Closure
Now it’s time to finish your bag. The belt loops are typically attached to the back panel. You can either stitch them directly onto the bag or use rivets for extra strength. Decide where you want them placed so the bag hangs comfortably on your belt.
Next, add your closure. This could be a simple snap button, a buckle, or a zipper. If you’re using a snap, you’ll need a snap setting tool. Follow the instructions for your specific hardware. For zippers, you might need to do some extra stitching to secure the zipper tape to the leather.
Securing the Belt Loops
Position your pre-cut belt loop strips onto the back of your finished bag. You can stitch them through the bag’s back panel or attach them using rivets. Rivets offer a robust attachment, especially if you plan to carry heavier items. Make sure the loops are aligned evenly.
Installing the Closure Mechanism
Whether it’s a snap, a buckle, or a magnetic closure, this step brings your bag to life. For snaps, you’ll usually punch holes for the post and socket and then use a setting tool. If you’re using a buckle, you’ll likely stitch it onto the flap or the top of the bag. Test the closure to ensure it works smoothly.
Finishing Touches and Care
Once everything is stitched and attached, take a moment to admire your work! You can trim any excess threads. Some people like to burnish the edges of the leather for a smooth, professional finish. This is done using a burnishing tool and gum tragacanth or water.
Finally, consider applying a leather conditioner or sealant. This will protect the leather and give it a nice sheen. Regular care will keep your handmade belt bag looking great for years to come. Experts suggest applying conditioner every 6-12 months, depending on use (Leather Improvement Organization).
Edge Finishing and Conditioning
After stitching, examine the edges. You can bevel them slightly with an edge beveler tool. Then, apply a burnishing agent like gum tragacanth. Rub the edge vigorously with a canvas cloth or an edge slicker until it becomes smooth and glossy. This step adds a professional look.
A Checklist for Your Leather Belt Bag Project
- Cut all pattern pieces accurately.
- Punch stitch holes evenly and precisely.
- Use a strong thread for durable stitching.
- Secure all hardware firmly.
- Test your closure mechanism.
- Apply a leather conditioner for protection.
Conclusion
You’ve made it! Crafting your own leather belt bag is a rewarding journey. We walked through selecting the perfect leather and hardware, accurately cutting your pattern pieces, and the satisfying process of hand-stitching. Remember, each step builds on the last, leading to a personalized accessory you can wear with pride. Don’t be afraid to experiment with different colors or decorative elements on your next project.
Your next step? Gather your materials and start cutting! You’re well on your way to owning a custom-made leather belt bag that perfectly fits your style and needs. Happy crafting!
Frequently Asked Questions
What kind of leather is best for a beginner belt bag?
For your first leather belt bag, we recommend a medium-weight vegetable-tanned leather. It’s sturdy, holds its shape well, and is easier to tool or stamp if you decide to add decorative elements later. Cowhide is a popular and reliable choice.
How thick should the leather be for a belt bag?
A good range for belt bag leather is between 4-6 ounces (1.6mm to 2.4mm). This thickness provides enough durability for everyday use without being too stiff or difficult to stitch by hand. Thicker leather can be used for the belt loops for added strength.
What’s the easiest way to cut leather for a bag?
Using a sharp utility knife or rotary cutter along with a metal ruler and a cutting mat is the most effective way to get clean, precise cuts. Always cut away from yourself and take your time. If you have a pattern, trace it carefully before cutting.
How do I make sure my stitches are even and strong?
Even stitching comes from precise hole placement. Use stitching chisels or pricking irons to create evenly spaced holes about 1/8 inch from the edge. For strength, the saddle stitch method using two needles and a durable waxed thread is highly recommended.
Can I use a sewing machine to make a leather belt bag?
While hand-stitching is traditional and often preferred for its aesthetic and strength, you can use a heavy-duty sewing machine designed for leather. You’ll need a special leather needle and thread, and it’s best to test your machine on scraps first to ensure it handles the thickness properly.
![10 Best Men'S Leather Briefcase Bags [2026]](https://mybestreviewss.com/wp-content/uploads/2026/08/10-best-men-s-leather-briefcase-bags-2026-featured-768x432.jpg)

![10 The Best Leather Duffle Bag [2026]](https://mybestreviewss.com/wp-content/uploads/2026/08/10-the-best-leather-duffle-bag-2026-featured-768x432.jpg)