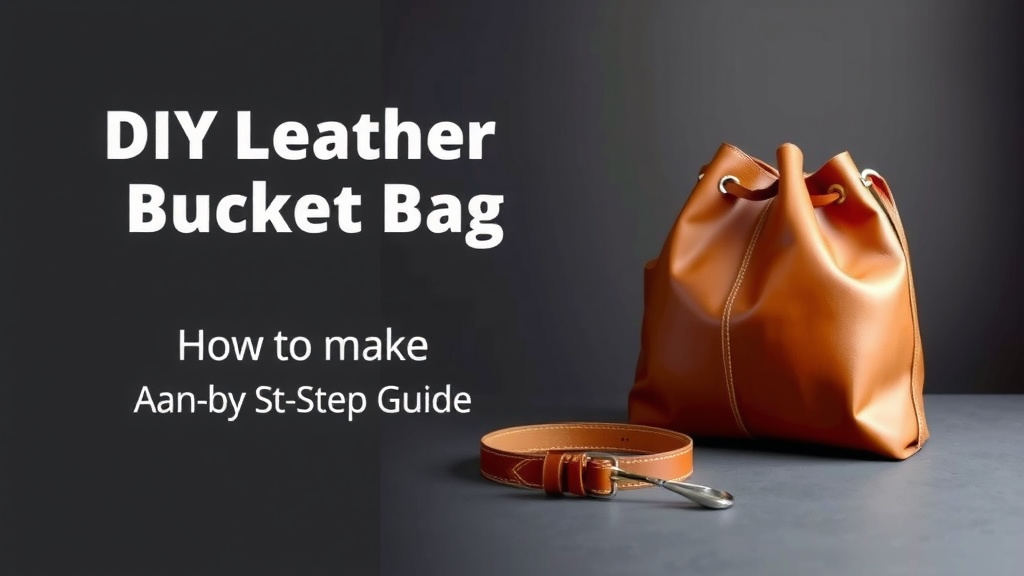
DIY Leather Bucket Bag: A Step-by-Step Guide
Ready to make your own leather bucket bag? You absolutely can! It’s a fun project that requires some basic leatherworking skills and a few key tools. Many crafters find it surprisingly achievable with the right guidance.
Creating a leather bucket bag is a rewarding experience. You get a stylish, durable accessory that’s completely unique to you. Plus, you’ll learn valuable leather crafting techniques you can use for other projects too.
- Choose your leather type carefully.
- Gather essential tools like needles and thread.
- Pattern making is the first real step.
- Cutting and stitching come next.
- Finishing touches make it yours.
Let’s walk through exactly how to bring your own custom leather bucket bag to life, step by step.
Crafting Your Own Leather Bucket Bag: A Step-by-Step Guide
Making your own leather bucket bag is an achievable and incredibly satisfying project. You’ll end up with a unique accessory that’s built to last. This guide will walk you through the process, from selecting your materials to adding those final touches.
Choosing the Right Leather for Your Project
The type of leather you choose will really impact the look and feel of your finished bag. Different leathers offer different levels of durability, texture, and ease of use.
Understanding Leather Types
You’ll find several popular options for bag making. Full-grain leather is considered the highest quality. It retains all of the natural grain and imperfections, making each piece unique. It’s strong and develops a beautiful patina over time. If you’re interested in the highest quality, our guide to full-grain leather bags explains its benefits.
Top-grain leather is the next best. It’s also high quality but has had the outermost layer sanded or buffed. This removes blemishes but also makes it slightly less durable than full-grain. It’s a good balance of quality and cost.
Genuine leather is a bit of a marketing term. It’s made from the lower layers of the hide, so it’s less durable and can feel more plastic-like. While cheaper, it won’t stand up to heavy use as well (Leatherworker’s Journal).
Consider Thickness and Finish
For a bucket bag, you’ll want leather that’s sturdy but still workable. A weight of 4-6 ounces is often recommended. This is thick enough to hold its shape but not so thick that it’s difficult to cut and sew by hand. Heavier weights (7-9 ounces) are great for rugged bags but might require specialized tools.
Think about the finish, too. A smooth finish looks polished and classic. A more distressed or tumbled finish can add character and hide minor scuffs. Consider how the leather will look once it’s been used for a while.
Essential Tools for Leatherworking
Gathering the right tools is key to a smooth crafting experience. You don’t need a professional workshop, but a few specialized items will make a big difference.
Cutting and Marking Tools
You’ll need a sharp utility knife or rotary cutter for clean cuts. Always use a self-healing cutting mat underneath. A metal ruler is essential for guiding your cuts straight. For marking your stitching lines, a scratch awl or a leather marking tool works well.
Stitching and Punching Tools
For making holes for your stitches, you’ll use pricking irons or stitching chisels. These create evenly spaced marks. A mallet (rawhide or poly) is needed to drive these tools through the leather. For hand-stitching, you’ll need two leather needles (blunt-tipped) and waxed thread. Linen or artificial sinew are also good choices.
Finishing Tools
A burnisher is used to smooth the edges of the leather. You can use a wooden edge slicker or even a piece of canvas. Contact cement can help hold pieces together before stitching.
Creating Your Bucket Bag Pattern
A good pattern is the blueprint for your bag. It ensures all the pieces fit together correctly. You can find pre-made patterns online, or you can draft your own.
Basic Bucket Bag Structure
Most bucket bags consist of a circular bottom, a cylindrical body, and some sort of drawstring closure or flap. For a simple design, you’ll likely need: a circle for the base, a rectangle for the body, and perhaps a strap and a drawstring casing.
Measuring and Drafting
If you’re drafting your own, start with the dimensions you want. Decide on the diameter of your base circle and the height and circumference of your body rectangle. Remember to add seam allowances (usually about 1/4 inch or 6mm) to all edges where pieces will join or be folded.
We found that adding a small flap or a wider opening can change the entire look. Your pattern pieces should be clearly labeled with their names (e.g., “Base,” “Body,” “Strap”) and any specific instructions like “fold line” or “stitch line.”
Cutting and Preparing Your Leather Pieces
Precision is important here. Careful cutting makes assembly much easier and results in a neater final product.
Transferring the Pattern
Lay your leather flat, grain side up. Place your paper pattern pieces on the leather. You can trace around them using a soft pencil or a silver pen. Make sure to trace them accurately. If you’re using a thick leather, you might need a bit more pressure.
Making the Cuts
Using your sharp knife and metal ruler, carefully cut along your traced lines. Make one slow, steady pass with the knife rather than trying to cut through in multiple choppy motions. This ensures cleaner edges. For the circular base, you might find it easier to rotate the leather as you cut with the knife, or use a rotary cutter.
Preparing for Stitching
Once all pieces are cut, you’ll need to mark your stitch lines. Use a ruler and a scratch awl or marking tool to draw a line about 1/8 inch (3mm) in from the edge where you intend to stitch. Then, use your pricking irons or stitching chisels and mallet to punch holes along this line. Space them evenly, typically 4-6 stitches per inch. Research suggests evenly spaced stitches add both strength and aesthetic appeal (Artisan Leathercraft).
Assembling Your Leather Bucket Bag
This is where your bag starts to take shape! Hand-stitching leather is a rewarding process that creates a strong, beautiful seam.
Attaching the Base
Apply a thin layer of contact cement to the edge of the base circle and the bottom edge of the body rectangle where they will join. Let it become tacky, then carefully press them together. This holds the base in place while you stitch.
The Stitching Process
Thread your needles with your waxed thread. Use a saddle stitch, which is incredibly strong and durable. This involves using two needles and passing them through each hole from opposite sides. Work your way around the entire seam, ensuring your stitches are snug but not so tight they rip the leather.
Adding the Drawstring Casing (Optional)
If your design includes a drawstring, you’ll need to create a casing. This usually involves folding the top edge of the body rectangle over twice and stitching it down to form a channel. Punch small holes for the drawstring to pass through.
Attaching the Strap
For the strap, you might simply fold a long strip of leather and stitch the edges together for comfort, or you may attach leather tabs to the sides of the bag and then connect the strap to those. Reinforce these attachment points with extra stitching.
Finishing Touches for a Professional Look
These small details make a big difference in the final appearance and longevity of your bag.
Edge Finishing
Now, address all the exposed edges. You can lightly sand them smooth. Then, apply a burnishing agent like water, gum tragacanth, or beeswax. Rub the edges vigorously with your burnisher until they become smooth and slightly glossy. This seals the fibers and gives a neat, professional finish.
Adding Hardware (Optional)
If you’re adding rivets, snaps, or buckles, install them now. Make sure to follow the manufacturer’s instructions for setting rivets or snaps. These add functionality and a polished look.
Conditioning the Leather
Finally, apply a good quality leather conditioner or oil. This nourishes the leather, making it more supple and protecting it from drying out. Test it on a small, inconspicuous area first to ensure you like the color change. Many experts recommend conditioning new leather to prepare it for use (Leather Care Institute).
Your Handmade Leather Bucket Bag Checklist
- Pattern pieces cut accurately.
- All necessary holes punched for stitching.
- Base securely attached and stitched.
- Strap attached firmly.
- Edges burnished for a smooth finish.
- Leather conditioned and protected.
Conclusion
You’ve now learned the fundamental steps to crafting your own beautiful leather bucket bag. From selecting the perfect leather and gathering your tools to cutting, stitching, and finishing, you’re well-equipped to start this rewarding project. Remember that practice makes perfect. Don’t be afraid to experiment with different designs or leathers as you gain confidence. Your handmade bag will be a unique accessory you can be proud of.
Your next step? Gather your chosen leather and tools, and start drafting your pattern. Happy crafting!
Frequently Asked Questions
What’s the easiest type of leather to start with for a bucket bag?
For beginners, a medium-weight vegetable-tanned leather between 4-6 ounces is often recommended. This type is sturdy enough to hold its shape but still manageable for cutting and hand-stitching. It also responds well to tooling and burnishing for a professional finish.
Can I make a leather bucket bag without a sewing machine?
Absolutely! Hand-stitching with a saddle stitch is the traditional and often preferred method for leather goods. It creates exceptionally strong seams that can outlast machine stitching. You’ll just need leather needles, waxed thread, and patience.
How do I make sure my stitches look neat and even?
Using a stitching chisel or pricking iron to pre-punch your holes is key. Mark your stitch line about 1/8 inch from the edge, then use the chisel and mallet to create consistent holes. This guides your needle and ensures uniform stitch spacing for a professional look.
What’s the best way to attach the strap so it doesn’t pull out?
For durability, reinforce the strap attachment points. You can stitch the strap directly onto the bag body, or attach it to sturdy leather tabs that are then securely riveted or stitched to the bag. Double stitching these stress points is always a good idea.
How do I get the edges of my leather bag to look smooth and finished?
After cutting your pieces, you’ll want to burnish the edges. Lightly sand them smooth, then apply a bit of water or a burnishing agent like gum tragacanth. Rub the edge vigorously with a burnisher tool until it becomes smooth and slightly glossy. This seals the leather fibers for a clean appearance.