How to prevent blobs 3d printing?
Are you tired of your 3D prints coming out looking like blobs instead of the perfect design you had in mind? Blobbing is a common problem that many 3D printing hobbyists face.
3D printing has revolutionized the way we create physical objects. However, getting the perfect print isn’t always easy. There are many factors that can affect the quality of your prints, from the type of filament you use to the settings on your printer.
If you want to prevent blobs in your 3D prints, you need to pay attention to several key factors. In this article, we’ll provide you with tips and tricks that will help you avoid blobbing altogether. With these techniques, you’ll be on your way to creating high-quality 3D prints every time.
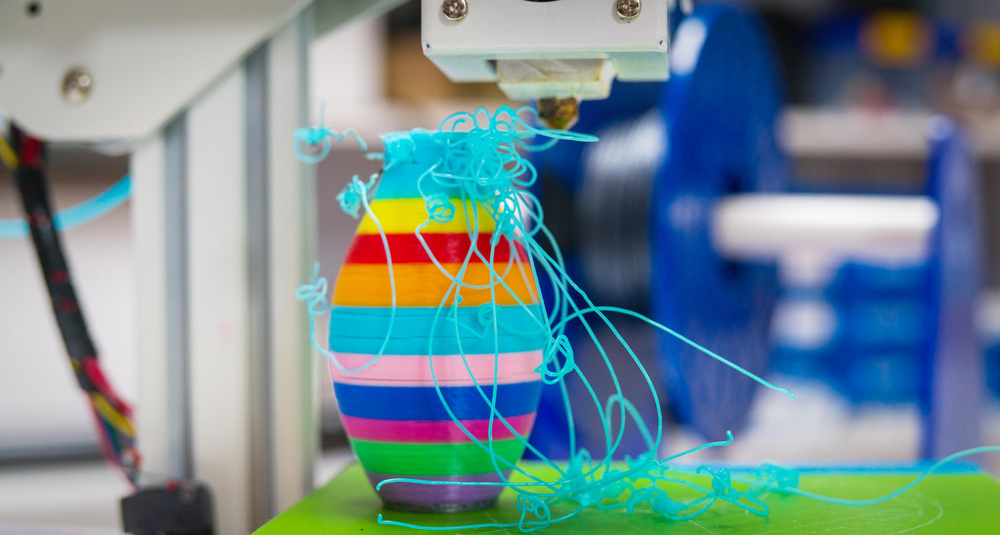
Definition of Blobs
Blobs are a type of 3D printing defect caused by over-extrusion of material or incorrect temperatures. Blobs appear as small, rounded “bumps” on the surface of the 3D printed object and can be problematic because they can cause poor surface quality and inaccurate dimensions.
To prevent blobs, one must ensure that the temperature settings are correct for the filament being used and that the extruder is not pushing out too much material at once. It is also important to clean any debris off of the nozzle before printing; this will help reduce clogs, which can lead to blobs.
Additionally, it is important to adjust other settings such as layer height and speed in order to optimize print quality. By following these steps, one can eliminate or minimize the occurrence of blobs during 3D printing.
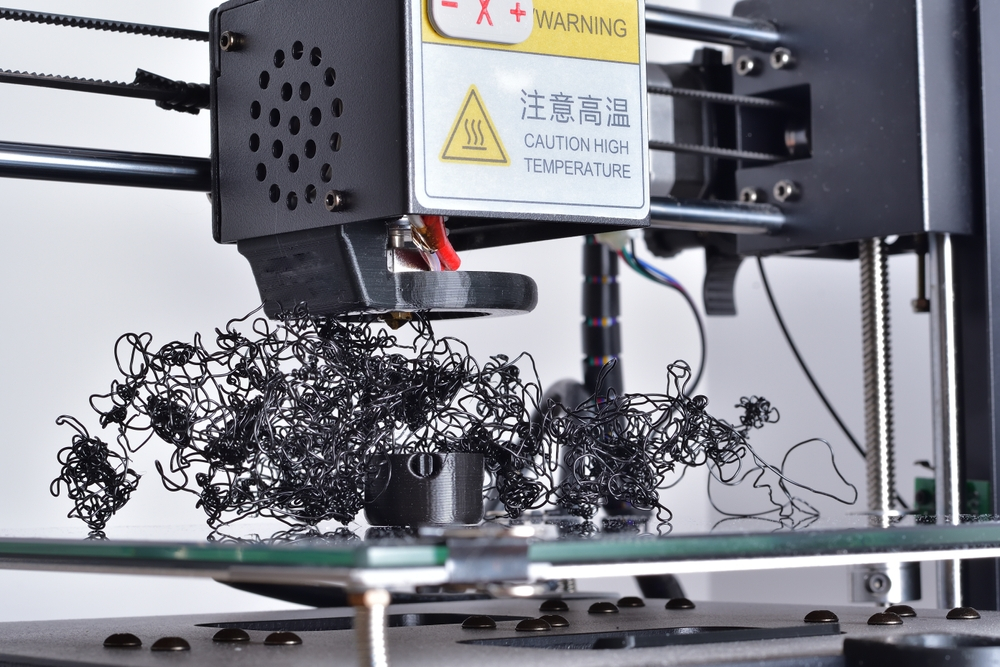
Reasons Why Prints Get Blobs
Prints can often get blobs due to a variety of factors. One of the most common causes is incorrect temperature settings for the filament being used. If the material is too hot, it will cause more material to be extruded than necessary and can lead to blobs on the printed surface. Additionally, clogs in the nozzle or extruder can also cause blobs.
This can be caused by debris that is not cleaned off prior to printing, or if the nozzle is pushing out too much plastic at once and becomes clogged with material. Other issues such as layer height and speed may also contribute to blobs; if these are not adjusted correctly, they may lead to an uneven deposition of plastic, which can result in blobs.
Finally, improper cooling of 3D prints can also cause blobs due to air pockets forming on the surface of the print. By following these guidelines and troubleshooting any issues that arise, one should be able to minimize or eliminate blobbing during 3D printing.
Preparing the Printer
Before beginning a 3D printing project, it is important to ensure that the printer is ready to go. Start by checking the filament and nozzle temperature settings; they should be adjusted according to the type of material being used. Make sure that the materials are free from debris and dirt, as these can cause clogs in the extruder.
Additionally, check if any parts of the printer need to be replaced or repaired, such as the fan or other components. Finally, check the bed level and adjust it if necessary so that prints adhere correctly. By taking these steps prior to starting a 3D printing project, one can ensure that their prints will come out looking great with no blobs!
Levelling the Bed
Levelling the bed is an important step in preventing blobs in 3D printing. To begin, place a sheet of paper on the print bed and use a ruler or callipers to measure the distance between the nozzle and the paper. If there are any discrepancies in this measurement, it means that the bed is not level and needs to be adjusted.
The adjustment can be made using screws located at each corner of the bed. For best results, make sure to adjust all four corners equally in order for the bed to be perfectly level. Additionally, check for any obstructions that may be blocking off parts of the printer bed; these can cause uneven prints and lead to blobbing. Lastly, make sure to clean off any dust or debris from the print surface prior to printing so that your prints come out looking perfect!
Adjusting Nozzle Height
Adjusting the nozzle height is a key step in preventing blobs and ensuring successful 3D prints. To begin, measure the distance from the nozzle to the bed and adjust accordingly. If the nozzle is too close to the bed, it can cause blobs and other imperfections in your prints.
Conversely, if it’s too far away, your print may not adhere properly or at all to the bed. To adjust the height of your nozzle, use a hex wrench or other tool to loosen up screws located on either side of your printer’s X-axis assembly. Once loosened, gently move the nozzle up or down in small increments until you achieve the desired distance from your print bed.
Make sure to tighten all screws securely before printing! Finally, check that all components are correctly aligned and that there is nothing obstructing your printer’s movement before starting any 3D print job.
Adjusting Extrusion Settings
Adjusting extrusion settings is another important step to prevent blobs in 3D printing. Extrusion settings determine the amount of material that is released from the nozzle during a print. If your extrusion settings are too low, it can cause blobs, poor adhesion and other imperfections in your prints. On the other hand, if the settings are too high, you may end up with over-extruded parts that are too large and bulky.
To adjust your printer’s extrusion settings, access its menu system and locate the “Extruder” menu item. From there, you can increase or decrease values for “Flow Rate” and “Extrusion Multiplier” until you achieve the desired results. It is also important to ensure that your filament diameter is correctly set as this will affect how much material is released from the nozzle during a print.
Finally, make sure to save any changes you make to your printer’s settings before starting any 3D print job! With these tips in mind, you should be able to successfully adjust extrusion settings and reduce blobs in your 3D prints.
Checking Retraction Settings
Retraction settings are another key factor in reducing blobs during 3D printing. Retraction refers to the process of pulling filament back from the nozzle between extrusion moves. If retraction is too low, it can lead to blobs on prints, but if it’s too high, you may end up with stringing or other imperfections.
To check and adjust your printer’s retraction settings, access its menu system and locate the “Retract” menu item. From there, you can increase or decrease values for “Retract Length” and “Retract Speed” until you achieve the desired results. It is also important to ensure that your nozzle size is correctly set as this will affect how much filament should be retracted between extrusion moves.
Finally, make sure to save any changes you make before starting any 3D print job! With these tips in mind, you should be able to successfully check and adjust retraction settings and reduce blobs in your 3D prints.
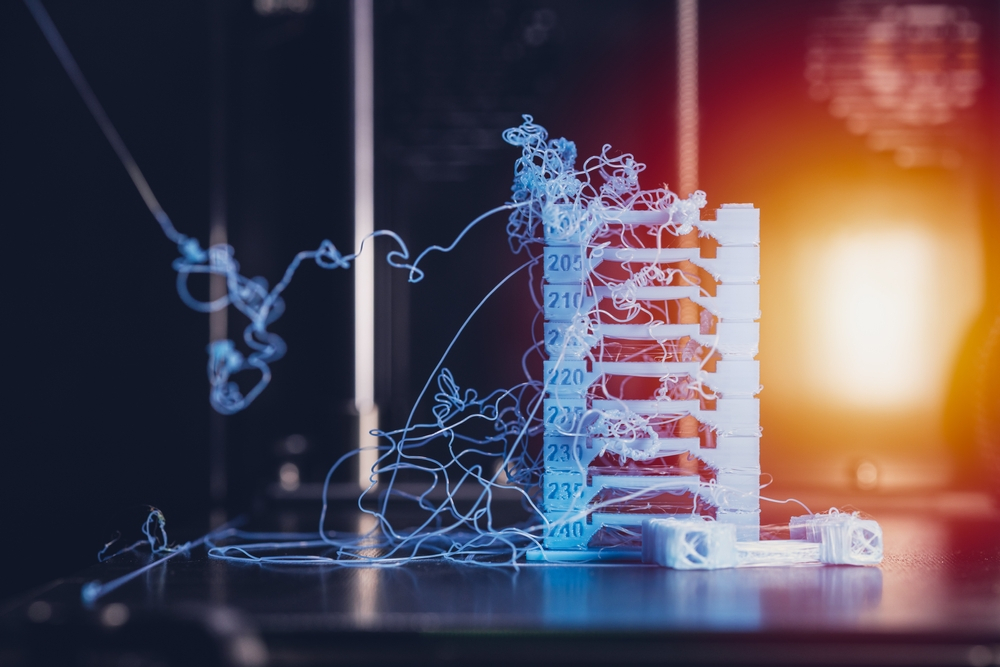
Setting Temperature for Different Filaments
When printing with 3D filament, it is important to set the correct temperature according to the type of material you are using. Different filaments require different temperatures – some may require high temperatures while others need to be cooled down. Therefore, it is essential to check and adjust the temperature accordingly.
For PLA filament, temperatures can range from 190°C – 220°C depending on the brand and type of PLA used. ABS filament typically requires a higher temperature than PLA and usually falls between 210°C – 250°C. For specialized materials such as Nylon or PETG, temperatures should be set around 240°- 260°C. Additionally, if you are using flexible filaments such as TPU or Ninjaflex, then setting a lower temperature of 180°- 200°C is recommended.
It is also important to remember that environmental factors such as humidity can affect your print quality and result in blobbing or stringing issues, so make sure to adjust your printer’s settings accordingly for better results!