What do i need for resin 3d printing?
Are you interested in resin 3D printing, but not sure where to start? Starting a new hobby can be overwhelming, especially when it comes to equipment and supplies.Resin 3D printing is a popular choice for those who want to make high-quality, detailed prints. However, it requires specific materials and equipment that differ from traditional filament-based 3D printing.
To help you get started, we have put together a guide on what you need for resin 3D printing. From the printer itself to the resin and curing station, we’ll cover everything you need to know to get started on your first successful resin print.
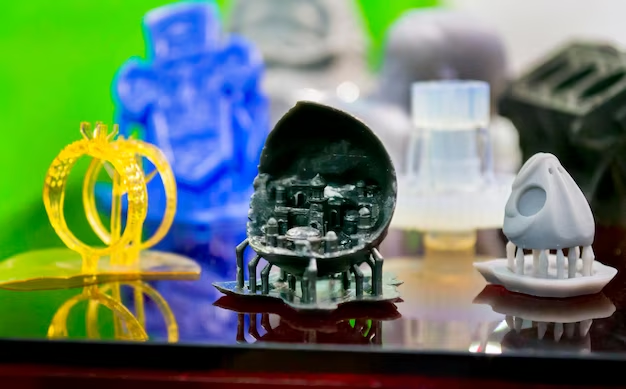
Resin 3D printing is a great way to produce parts with high levels of detail. But before you can start printing, there are several important items you need to get started. You’ll need a resin printer, which is the most important part of the set-up. Additionally, you’ll need resin, an object to wash your prints in (such as an ultrasonic cleaner or a container filled with isopropyl alcohol), a way to cure the prints such as a UV light box or LED light, extra printer consumables like build plates and FEP film, and personal protective equipment like gloves and safety glasses.
Once you’ve got all your supplies together, it’s time to start printing! But there’s more to successful printing than just hitting the print button; post processing is also necessary. After your print is finished, you must wash it in order to remove any excess resin and supports from the model. Then you must use either UV or LED light for curing depending on what type of resin you’re using. Finally, any remaining supports must be removed manually. With these steps completed, you’ll have a finished 3D printed part that’s ready for use!
Steps for Resin Printing
Resin 3D printing is a great way to get high quality parts, but there are several steps you’ll need to take in order to make sure your prints come out right. First, set up your printer with the resin and consumables needed for the print. Next, run the print on your machine and then remove it from the build plate. After that, clean off any excess resin with an ultrasonic cleaner or isopropyl alcohol.
Finally, cure the print using either UV light or LED light depending on what type of resin you’re using. Once these steps are completed, you’ll have a finished 3D printed part ready for use! With careful attention to detail and proper post processing techniques, you can get consistently great results with resin 3D printing.
Printing Your Resin Model
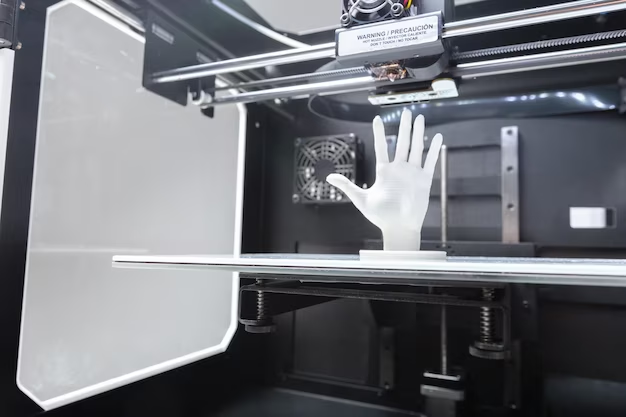
Printing your resin model is a great way to create intricate and high quality 3D printed parts. The process begins by setting up your resin printer with the necessary consumables, such as the type of resin you will be using and any other materials needed for the print. After that, you can run your print on the machine and remove it from the build plate when it’s done.
Next, you’ll need to clean off any excess resin using an ultrasonic cleaner or isopropyl alcohol. Finally, the last step is to cure your print using either UV light or LED light depending on what type of resin you have used. With careful attention and proper post processing techniques, you can get consistently good results with resin 3D printing.
Washing Your Resin Print
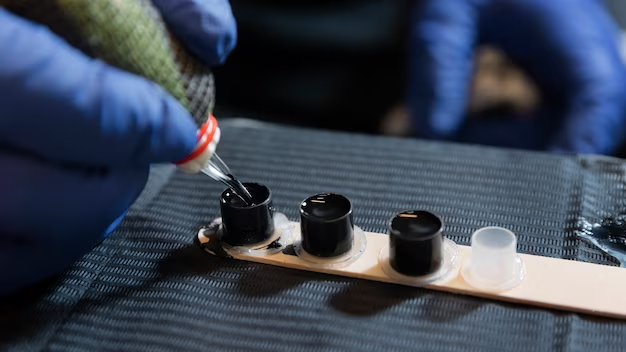
Once you’ve finished printing your resin model, it is important to properly wash it before curing. The first step is to get a container filled with cleaning solution, such as isopropyl alcohol. It is important to wear a respirator and nitrile gloves when washing the print in order to protect yourself from any fumes or chemicals released by the cleaning solution.
After that, submerge your model into the cleaner and use lint-free disposable shop towels to gently scrub off any excess resin. Make sure to rinse the model thoroughly with clean water afterwards before taking it out for curing. With proper washing techniques, you can ensure that your resin prints come out looking great after curing.
Curing Your Print
Once your resin model is washed and dried, it’s time to start the curing process. Curing your print will solidify the resin and give it its final shape. To cure your print, you need a UV light source such as sunlight or an artificial UV lamp. Place the printed model in direct sunlight for 15-20 minutes or use an artificial UV lamp if available.
For better results, you can place the print in a clear container filled with water and then place that container in the sun for 15-20 minutes. After curing, you can remove any remaining uncured resin using a hobby knife or X-Acto blade. With proper curing techniques, you can ensure that your resin prints come out looking great after curing.
Removing Supports from Your Print
Removing supports from your print is an important step in the resin 3D printing process. Depending on the type of support material you are using, you can remove them either before or after curing. If you’re removing pre-cure supports, it’s a good idea to wear nitrile gloves for protection.
You can use flush cutters to gently remove post-cure supports. Most manufacturers recommend removing the supports after curing and before washing your print. However, I prefer to remove them after washing and before curing as this makes it easier to handle the model during curing.
I recommend rinsing the model in warm water beforehand as this will help soften any remaining uncured resin and make it easier to remove. Taking time to properly remove supports will ensure that your prints come out looking great after curing!
Cleaning Up the Print
Once supports are removed, it’s time to clean up any remaining marks or imperfections. This is an important step in ensuring your print looks its best after curing. To do this, you will need fine grit sandpaper (400 or above) and a few tools like a sanding stick, tweezers and flat nose pliers. Start by using the sandpaper to gently remove any points left from the supports.
You can use the tweezers or flat nose pliers if needed to remove any stubborn pieces. Once all of the support material has been removed, you can use the sanding stick to get into tight spaces and flush out any remaining pieces. Make sure to be gentle when doing this so you don’t damage your print! Finally, rinse your model in warm water one last time and let it dry before curing for optimal results. Following these steps will ensure that your prints come out looking fantastic!
Personal Protective Equipment
When 3D printing, it is essential to wear the appropriate personal protective equipment (PPE) in order to minimize your exposure to hazardous materials. This includes wearing gloves, a respirator, and safety glasses. Gloves help protect your hands from dangerous chemicals and heat when handling hot parts.
A respirator will help filter out any harmful fumes or particles released during the printing process. Safety glasses should be worn at all times while working with the printer and while post-processing printed parts to protect your eyes from potential debris or sparks.
Additionally, wearing long sleeves and pants can help prevent any irritants that may be released during the printing process from coming into contact with your skin. Taking the proper steps to ensure you are properly protected is key for safe 3D printing!