What is a good layer height for 3d printing?
When it comes to 3D printing, the layer height is one of the most important factors to consider. But with so many options available, how do you know which layer height is the best for your project?
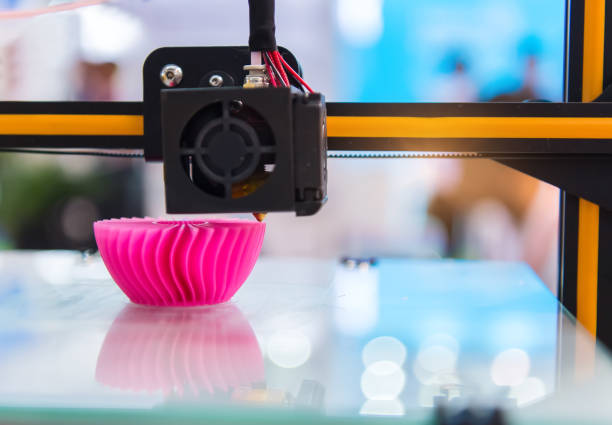
3D printing has revolutionized the way we create objects, and with the increasing popularity of this technology, it’s important to understand the nuances of the process. Layer height determines the thickness of each layer that is deposited to create your print, affecting the quality and time required for your project. It’s not uncommon to experience frustration as a result of a poor choice in layer height.
Choosing the right layer height is critical to the success of your project. In this article, we will present all the information you need to choose the perfect layer height for your 3D printing project. By examining the different options and their implications, you’ll be able to make an informed decision and avoid any potential problems that could arise as a result of incorrect layer height.
Benefits of Using Different Layer Heights for 3D Printing
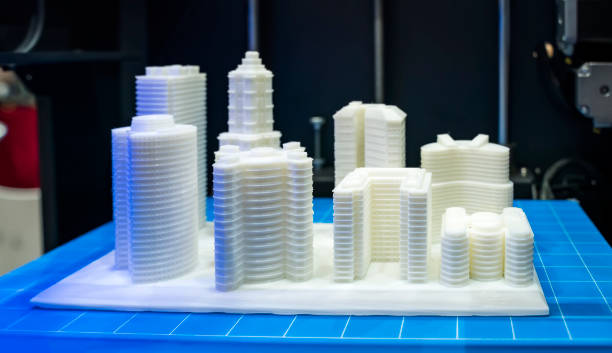
Using different layer heights for 3D printing can be beneficial in terms of achieving higher accuracy and a smoother finish. The layer height is the thickness of each successive layer used to construct an object and determines the level of detail that can be achieved. Generally speaking, lower layer heights result in finer details and smoother surfaces while higher layers produce a faster print time but sacrifice some of the surface clarity.
For small intricate objects, a lower layer height is recommended as it will provide more detailed results and better surface quality. For larger objects with flat surfaces, a higher layer height can be used which will decrease print time without sacrificing too much on the surface quality. Additionally, using different layer heights for different areas of an object can also help to achieve desired results more efficiently.
In conclusion, understanding how to use different layer heights for 3D printing can help to improve both speed and accuracy when producing your desired designs. Experimentation with different settings can help you find the best balance between print time and quality for your specific projects.
Improved Print Quality
Improved print quality is a desired outcome of 3D printing, and the layer height plays a critical role in achieving it. Layer height refers to the thickness of each successive layer used to construct an object and is determined by the resolution of the printer being used. The general rule is that lower layer heights result in higher details and smoother surfaces while higher layers produce faster prints at the expense of some surface clarity.
To get improved print quality, selecting appropriate layer heights for your 3D print is essential. Generally, objects with intricate features or small parts should use lower layer heights for better detail and smoother surfaces. For larger objects with flat surfaces, a higher layer height can be used to reduce print time without sacrificing too much on the surface quality. Additionally, using multiple different layer heights for different areas of an object can also help to achieve desired results more efficiently.
By understanding how to use different layer heights for 3D printing, you can create high-quality prints that are both accurate and fast. Experimenting with various settings will allow you to find the best balance between speed and quality for your specific projects.
Faster Print Times
Faster print times are an attractive feature of 3D printing, and the layer height plays a crucial role in achieving it. Layer height refers to the thickness of each successive layer used to construct an object and is determined by the resolution of the printer being used. Higher layer heights produce faster prints at the expense of some surface clarity, making them suitable for large objects with flat surfaces that don’t require much detail or fine features.
For example, parts such as chassis frames can be printed quickly using a higher-resolution setting without sacrificing too much on surface quality. Additionally, multiple different layer heights can be used in combination for more complex objects to achieve a balance between speed and accuracy.
By selecting appropriate layer heights for your 3D prints, you can significantly reduce printing time while still maintaining good quality results. Experimenting with various settings will allow you to find what works best for your specific projects and optimize overall print speeds.
Post-Processing Considerations
After a 3D print is finished, it is important to take into consideration the post-processing steps necessary for your object to look its best. Post-processing allows you to smooth out any rough edges caused by the layer height used, as well as add an attractive finish to your object.
Depending on what type of material was used, there are multiple methods that can be employed for post-processing, including sanding and polishing with different grits of sandpaper or buffing with a soft cloth. For prints made from PLA or ABS materials, acetone vapor treatment can also be used to achieve a glossy finish.
No matter which method you choose for post-processing, it’s important to ensure that the surface of your 3D printed object is free of particles and dust before applying any treatments. This will help create a more consistent result and ensure that the end product looks its best. Additionally, some materials may require additional support structures in order to hold them in place while they’re being worked on. Taking these factors into consideration will help ensure successful post-processing and improve the overall quality of your 3D prints.
Factors to Consider When Choosing a Layer Height
Choosing the right layer height for 3D printing is essential in order to achieve a good finish and quality of your printed object. Layer height refers to the thickness of each layer of material that is deposited during the printing process, with lower layer heights creating smoother finishes than higher ones. The right layer height will depend on the exact requirements of your project, as well as the type of material used.
When selecting a layer height, it’s important to consider factors such as print speed, surface finish, accuracy and strength. Higher layers can result in faster print speeds but may produce rough surfaces and lack accuracy and strength. Lower layers are slower but create smoother surfaces with more accurate detail and better strength. Therefore, choosing an appropriate balance between these two extremes is key for successful 3D printing projects.
It’s also important to note that some materials may require a minimum layer height in order for them to be successfully printed – if this is the case, selecting a layer height below this threshold could result in failed prints or poor results. Overall, careful consideration should be given when selecting a layer height for your 3D printing project in order to achieve optimal results.
Printer Type and Limitations
When selecting a 3D printer for a project, one of the key factors to consider is the type of printer being used. Different printers have varying levels of quality and capabilities, meaning they may be suitable for some projects but not others.
For instance, FDM printers are typically less expensive than SLA or SLS models and can print with a wider range of materials; however, they generally produce lower-quality results and lack accuracy compared to more expensive models.
Additionally, different types of printers have limitations on the size and complexity of objects that can be printed, so it’s important to ensure that your project meets the requirements of your chosen machine. In summary, it’s important to weigh up all the pros and cons when deciding which type of printer to use for your project in order to achieve maximum success.
Previous Layer Bonding Strength
Previous layer bonding strength is an important factor to consider when 3D printing. This refers to the adhesion of the previously printed layer with the current layer and affects the overall quality of the print. Generally, a stronger bond between layers results in a smoother surface finish and more reliable parts.
To ensure strong bonding, it is important to choose a suitable print temperature for the filament being used. The temperature should be high enough to melt and adhere the filament properly but low enough that it does not cause warping or other issues.
Additionally, using a heated bed can help to improve bonding, as this helps keep all layers warm while they are being printed, which encourages better adhesion. Finally, some filaments require a higher extrusion speed than others; if you’re using these materials then you may need to increase your printer’s speed accordingly in order to achieve optimal results.
Material Characteristics and Properties
The material characteristics and properties of a 3D printing filament are important to consider when choosing the best layer height for a 3D print. Different materials have different melting points, shrinkage rates, strength, and other physical and chemical properties that can affect the quality of the final 3D printed part.
For example, PLA has a high tensile strength and low thermal expansion rate which make it ideal for detailed parts that require good surface finish and dimensional accuracy. ABS is more impact resistant than PLA but is more prone to warping due to its higher thermal expansion rate.
In addition, some filaments such as TPU or nylon require a heated bed in order to achieve good adhesion between layers while others such as PETG or PC require cooling fans in order to avoid warping. It’s also important to consider the diameter of the filament when selecting an appropriate layer height; thinner filaments tend to produce better results at lower layer heights while thicker filaments may require higher layers heights in order to achieve optimum performance.