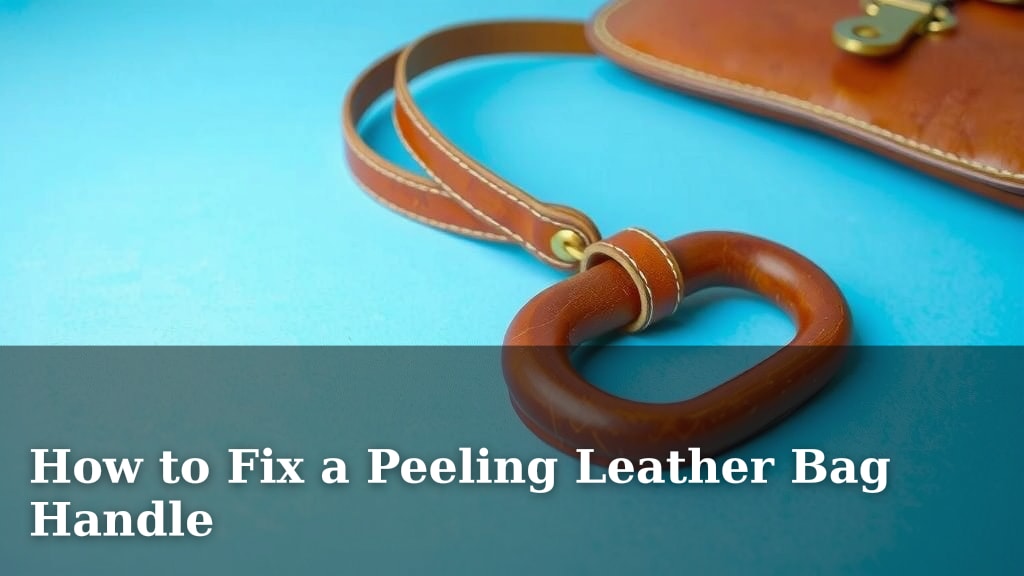
How to Fix a Peeling Leather Bag Handle
Don’t let a peeling leather bag handle ruin your favorite accessory! You can often fix a peeling leather bag handle yourself with a few simple supplies and a little patience. The key is to carefully prepare the area, apply a suitable repair product, and allow it to cure properly. This approach can help restore your handle’s look and feel.
It’s frustrating when a beloved bag starts showing wear, especially on its most handled parts like the straps. Peeling often happens due to normal use, exposure to moisture, or the natural aging of leather finishes. But before you think about replacing the whole bag, know that minor repairs are quite achievable for most leather items.
- Clean the peeling area gently.
- Use a leather filler or adhesive for repairs.
- Allow ample drying and curing time.
- Condition the handle afterward.
Ready to bring that handle back to life? Let’s get your bag looking its best again with a step-by-step guide.
It’s a bummer when your favorite leather bag starts showing signs of wear, especially on those handles you grip every day. That peeling can make a bag look much older than it is. But guess what? You can often fix a peeling leather bag handle yourself. It just takes a little care and the right approach.
Restoring Your Leather Bag Handles
Don’t let minor peeling get you down. With the right steps, you can significantly improve the look and feel of your bag handles. We’ll walk you through the process so you can get back to enjoying your bag.
Assessing the Damage and Gathering Supplies
Before you grab anything, take a good look at the peeling. How bad is it? Is it just a few small flakes, or is a large section starting to lift? This will help you decide which products you’ll need.
What You’ll Need for the Job
Gathering your supplies beforehand makes the repair process much smoother. You don’t want to stop mid-job to find something you forgot.
- Mild leather cleaner
- Soft cloths (microfiber is great)
- Fine-grit sandpaper (around 220-400 grit)
- Leather filler or leather repair adhesive
- Applicator tool (like a small spatula or toothpick)
- Leather conditioner
- Optional: Leather dye or colorant if the repair area is noticeable
Understanding Leather Peeling
Leather peeling usually happens when the top finish layer starts to break down. This can be due to moisture, friction from your hands, or just the natural aging process of the leather. Think of it like dry skin on your hands; it needs care and attention.
Step-by-Step Guide to Repairing Peeling Handles
Let’s get down to business. Following these steps carefully will give you the best results.
Step 1: Clean the Affected Area Thoroughly
This is a critical first step. Any dirt or oils left on the handle will prevent the repair products from sticking properly. You want a clean surface for the best adhesion.
Gentle Cleaning is Key
Use a dedicated mild leather cleaner. Apply a small amount to a soft cloth, not directly to the handle. Gently wipe away any dirt or grime. Avoid harsh scrubbing, as this can make the peeling worse. Let the handle air dry completely.
Step 2: Address Loose Peeling Edges
Now, let’s deal with those lifted edges. The goal here is to smooth things out so the repair product can create a seamless bond.
Trimming and Sanding
If there are any really ragged, loose bits of peeling leather, you might need to carefully trim them away with small, sharp scissors. Then, use your fine-grit sandpaper. Gently sand the edges of the peeling area. This helps to feather the edges and create a smooth transition between the lifted finish and the intact leather. You’re not trying to remove all the finish, just smooth down the rough spots. We found that a light touch works best.
Step 3: Applying the Leather Filler or Adhesive
This is where the magic happens. You need a product designed for leather repair to fill the gap or re-adhere the peeling layers.
Choosing the Right Product
For minor peeling where the leather itself is still intact, a good leather repair adhesive might be enough. You’ll carefully lift the peeling edge and apply a tiny amount underneath. If the peeling has left a noticeable gap or divot, a leather filler is a better choice. These fillers are designed to be spread into the damaged area and then smoothed.
Application Technique
Use your applicator tool to apply a small amount of filler or adhesive. Work it gently into the peeling area. If you’re using filler, try to make it as smooth and level with the surrounding leather as possible. Wipe away any excess immediately with a clean cloth. It’s better to apply thin layers than one thick blob.
Step 4: Drying and Curing Time
Patience is your best friend here! Letting the product dry and cure properly is essential for a durable repair. Rushing this step can lead to the repair failing.
Allow Ample Time
Check the product instructions for specific drying times. Many leather fillers and adhesives need several hours, or even overnight, to cure completely. Resist the urge to touch or use the handle until it’s fully set. Many experts recommend letting it cure for at least 24 hours for maximum strength (National Leathercraft Association).
Step 5: Finishing Touches and Protection
Once the repair is fully cured, you’ll want to make it look as natural as possible and protect your work.
Smoothing and Coloring (If Needed)
If the filler created a slightly raised area, you can very lightly sand it down again once fully cured. If the color of the filler or repaired area doesn’t match the rest of the handle, you might need to use a leather dye or colorant. Apply it sparingly with a small brush or cloth, letting each layer dry. Test the color on an inconspicuous spot first if you can.
Conditioning the Leather
After the repair is complete and any color has dried, it’s time to condition the entire handle. This replenishes moisture and keeps the leather supple. Use a good quality leather conditioner and apply it with a clean cloth, buffing gently. This will help blend the repaired area and protect the handle from future drying and cracking. Many professionals suggest conditioning your leather items regularly to prevent issues like peeling (American Leather Association).
Quick Checklist for Your Handle Repair
Keep this handy to ensure you don’t miss a step!
- Clean the handle first.
- Smooth loose edges gently.
- Choose the right filler or adhesive.
- Apply thinly and evenly.
- Allow full drying and curing time.
- Condition the handle afterward.
Conclusion
You’ve learned how to tackle that peeling leather bag handle! By cleaning, preparing, applying the right repair product, and allowing proper curing time, you can restore your bag’s beauty. Don’t forget the final conditioning step for a lasting, supple finish. Now, take a deep breath and get started on your repair. Your favorite bag is worth the effort!
Frequently Asked Questions
How do I know if a leather bag handle is too damaged to fix?
If the leather is severely cracked, torn, or completely rotted through, it might be beyond simple repair. Extensive structural damage or large missing pieces often mean a professional repair or replacement is needed. However, most peeling issues can be addressed with the steps outlined.
Can I use super glue on a peeling leather bag handle?
While tempting, super glue is generally not recommended for leather repairs. It can create a stiff, unnatural bond that may crack later. It can also permanently discolor the leather and make future repairs more difficult. Stick to products specifically designed for leather.
How long should I wait before using my bag after the repair?
This is crucial! Always refer to the product instructions for drying and curing times. Most leather fillers and adhesives require at least 24 hours to fully cure for maximum durability. Using the bag too soon can break the bond and undo your hard work.
Will the repaired area look exactly like the original leather?
Often, the repaired area will look much better, but it may not be completely indistinguishable from the original, especially with larger repairs. Using a matching leather dye or colorant can help blend the repair. Regular conditioning of the entire handle will also help the repaired section integrate more naturally over time.
How often should I condition my leather bag handles?
Regular conditioning is key to preventing future peeling and keeping your leather looking its best. Aim to condition your bag handles every 3-6 months, or more frequently if you live in a dry climate or use your bag heavily. This keeps the leather supple and less prone to drying and cracking.
![10 Leather Best Laptop Bags For Men [2026]](https://mybestreviewss.com/wp-content/uploads/2026/08/10-leather-best-laptop-bags-for-men-2026-featured-768x432.jpg)