How to Make a Leather Dice Bag: A Beginner’s Guide
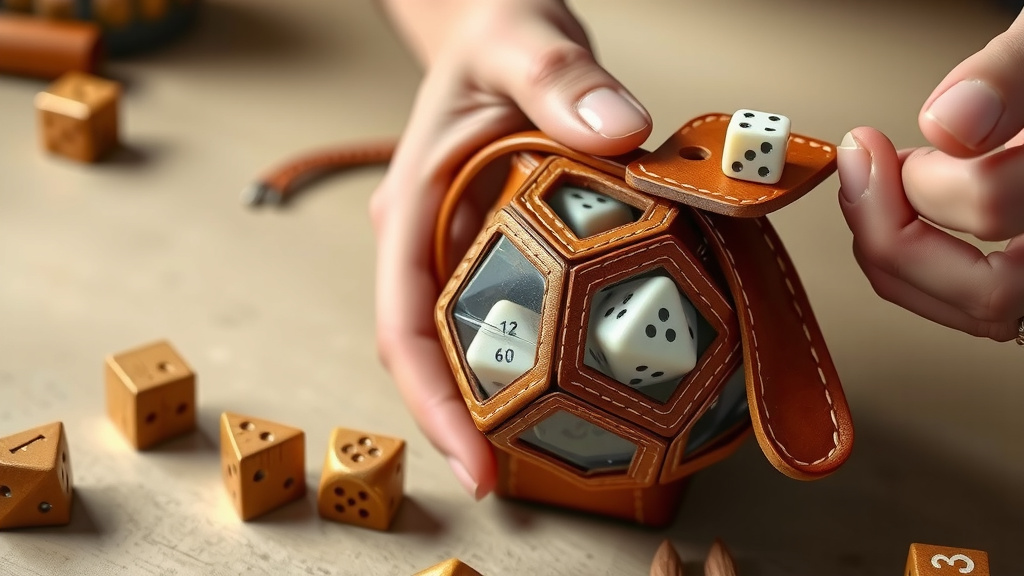
Making your own leather dice bag is a fun and rewarding project. You can create a durable, personalized bag that perfectly holds your favorite dice. This guide will show you the simple steps involved, making it accessible even for beginners. You’ll be crafting a stylish dice holder in no time!
A handmade leather dice bag is more than just storage. It’s a statement piece for your tabletop adventures. Many crafters enjoy the process of working with leather for its unique texture and longevity. Plus, you get to show off your DIY skills. It’s a fantastic way to protect your dice.
- Gather your leather and tools.
- Cut out your bag pieces.
- Stitch the bag together.
- Add a drawstring closure.
- Finish and enjoy your creation!
Ready to start creating? Let’s walk through exactly how to make your very own leather dice bag, step by step.
“`htmlCrafting Your Own Leather Dice Bag: A Step-by-Step Guide
Making a leather dice bag is a wonderfully satisfying project. You get a sturdy, personalized container for your gaming essentials. This guide walks you through each step. You’ll learn how to create a practical and stylish dice bag that’s perfect for your next adventure.
Gathering Your Leather and Supplies
Before you can start cutting and stitching, you need to gather your materials. Think of this as prepping your ingredients before you cook. Having everything ready makes the process much smoother and more enjoyable.
Choosing the Right Leather
For a dice bag, you have a few leather options. For a dice bag, you have a few leather options. Our guide to the best leather for making bags can help you choose.Vegetable-tanned leather is a great choice. It’s firm enough to hold its shape but still flexible. It also takes tooling and dyes well if you want to get fancy later. Chrome-tanned leather is softer and more pliable. It might be easier to work with for beginners, but it can stretch more. We found that a leather thickness of 2-3 ounces is ideal for a dice bag. It’s sturdy but not too stiff.
Essential Tools and Notions
You won’t need a huge workshop for this. Here are the basic tools you’ll want to have on hand:
- Leather scraps: Enough for your bag pieces.
- Sharp craft knife or rotary cutter: For clean cuts.
- Cutting mat: To protect your work surface.
- Ruler or straight edge: For accurate measurements.
- Awl or leather punch: To create stitching holes.
- Leather needles: Strong needles designed for leather.
- Waxed thread: Durable thread that resists fraying.
- Optional: Mallet or hammer: For setting stitches firmly.
- Optional: Leather glue: Optional: Leather glue: To hold pieces temporarily, consider using leather glue. Our guide to the best glue for leather bags can help. To hold pieces temporarily.
- Optional: Drawstring material: Leather cord or sturdy fabric ribbon.
Make sure your knife is razor-sharp. A dull blade will snag and tear the leather. We learned that investing in a good quality awl or punch makes creating consistent holes much easier. For thread, waxed linen or polyester thread is highly recommended for its strength.
Cutting Out Your Dice Bag Pieces
Now it’s time to bring your design to life on the leather. Accuracy here ensures your bag will fit together nicely.
Designing Your Bag Shape
Most simple dice bags are made from two main pieces: a rectangular body and a circular base. Some designs might use a single long strip folded in half. For a standard dice bag that holds about 6-8 sets of dice, a rectangle about 8 inches wide and 10 inches tall is a good starting point. The circular base would then be about 8 inches in diameter.
Measuring and Marking
Use your ruler and a scratch awl or a light pencil to mark your cutting lines on the leather. Double-check your measurements before you cut. It’s always better to measure twice and cut once, right? For the circular base, you can use a compass or trace around a round object of the correct size.
Making the Cuts
Place your leather on the cutting mat. Use your ruler as a guide for straight lines. Cut slowly and deliberately with your craft knife or rotary cutter. For the circle, try to make one continuous cut for a clean edge. If you’re using a pattern, carefully trace and cut around it.
Stitching Your Leather Dice Bag Together
This is where your bag starts to take shape. The most common stitching method for leather is the saddle stitch. It’s strong and looks professional.
Preparing for Stitching
Before you stitch, you need to make your holes. Use your awl or punch to create evenly spaced holes along the edges where your pieces will join. For the body of the bag, you’ll be stitching up the sides and across the bottom. For the base, you’ll stitch it to the bottom edge of the bag body.
Spacing is key. Most crafters aim for about 4-6 holes per inch. Consistent spacing makes the stitching look neat. You can use a stitching groover to create a small channel for your thread. This helps protect the thread and gives a cleaner look. Many guidelines suggest making your holes large enough for your needle and thread to pass through easily (Leatherworker’s Journal).
The Saddle Stitch Method
The saddle stitch uses two needles and one thread. You pass each needle through the same hole from opposite sides. This creates a very strong interlocking stitch. If one needle goes in from the left and the other from the right, they meet in the middle.
Thread your needles with a length of waxed thread. Start at one end of your seam. Pass one needle through the first hole. Then, pass the second needle through the same hole from the other side. Pull both needles through until you have an equal amount of thread on each side. Continue this process for all the holes. Make sure to pull each stitch snug, but not so tight that you distort the leather. We found that a little practice on scrap pieces helps get the tension right.
Attaching the Base
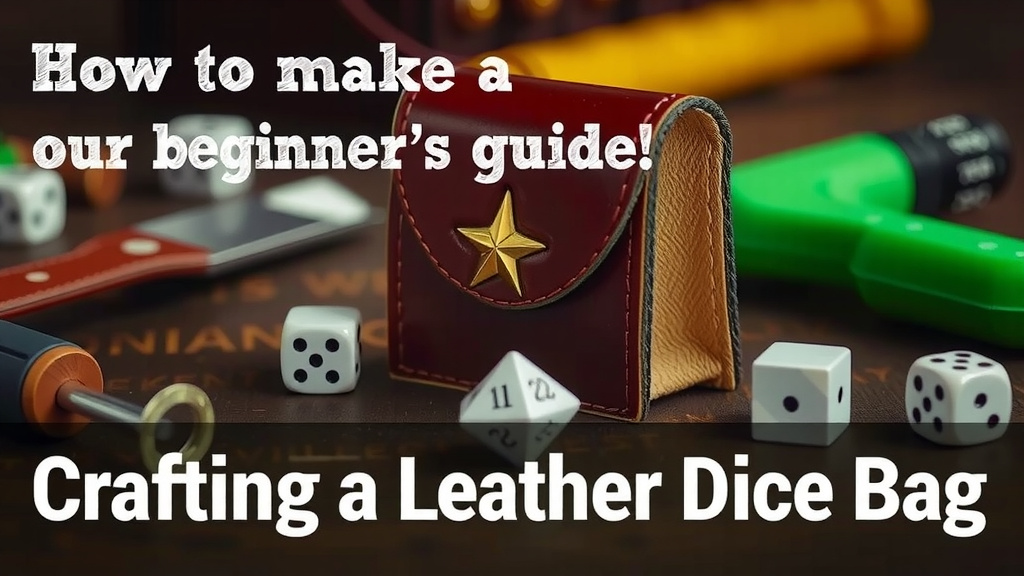
Once the sides of your bag body are stitched, it’s time to attach the circular base. Align the edge of the base with the bottom edge of the bag body. Punch or awl through both layers to create your stitching holes. Then, saddle stitch the base onto the bag. This can be a bit fiddly, especially around the curve of the circle. Take your time and work your way around slowly. Ensure you’re catching both the bag body and the base in your stitches for a secure attachment.
Adding the Drawstring Closure
A drawstring closure is what makes it a bag! It keeps your dice secure and makes it easy to open and close.
Creating the Casing
At the top edge of your bag, you need to create a channel, or casing, for the drawstring. Fold the top edge down about half an inch. You can lightly glue this fold in place. Then, fold it down again to create a hem about half an inch wide. This forms the channel. You’ll need to punch stitching holes along the bottom edge of this folded hem.
Stitching the Casing
Stitch along the bottom edge of the hem to secure it to the bag body. You can use the saddle stitch again for consistency. Make sure your stitches go through both the hem and the bag. Leave small gaps at the sides of this casing where your drawstring will go in and out.
Adding the Drawstring
Cut a length of leather cord or sturdy ribbon. It should be long enough to go all the way around the casing and have some extra for tying. Thread the cord through the casing using a safety pin or a bodkin. Start at one opening, go all the way around, and come out the same opening. Some people like to have two separate drawstrings, one for each side, which can be easier to close.
If you’re using one long cord, you can create a simple stopper knot at each end to prevent it from pulling out. Many sources suggest leaving about 6 inches of cord on each end for easy tying (Crafting Leather Goods Monthly).
Finishing Touches for Your Dice Bag
You’re almost there! A few final steps will make your dice bag look polished and professional.
Trimming and Securing Threads
Carefully trim any excess thread close to the stitches. You can also use a lighter to carefully melt and secure the ends of synthetic threads. Be very cautious with this step to avoid scorching the leather.
Optional: Edge Finishing
For a really clean look, you can burnish the edges of the leather. This involves rubbing the edge with a smooth tool, like a wooden burnisher or even a piece of canvas, sometimes with a bit of water or gum tragacanth. This smooths and seals the edge. You can also use edge paint for a colorful, sealed finish if you’re feeling artistic.
Optional: Personalization
Want to make your bag truly unique? You can tool designs into vegetable-tanned leather before assembly. You can also stamp initials or symbols onto the finished bag. Some people even add beads or charms to the drawstring for extra flair.
You’ve done it! Your handmade leather dice bag is ready. It’s a durable, personalized piece that’s perfect for safeguarding your precious dice. Enjoy using it on your gaming nights!
“`Conclusion
You’ve successfully learned how to craft your very own leather dice bag! This project is a fantastic way to create something both practical and personal for your tabletop gaming. Remember, the key is taking your time with the cutting and stitching. Don’t be afraid to practice on scraps first. Once you’ve finished, you’ll have a durable dice bag that reflects your hard work and style. Now, go forth and protect those precious polyhedrals with your handmade creation!
Frequently Asked Questions
What’s the best type of leather for a beginner dice bag?
For beginners, softer chrome-tanned leather is often easier to work with. It’s more pliable, making it simpler to cut and stitch. However, vegetable-tanned leather offers more structure and can be tooled later if you wish.
How can I make my stitching look neater?
Consistent stitching hole spacing is your best friend. Use an awl or punch set to mark your holes evenly before you start stitching. Practicing the saddle stitch on scrap pieces will also help you get a feel for thread tension and create a cleaner look.
My leather is too stiff to fold for the drawstring casing. What can I do?
If your leather is a bit stiff, you can try gently dampening the edge with a sponge and water. Once slightly pliable, fold it into place. You can also use a bit of leather glue to hold the fold while you stitch. Some crafters also use a mallet to gently crease the fold line.
How do I prevent my drawstring from pulling out?
To prevent your drawstring from pulling out of the casing, make sure the casing openings are not too large. You can also tie a sturdy knot at each end of the drawstring cord. Some crafters add a small bead or charm to each end, which also acts as a stopper.
Can I decorate my leather dice bag?
Absolutely! If you used vegetable-tanned leather, you can tool designs or stamp patterns onto it before assembly. You can also add decorative stitching, paint the edges, or tie on colorful beads or charms to the drawstring for a personalized touch.
![10 Best Leather Work Bags Women [2026]](https://mybestreviewss.com/wp-content/uploads/2026/08/10-best-leather-work-bags-women-2026-featured-768x432.jpg)
![10 Best Leather Messenger Bag Reddit [2026]](https://mybestreviewss.com/wp-content/uploads/2026/08/10-best-leather-messenger-bag-reddit-2026-featured-768x432.jpg)