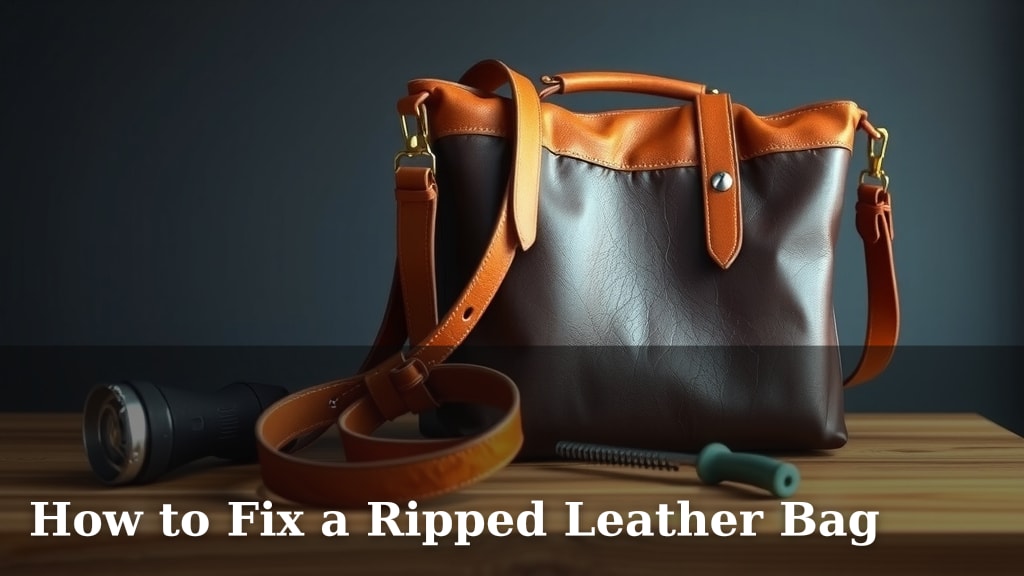
How to Fix a Ripped Leather Bag
Yes, you can absolutely fix a ripped leather bag! With the right tools and a little patience, you can often make small tears and rips almost disappear. You’ll want to clean the area first and then use a leather repair kit designed for color matching and patching.
Repairing your beloved bag can save you money and preserve a favorite accessory. Understanding the type of leather and the nature of the rip will help you choose the best repair method. Don’t let a little tear ruin your day or your stylish tote!
- Clean the ripped area thoroughly.
- Assess the damage and your leather type.
- Use a leather repair kit for patching and color matching.
- Allow adequate drying time between steps.
Let’s walk through exactly how to tackle that rip and get your bag looking great again.
Repairing Your Leather Bag’s Rips and Tears
Don’t let a rip send your favorite leather bag to the donation bin! You can often mend these issues yourself. We’ll guide you through the steps. It takes a bit of care, but the results can be very rewarding. Let’s get your bag looking good as new!
Assessing the Damage and Your Leather Type
Before you grab any tools, take a close look at the rip. Is it a clean tear, or is the leather frayed? Knowing this helps you choose the right repair method. Also, consider the type of leather your bag is made from. Different leathers have different needs.
Understanding Leather Types
Most bags are made from either finished or unfinished leather. Finished leather, like top-grain or corrected-grain, has a protective coating. It’s more resistant to stains and easier to clean. Unfinished leather, such as full-grain or suede, is more natural. It’s softer and develops a patina over time but is also more delicate. Check your bag’s label or a tag inside for clues.
Evaluating the Rip’s Severity
A small, clean cut might be fixable with a simple leather filler. A larger, jagged tear may need a patch. Consider if the rip is on a high-stress area, like a strap attachment. This might require a stronger repair. If the leather is brittle or crumbling, it may be beyond repair.
Gathering Your Leather Repair Supplies
Having the right tools makes all the difference. You’ll want a few key items. A good leather repair kit is your best friend here. These kits often come with colorants, fillers, and applicators. You’ll also need some cleaning supplies and possibly fabric for backing.
Essential Tools and Materials
- Leather cleaner: To prep the area.
- Leather repair kit: Look for one with color-matching options.
- Rubbing alcohol: For cleaning stubborn dirt.
- Canvas or sturdy fabric: For reinforcing larger tears.
- Fine-grit sandpaper: To smooth edges.
- Cotton swabs and cloths: For application and cleaning.
- Patience: This is a must-have tool!
Choosing the Right Leather Repair Kit
Not all kits are created equal. Many kits offer a range of colors you can mix. This is key for a seamless repair. Read reviews to find a kit known for good color matching and durability. Some kits are better suited for specific leather types, so check the product details.
Preparing the Ripped Area for Repair
Cleanliness is next to godliness, especially when fixing leather. You need a clean surface for any adhesive or filler to bond properly. Get rid of all dirt, oils, and old product buildup. This step is crucial for a lasting fix.
Cleaning the Leather
Start by gently wiping the area with a slightly damp cloth. If there’s still dirt, use a dedicated leather cleaner. Follow the product instructions carefully. For tougher spots, a dab of rubbing alcohol on a cotton swab can work wonders. Just be sure to test it on an inconspicuous area first. You don’t want to lift the dye from your bag! Allow the area to air dry completely. This usually takes about 30 minutes.
Trimming Loose Threads
If the rip has created any frayed edges or loose threads, trim them carefully. Use small, sharp scissors. You want to create a clean edge for the repair. Don’t pull or tug at the threads; just snip them close to the leather surface. This prevents the tear from worsening.
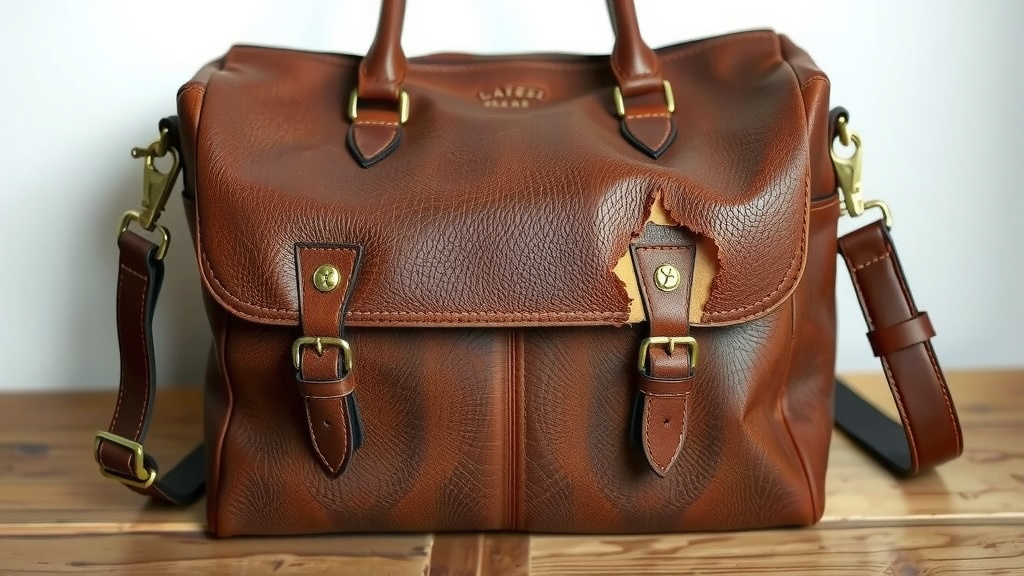
Performing the Leather Bag Repair: Step-by-Step
Now for the fun part! We’ll walk you through the common repair methods. The goal is to make the rip as invisible as possible. Take your time with each step.
For Small Tears and Cuts
If you have a small, clean cut, a leather filler might be your best bet. First, apply a thin layer of leather glue to the underside of the torn edges, if possible. Press them together gently. If it’s an open cut, you’ll use filler. Apply the filler with a small spatula or a toothpick. Build it up in thin layers, allowing each layer to dry. You can use a hairdryer on a low setting to speed drying. Many experts recommend letting it air dry for better adhesion (American College of
For Larger Rips Requiring a Patch
For bigger tears, you’ll likely need to reinforce the back of the rip. Cut a piece of canvas or sturdy fabric slightly larger than the rip. Use leather glue to attach this fabric patch to the inside of the bag, directly behind the tear. Press it down firmly. Let it dry completely. Once the backing is secure, you can use leather filler or a leather repair compound on the outside. Apply this in thin layers, feathering the edges to blend. You can also use a leather repair compound that contains fibers for added strength.
Color Matching and Finishing
Once your filler or compound is dry and smooth, it’s time to color match. This is where your repair kit’s colorants come in. Mix small amounts of color until you achieve a shade that matches your bag. Apply the colorant in thin coats with a sponge or cotton swab. Let each coat dry before applying the next. Building up the color slowly gives you more control. For a final touch, some kits come with a sealant or topcoat. This adds protection and a uniform sheen. A small amount of leather conditioner applied afterward can help blend the repaired area.
Drying and Curing Time for a Strong Repair
Don’t rush this process! Proper drying and curing are essential for a durable repair. Leather needs time to absorb products and set. Rushing can lead to the repair cracking or peeling later.
The Importance of Patience
Allow at least 24 hours for the repair to cure fully. Some products might recommend longer. Avoid using the bag during this time. Keep it in a dry place away from direct sunlight. The longer you let it cure, the stronger and more resilient the repair will be. Think of it like letting concrete set – you wouldn’t walk on it too soon!
Here’s a quick checklist to keep you on track:
- Clean the ripped area thoroughly.
- Trim any loose threads.
- Apply backing fabric if needed for larger rips.
- Apply filler or repair compound in thin layers.
- Color match and apply carefully.
- Allow adequate drying and curing time.
Conclusion
You’ve got this! Fixing a ripped leather bag doesn’t have to be a daunting task. By carefully assessing the damage, gathering the right supplies, and following the repair steps, you can effectively mend tears and restore your bag’s beauty. Remember to work in thin layers and allow ample drying time for the strongest results. Your patience will pay off, giving your favorite accessory a new lease on life. Now, go ahead and give that rip the attention it deserves to keep your bag looking its best!
Frequently Asked Questions
Can I fix a really bad tear or a hole in my leather bag?
For very large tears or holes, a full repair might be difficult to make completely invisible. If the leather is also brittle or crumbling, it might be beyond simple repair. In such cases, you might consider professional restoration or repurposing the bag.
What’s the difference between leather glue and leather filler?
Leather glue is primarily used to reattach separated leather edges, acting like a strong adhesive. Leather filler, on the other hand, is a paste-like substance that fills in gaps or missing pieces of leather, creating a smooth surface that can then be colored.
How do I know if I have finished or unfinished leather?
Finished leather typically has a smooth, uniform surface with a protective coating, often appearing slightly glossy. Unfinished leather, like suede or nubuck, has a soft, napped texture and looks more natural. Check your bag’s care tag if available.
Can I use super glue to fix my leather bag?
It’s generally not recommended to use standard super glue on leather. Super glue can be too rigid and may cause the leather to crack or discolor around the repair. It’s best to stick with products specifically designed for leather repair.
How long should I wait before using my bag after a repair?
You should wait at least 24 hours, and ideally 48 hours, for the repair to fully cure before using your bag. This ensures the adhesive and filler have hardened completely, preventing the repair from reopening or cracking under stress.