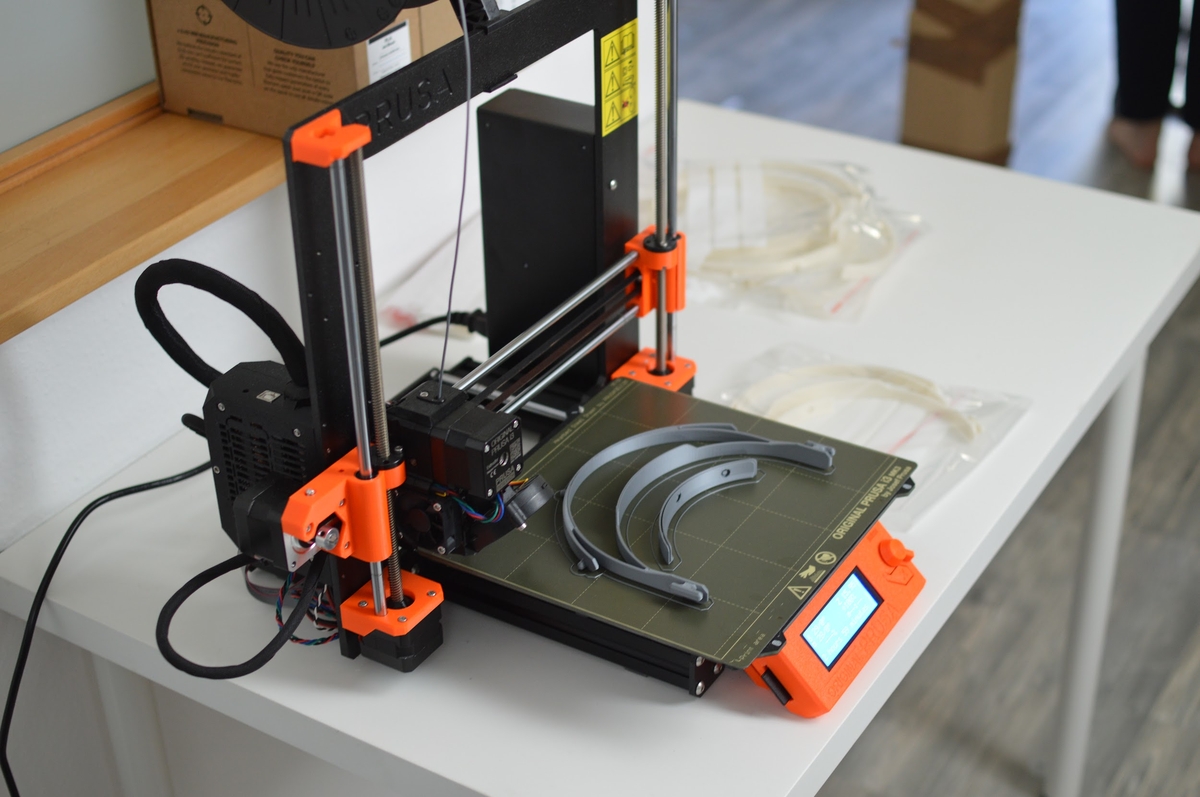
Why is my 3d printer not working?
Have you ever excitedly started a 3D printing project, only to have your 3D printer fail to work properly? It can be incredibly frustrating to troubleshoot a malfunctioning printer, especially when you’re not sure what the problem is.
3D printing technology has revolutionized the way we create objects, from prototypes to finished products. But as with any technology, there are bound to be issues that arise. From hardware malfunctions to software glitches, there are a variety of reasons why your 3D printer may not be working as it should.
If you’re experiencing issues with your 3D printer, it’s important to isolate the problem and find a solution quickly. Not only can a malfunctioning printer be a huge inconvenience, but it can also set your project timeline back significantly. In this article, we’ll explore some of the most common reasons why 3D printers fail to work properly, and provide some tips on how to troubleshoot these issues.
Why is my 3D printer not working?
The most common reason why a 3D printer won’t work is because it has not been set up correctly. Different printers have different requirements, so it’s important to read the instructions that came with your machine carefully and make sure all the components are connected properly. If your printer won’t power on or you’re having trouble uploading files, check all the connections and wires to make sure they’re in their correct places.
Other common issues include clogged nozzles, a jammed extruder, or incorrect filament type. Make sure the nozzle is free of any debris, and that the filament you’re using is compatible with your printer. If your extruder is jammed, check for obstructions in the feeder tube or try to manually move the mechanism to loosen it up.
Finally, check that your 3D printer is running the latest software version. Updates can often fix common printing issues, so be sure to keep your printer up-to-date.
We hope this article has helped you identify the issue with your 3D printer and get it back up and running in no time. If all else fails, don’t hesitate to reach out to a professional who specializes in 3D printing technology for help.
How tight should the belts be?
The tension of the belts on a 3D printer is an essential part of its performance. If not correctly tensioned, the 3D printer will not move reliably or produce accurate prints. To ensure this, the belts should be tightened until they have no slack and are resistant to being pushed down. This tension should feel similar to a stretched rubber band – sufficient tightness that it won’t easily fall off but not so tight that it restricts motion. It is important to not over tighten your belts as this can cause excessive wear over time, leading to decreased performance and even belt breakage.
If you’re having difficulty with determining the right tension for your belts, then there are many guides online which can help you out. They will typically involve using a simple tool such as a screwdriver to measure tension directly on the belt and then make any necessary adjustments accordingly. Doing this periodically as part of maintenance and cleaning routine can help keep your 3D printer running at peak performance while also preventing damage over time due to improper belt tensioning.
Why does my 3D printer stop mid print?
3D printers are increasingly popular tools for makers and hobbyists, but they can sometimes suddenly stop working mid-print. In most cases, the pause is due to a thermal cutoff; if the extruder or bed temperature rises too high, the machine will turn off automatically in order to protect itself from damage. Another common cause of pausing is power issues; if the printer disconnects from an outlet or loses power connection for some reason, prints may be halted in the middle of their process.
In rare cases, 3D printer pauses may be due to filament problems. If your nozzle becomes clogged up and you haven’t been regularly purging your feed tube and nozzle on a regular basis, it could lead to a jam that needs to be cleared out manually before printing can be resumed. Additionally, some 3D printers have built-in commands that can manually pause prints at certain points during the print process which can then be resumed with a push of a button when desired.
The best way to fix these types of problems is by turning off your 3D printer and allowing it to cool down completely so that any thermally triggered shutoffs aren’t further activated while troubleshooting possible causes. Additionally, installing an extra power supply to the printer can protect it from sudden shut offs due to power issues. Lastly, regularly cleaning and purging your nozzle and feed tube can help prevent clogs that could cause filament jams or printing pauses.
Can you smooth PLA?
Polishing your 3D prints is a great way to refine the surface and give them a smoother, crisper look. PLA plastic is particularly suited for polishing since it is relatively soft and non-abrasive. To get started, lightly apply a small amount of liquid polish onto a soft cotton cloth. Then proceed to rub the polish into the surface of the 3D print in small circular motions. Make sure to be consistent with the pressure and keep working until all of the traces of printing have disappeared and you have achieved an overall even finish. Once completed, you should have a shiny and smooth result that looks much better than before you began.
Polishing prints requires minimal effort but can significantly improve their appearance. This technique works especially well on items like model figurines or decorations where aesthetics will be appreciated by viewers. Even if your main concern is improving strength or durability, polishing is still worth considering as the smoother PLA layer will result in stronger inter-part connections when you fit parts together later on. Overall, polishing your PLA 3D prints is an easy process with considerable benefits so don’t hesitate to give this technique a try.
What causes ripples?
Ripples are a common issue seen in 3D prints and can be caused by numerous factors. It is important to understand the underlying causes of ripples so you can avoid them or correct them as soon as possible. The first layer of any print is essential for successful completion, and that’s why ripples on the first layer often indicate a problem. Some of the most likely reasons for ripples on this layer include incorrect height or flow settings, nozzle distance that is too close to the bed, insufficient bed leveling, printing speed that is too fast, and leaving the fan on while working on the first layers.
Inaccurate height or flow settings—such as too much material being extruded at once—can cause build-up along the edges of your model as it prints, resulting in unwanted ripples. If your nozzle gets too close to your printing bed during this phase, more heat will be generated which will affect how quickly the filament adheres to it and could result in further warping and rippling. Bed level adjustments should also be made periodically for optimal results: if uneven levels are present, there may not be enough contact between your model and platform for proper adherence. Lastly, printing speeds should also be monitored to ensure that your printer has enough time to properly cool and set the filament before the next layer is added.
What causes gaps?
Gaps in 3D prints can occur for a variety of reasons, but the most common is an excessive print speed. This happens when the printer is moving too quickly while extruding filament, causing it to fail to fully melt or lay down the plastic correctly. The printer may be able to catch up with some of the skipped material later on, but often it means a gap will be left behind. It’s important to always make sure your printing speeds are set properly and not surpassing what your printer should handle.
On top of that, if you’re using a direct drive system that extrudes filament at the same time as speeding up or slowing down movement, there’s a chance that thin layers may not melt properly. This can cause air pockets or gaps between layers and can ultimately ruin the final product. That’s why its important to ensure you have proper cooling and look into overclocking further before running this type of setup. There are many ways to minimize these types of gaps so always make sure you follow instructions closely to avoid them altogether.